
If you’re anything like me, the holidays bring this wonderful, cozy feeling, but then the actual cooking stress hits! That’s why my mission here at Mia’s Meals is always to take those cherished family favorites and make them straightforward. We don’t need complicated unless the payoff is huge, and this stuffing recipe is the payoff. Forget everything you know about dry, crumbly holiday sides. This is the absolute best classic homemade stuffing recipe you’ll ever try because it locks in all the moisture while still giving you that perfect, savory, slightly toasty crust we all love. It’s pure comfort, simplified for your busy table. Serving this alongside your slow cooker turkey breast makes the whole meal feel effortless!
- Why This Classic Stuffing Recipe Delivers Comfort and Flavor
- Gathering Ingredients for Your Homemade Bread Stuffing
- Easy Stuffing Directions: Creating the Best Thanksgiving Stuffing
- Storage and Make Ahead Stuffing Options
- Serving Suggestions for This Savory Holiday Side Dish
- Frequently Asked Questions About This Stuffing Recipe
- Estimated Nutritional Data for This Stuffing Recipe
- Share Your Experience with This Classic Stuffing Recipe
Why This Classic Stuffing Recipe Delivers Comfort and Flavor
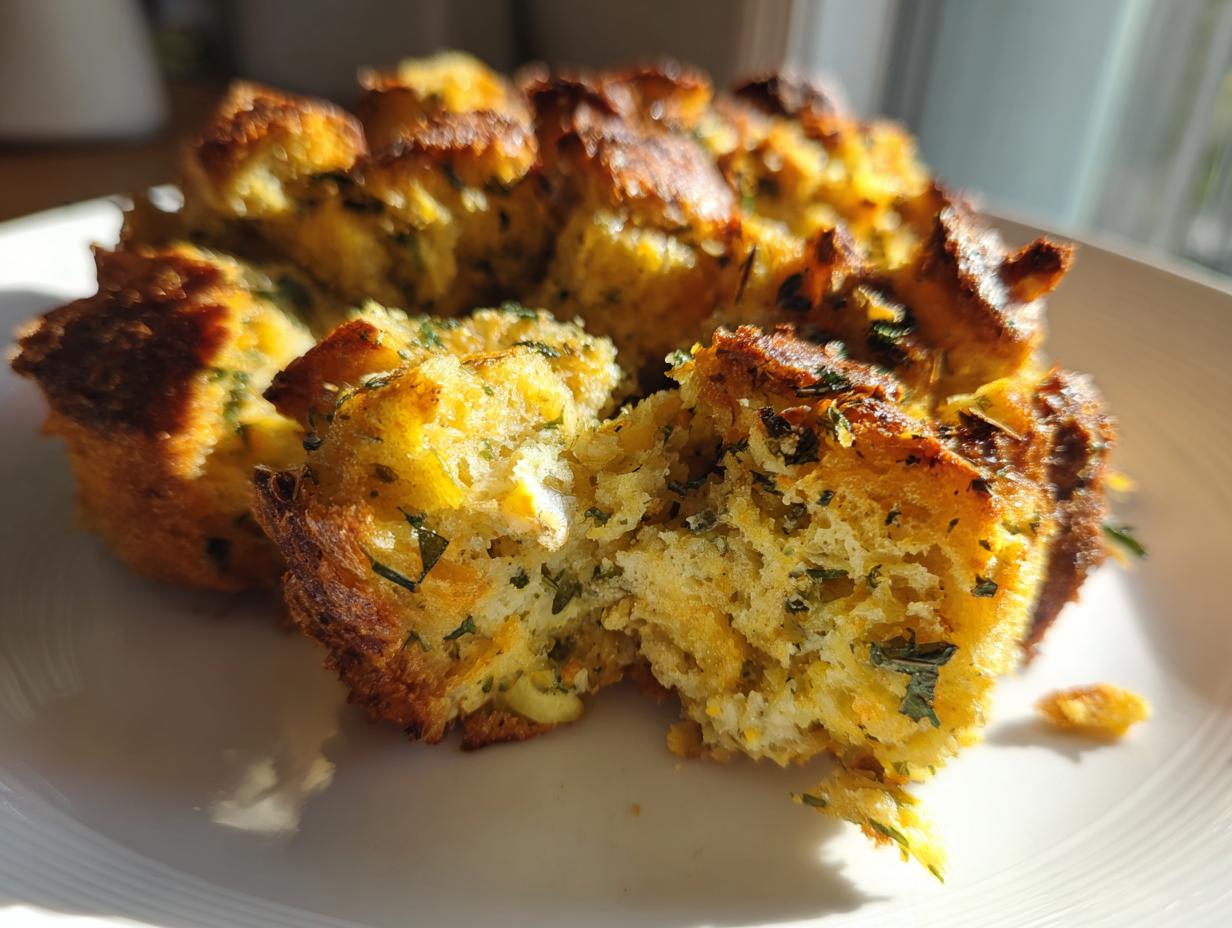
When people ask for my absolute favorite stuffing recipe, I always point here. This isn’t just some random collection of bread. It’s engineered to be the ultimate savory holiday side dish. The secret to making this a truly moist stuffing recipe lies in respecting two basic elements: toasting the bread first and getting that broth-to-bread ratio just perfect. It’s about building flavor layers, not just soaking bland bread!
Achieving the Perfect Texture: Moist Interior, Crispy Crust
You want that satisfying crunch when you cut into the top, right? That means we toast the bread cubes first. Think of it like priming a surface before you paint—it prevents all the bread from turning into mush when the liquid hits it. Then, and this is important, we use just enough chicken broth to moisten every single piece without drowning them. If you end up with soup in the pan, you’ve gone too far! A light toss and letting it sit for a few minutes before it goes into the oven is key. It’s a simple technique, but it ensures your stuffing is beautifully crisp on top, exactly how a great side dish should be. Don’t forget a side of my easy homemade cranberry sauce to go with it!
Gathering Ingredients for Your Homemade Bread Stuffing
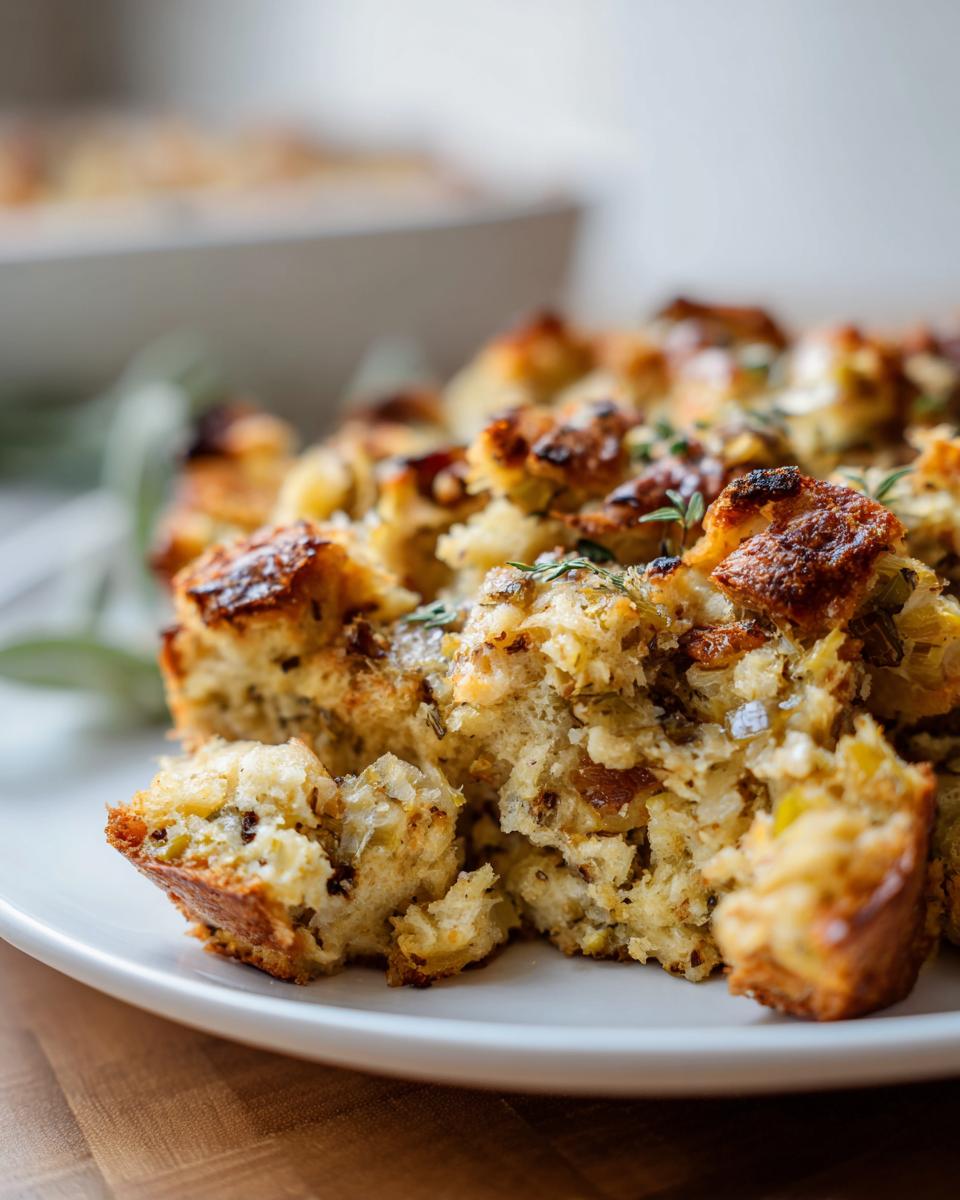
Okay, let’s talk about what goes into this wonderful traditional side. When you’re making something that relies on simple, good flavors, using the best ingredients you can find really makes a difference. I learned early on that grabbing fresh herbs instead of the dusty stuff in the back of the pantry elevates this from good to unforgettable. Look at the recipe card—we’ve got celery, onion, and just the right mix of sage and rosemary to get that truly classic, savory flavor. We’re going for the real deal here in this herb stuffing recipe.
I always lay out my ingredients first, just like my mom taught me. It stops me from forgetting something crucial when the turkey timer starts screaming! You’ll notice we have butter, eggs, broth, and our star: the bread cubes. Before you even start cooking, having everything ready to go makes the assembly process a breeze, honestly.
Ingredient Notes and Substitutions for Your Stuffing Recipe
When it comes to bread, I lean into a mix of plain white bread and sourdough. The sourdough adds a little nice tang that cuts through all the richness of the butter and broth. Don’t feel you have to stick strictly to those 12 cups of dry cubes, though! If you want to try a sausage stuffing recipe next time, just reduce the butter slightly since the sausage adds fat. For this version right now, though, I highly encourage using some of your reserved, cooled turkey drippings mixed in with the chicken broth for extra depth. It instantly turns this into the best Thanksgiving stuffing! If you’re looking for other easy veggie sides to go with it, check out my easy roasted carrots recipe.

Easy Stuffing Directions: Creating the Best Thanksgiving Stuffing
I know that holiday cooking feels like a race sometimes. You’re juggling the bird, the pies, and trying to keep everyone happy. That’s why mastering this stuffing recipe is so satisfying—it’s mostly hands-off time once you do the initial mixing! From the moment those sautéed onions and sage hit the heat, your kitchen starts smelling like the perfect, cozy Thanksgiving day. Trust me, the aroma alone signals that the meal is going to be amazing. Ready to nail this main event? Finding the best ever classic stuffing recipe should be the easiest part of your planning!
We toast the bread first, then we cook the veggies until soft, and then we carefully combine them with the liquid. It’s a deliberate sequence that ensures every single bite of your stuffing recipe turns out just right. It’s not complicated science; it’s just stepping back and letting the ingredients do their thing.
Step-by-Step Guide to the Perfect Stuffing Recipe
First things first, get that oven preheated to 350°F and get those bread cubes baking until they’re just starting to brown a bit, maybe 10 to 15 minutes max. While that’s happening, melt your butter and soften those celery and onions until they smell sweet. Then dump your herbs directly into the hot skillet for just a minute—that wakes them right up!
Now for the gentle part: combining. Put your toasted bread in a huge bowl, add the cooked veggies, and toss nicely. Then, pour over the whisked eggs and broth mixture. This is vital: give it a gentle toss until everything is coated evenly. If you start mashing it down, you defeat the toasting step, and we end up with heavy stuffing. We need to keep it light before it hits the pan! Remember to let the assembled mixture sit for about 10 minutes once coated—that helps the bread absorb the liquid evenly.
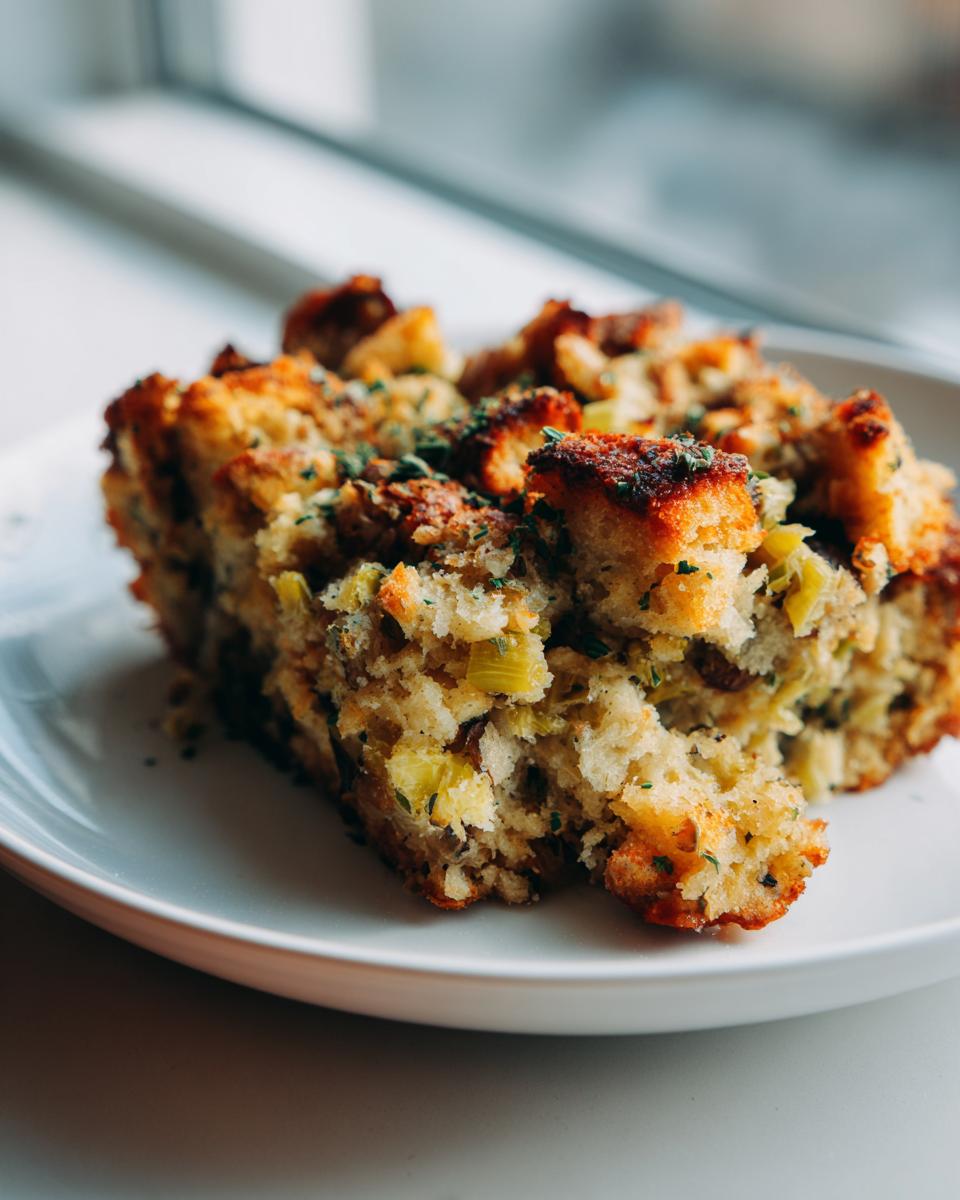
Tips for a Crispier Top on Your Stuffing Recipe
If you want that golden, shattering crust that everyone fights over—and I always do!—you need to follow two easy rules. First, when transferring the moistened bread into your 9×13 dish, resist the urge to pack it down tight. Just spread it out evenly. Second, bake the stuffing completely uncovered. Baking uncovered exposes the top layer of bread directly to the dry heat, which crisps it up beautifully while the bottom layer stays nice and steamy. If you’re looking for a great pairing, this goes perfectly with a bowl of my creamy butternut squash soup!
Storage and Make Ahead Stuffing Options
I get it—Thanksgiving morning is chaos. You’re trying to manage the turkey timing, make sure the gravy isn’t lumpy, and somehow find time to breathe! That’s why making things ahead is my saving grace, and this stuffing recipe is fantastic for prepping early. It’s a lifesaver when you need to handle more than one oven at once.
The beauty of this buttermilk and herb mixture is that it holds up really well in the fridge. You can assemble the entire thing—mix the toasted bread, the cooked vegetables, the eggs, and the broth—put it all in your buttered baking dish, cover it tight with foil, and pop it in the refrigerator. I usually aim to do this the night before, which gives those flavors a nice, slow marriage overnight. This makes it a true homemade stuffing recipe that works with your schedule!
Now, here’s the crucial part: if you bake it straight from the fridge, it’s going to be cold in the middle. You absolutely need to add extra time. I’d budget an extra 10 to 15 minutes on top of the standard baking time listed in the directions. You must check that center temperature—you’re aiming for that safe 165°F—because cold stuffing is just sad stuffing. If you prep ahead, you’ve basically guaranteed yourself a less stressful morning, and you get to enjoy my easy puff pastry apple strudel recipe later without rushing!
Serving Suggestions for This Savory Holiday Side Dish
This buttery herb stuffing is so versatile, it doesn’t just sit quietly next to the turkey, it actively compliments everything else on your holiday plate! Because it has that lovely, earthy sage flavor and a slightly rich texture from the butter, it pairs beautifully with richness but can also stand up perfectly against something bright and tart.
When I’m planning out my whole meal, I always make sure I have something creamy to contrast the texture. You really can’t go wrong with a big helping of my creamy maple brown butter mashed sweet potatoes right next to it. That sweetness is just the right friend for the savory herbs in the stuffing.
On the brighter side, you need something to cut through all that wonderful richness. That’s where my easy homemade cranberry sauce comes back into play. That little burst of tartness cleanses your palate after every forkful of the savory holiday side dish!
And honestly? If you have leftovers later in the week, it’s fantastic crumbled over the top of a good casserole or even just eaten cold straight from the fridge the next morning. Don’t let any of that flavorful bread go to waste!
Frequently Asked Questions About This Stuffing Recipe
It’s funny, the questions folks have when they’re trying to get their holiday menu just right! I love hearing from you all because it means you’re getting ready to make a beautiful meal. This list covers the most common things people ask me when they’re trying out my stuffing recipe for the first time. If you’ve made it and want to pair it with something hearty, my chicken divan casserole is a wonderful comfort food option!
Can I cook this stuffing recipe inside the turkey?
This is the million-dollar question every year! For my family, we stick to baking the stuffing outside the bird. Why? Because when you bake it inside, the texture gets overly saturated and steamy—not the light, crispy-topped stuffing we worked so hard to achieve! Plus, the USDA recommends that any stuffing cooked inside the turkey must reach an internal temperature of 165°F for safety, which means your turkey breasts might overcook while waiting for the center of the stuffing to catch up. If you absolutely must cook it inside, use a loose pack, and probe that center, but honestly, baking it separately means better texture, hands down.
How do I adapt this stuffing recipe for a cornbread stuffing version?
Oh, I love the flavor of cornbread stuffing too—it brings such a different, comforting sweetness! Adapting this classic recipe is easy. You don’t need to scrap everything; you just need to swap out some of the bread base. I would suggest swapping out half of the 12 cups of dried bread cubes for an equal amount of crumbled, dried-out cornbread. You might need to play with the broth a tiny bit because cornbread soaks up liquid differently than regular yeast bread, so start with 2 cups of broth and add more slowly. It’s a simple tweak that turns this into a delicious variation without changing the flavor profile from the sage and herbs.
For more inspiration on classic sides, make sure you check out how my friends over at Smart Cook Recipes talk about making their stuffing completely from scratch—it’s good stuff!
Estimated Nutritional Data for This Stuffing Recipe
I always like to give an estimate of what you’re looking at when serving up a hearty portion of this classic homemade stuffing recipe. Now, you have to take this data with a grain of salt, because I learned a long time ago that home cooking never matches the lab environment! My butter might be richer, your broth might be saltier, and we all know portion sizes at the holiday table are generous, wink wink.
These numbers are based on the recipe yielding 8 standard servings, but remember, this is just a guide. For the most accurate counts, you would need to plug in the exact brands of bread and butter you personally use! But generally speaking, here is what we are working with for one satisfying cup:
- Calories: 320
- Total Fat: 18g (mostly those wonderful, necessary fats for flavor!)
- Saturated Fat: 10g
- Carbohydrates: 35g
- Protein: 7g
- Sugar: 3g
- Sodium: 450mg
If you find yourself needing lighter ideas for the rest of the day, I always keep a few quick inspiration posts saved, like my recipes for easy breakfast ideas. But for Thanksgiving? Don’t skimp on the butter in this stuffing; it’s what makes it perfect!
Share Your Experience with This Classic Stuffing Recipe
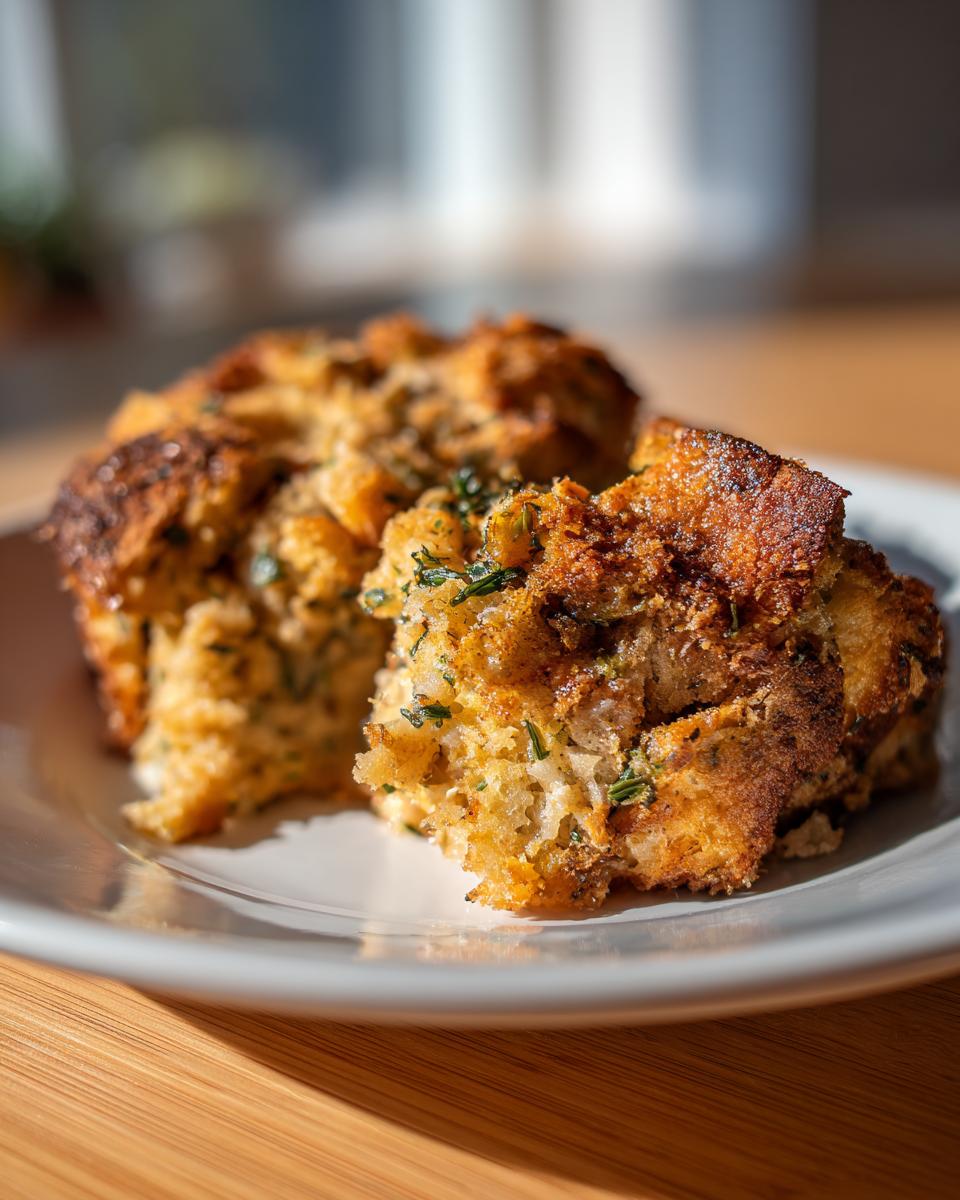
Now that you’ve made this incredible stuffing recipe, I truly hope it brought that warm, connected feeling back to your dinner table, just like it does for my family every single year. Creating food that simplifies the stressful parts of hosting while delivering maximum comfort is what Mia’s Meals is all about, and nothing makes me happier than hearing that a recipe helped you enjoy your holiday more!
I absolutely love seeing your creations! Once you’ve cut into that beautiful, golden top and discovered the perfectly moist interior that we worked so hard for, please come back right here and leave a rating and a comment. Tell me how it went—did you get that perfect crunch? Were your family members asking for seconds?
Tag me on social media when you serve it up, especially alongside your mashed potatoes or whatever delicious turkey bird you cooked. Hearing that you’re building your own traditions with these simple, wholesome recipes is the whole reason I’m here in the kitchen, and it means the world to me. If you are looking for more amazing side dish inspiration that pairs well, stop by and peek at the results from Piper Plates, they always have great ideas!
If you ever have any questions about adjusting the liquid or trying this out in smaller batches, don’t hesitate to head over to my contact page. Happy cooking, and thank you for letting my simple comfort food ideas be part of your happy home!
PrintClassic Homemade Herb Stuffing Recipe for a Moist Holiday Side
This classic homemade stuffing recipe delivers the comforting, savory flavor you want for your holiday table. Learn the simple steps to keep your stuffing moist inside with a perfectly textured crust.
- Prep Time: 20 min
- Cook Time: 45 min
- Total Time: 65 min
- Yield: 8 servings 1x
- Category: Side Dish
- Method: Baking
- Cuisine: American
- Diet: Vegetarian
Ingredients
- 12 cups dried bread cubes (a mix of white and sourdough works well)
- 1 cup unsalted butter
- 2 cups chopped celery
- 1 large yellow onion, chopped
- 1 tablespoon fresh sage, finely chopped
- 1 teaspoon dried rosemary, crushed
- 1/2 cup fresh parsley, chopped
- 1 teaspoon salt
- 1/2 teaspoon black pepper
- 2 large eggs, lightly beaten
- 2 1/2 cups chicken or vegetable broth
Instructions
- Preheat your oven to 350°F (175°C). Lightly butter a 9×13 inch baking dish.
- Spread the bread cubes in a single layer on a large baking sheet. Bake for 10 to 15 minutes until lightly toasted. Set aside.
- Melt the butter in a large skillet over medium heat. Add the celery and onion. Cook until softened, about 8 minutes.
- Stir in the fresh sage, rosemary, parsley, salt, and pepper into the skillet. Cook for 1 minute until fragrant.
- In a very large bowl, combine the toasted bread cubes and the cooked vegetable mixture. Toss gently to combine the flavors.
- In a separate bowl, whisk together the eggs and the broth. Pour this liquid mixture over the bread mixture. Toss gently until the bread is evenly moistened. Do not overmix.
- Transfer the stuffing mixture to the prepared baking dish. If you prefer a crispier top, do not pack it down tightly.
- Bake for 35 to 45 minutes, or until the top is golden brown and the center is heated through.
- Let the stuffing rest for 10 minutes before serving this savory holiday side dish.
Notes
- For a make ahead stuffing option, prepare the mixture completely, cover it, and refrigerate for up to 24 hours. Add an extra 10 to 15 minutes to the baking time if baking directly from the refrigerator.
- If you want a richer flavor, substitute half of the broth with reserved turkey drippings.
- To achieve a crispier exterior, bake the stuffing uncovered.
Nutrition
- Serving Size: 1 cup
- Calories: 320
- Sugar: 3
- Sodium: 450
- Fat: 18
- Saturated Fat: 10
- Unsaturated Fat: 8
- Trans Fat: 0.5
- Carbohydrates: 35
- Fiber: 2
- Protein: 7
- Cholesterol: 55