
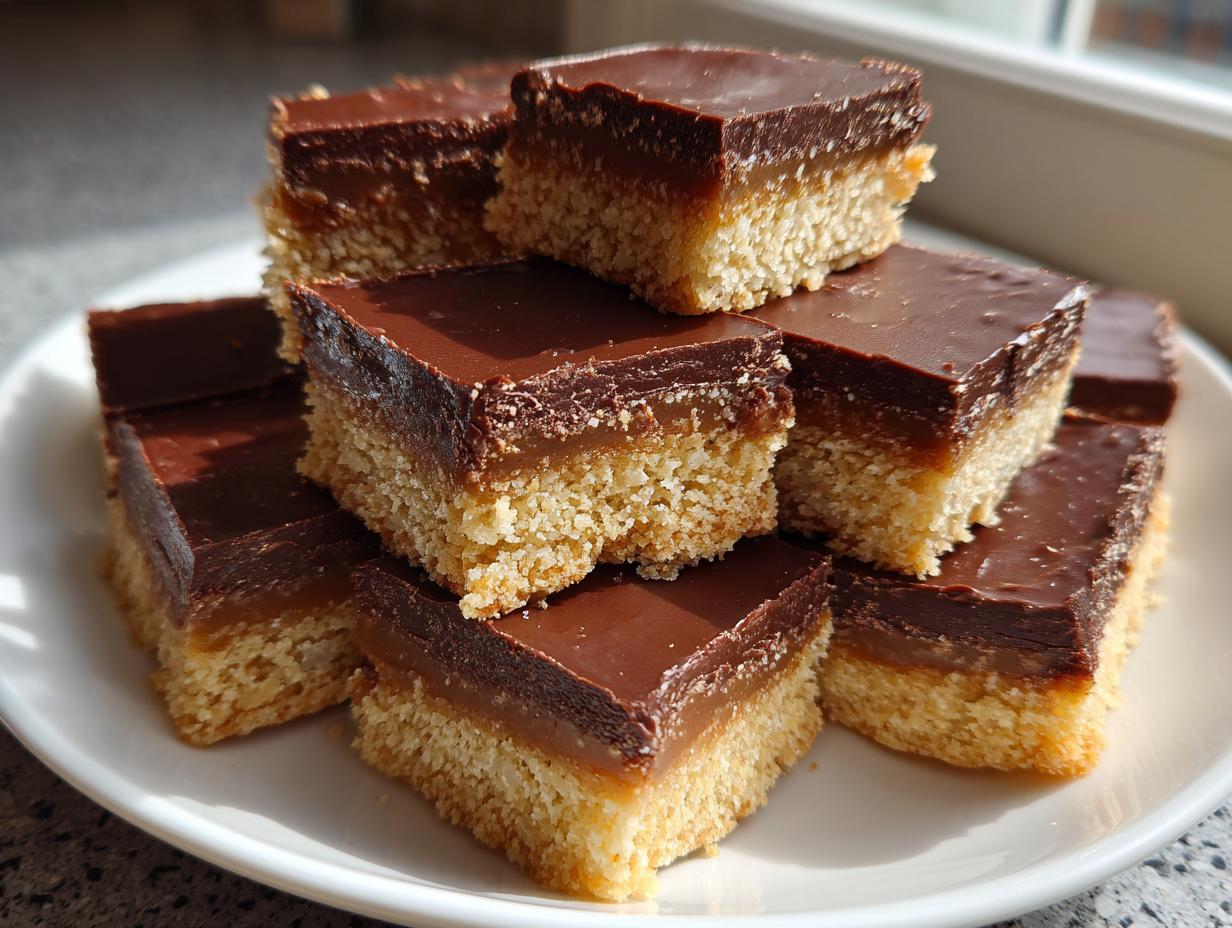
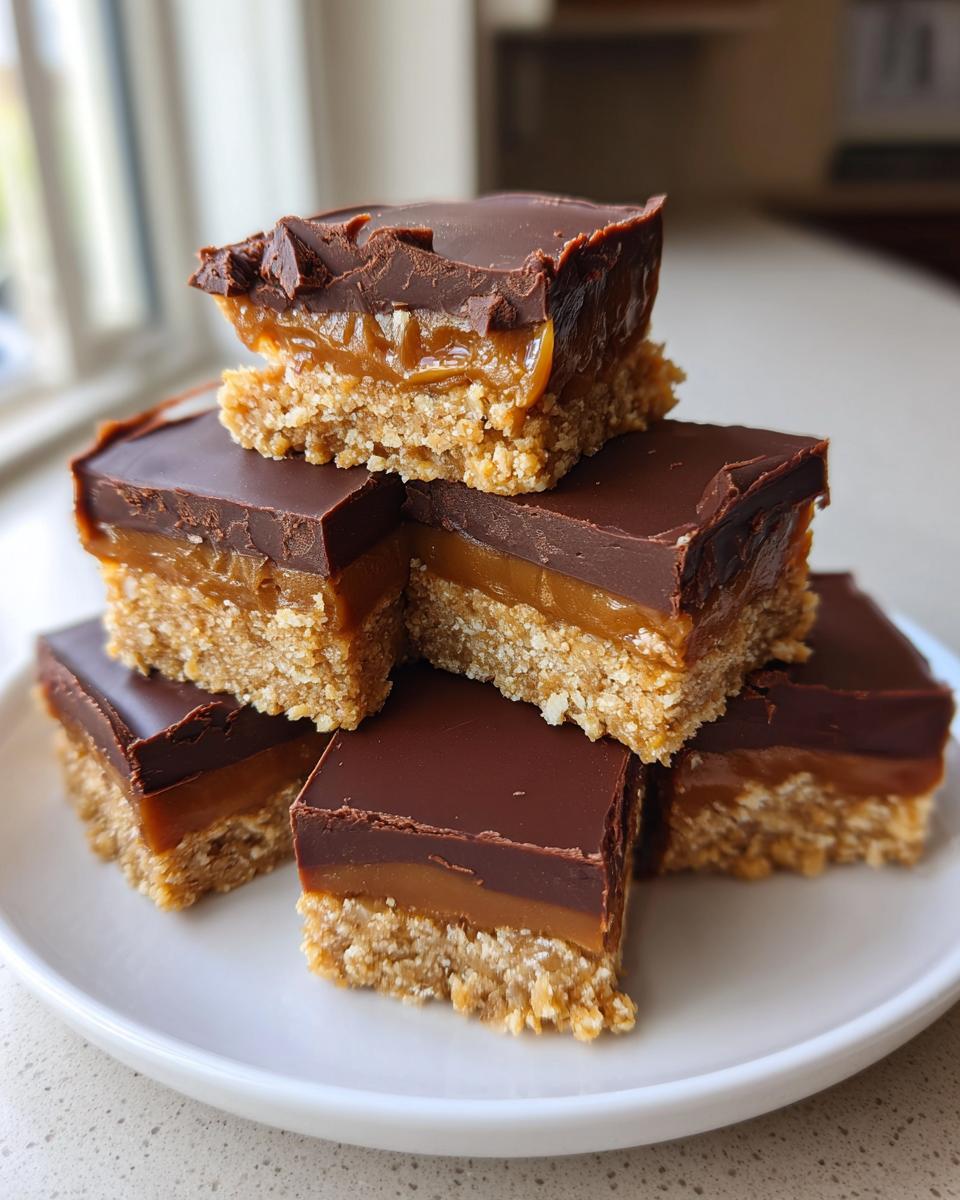
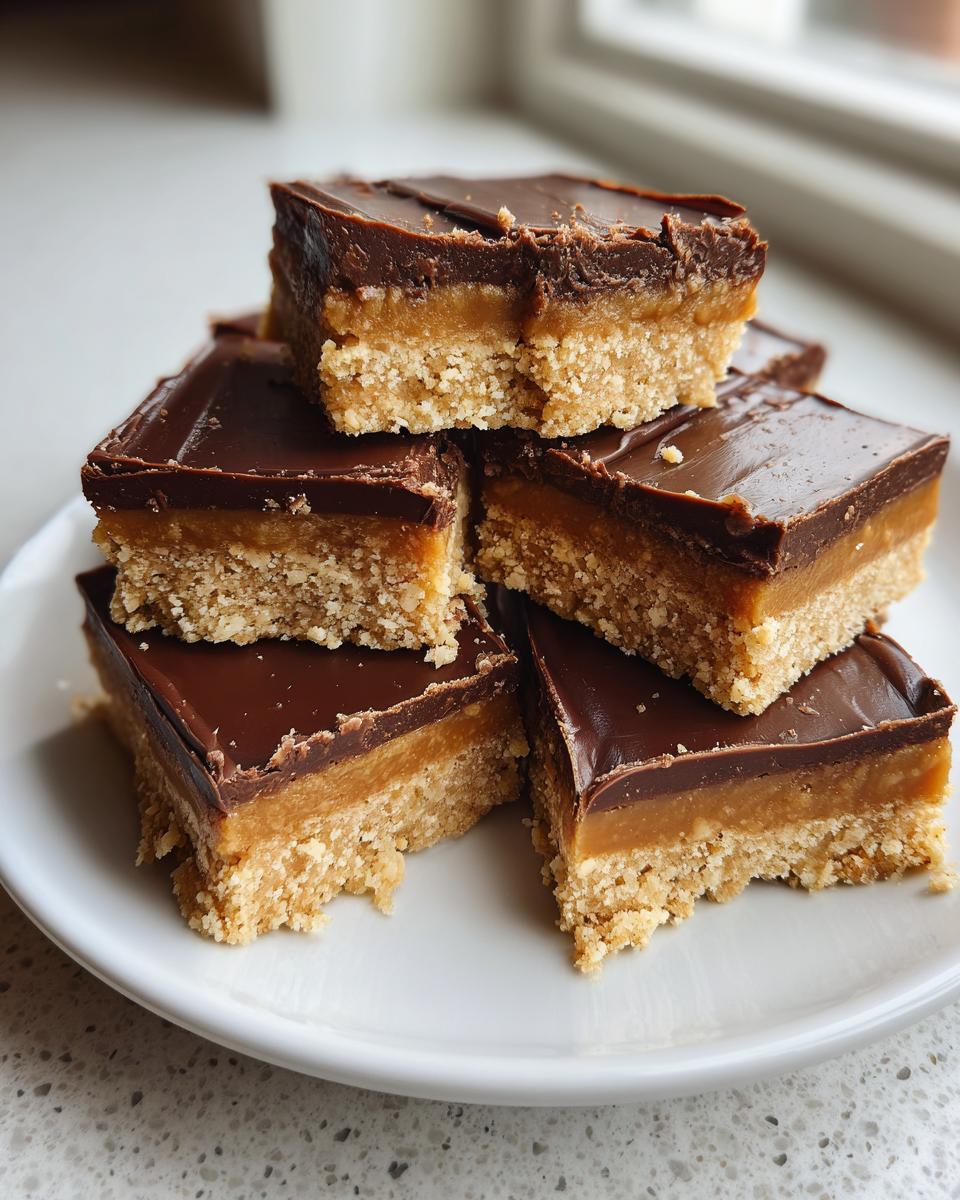
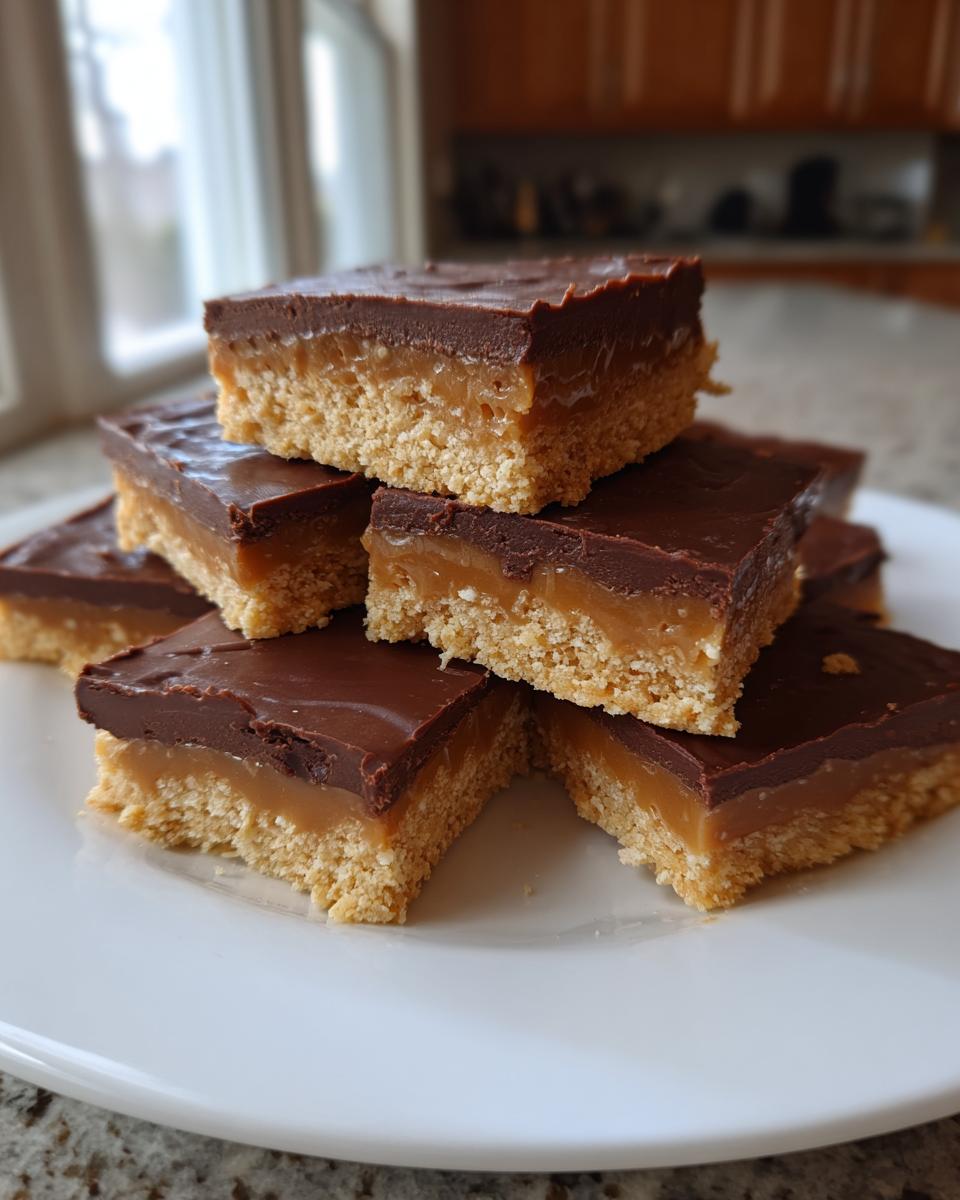
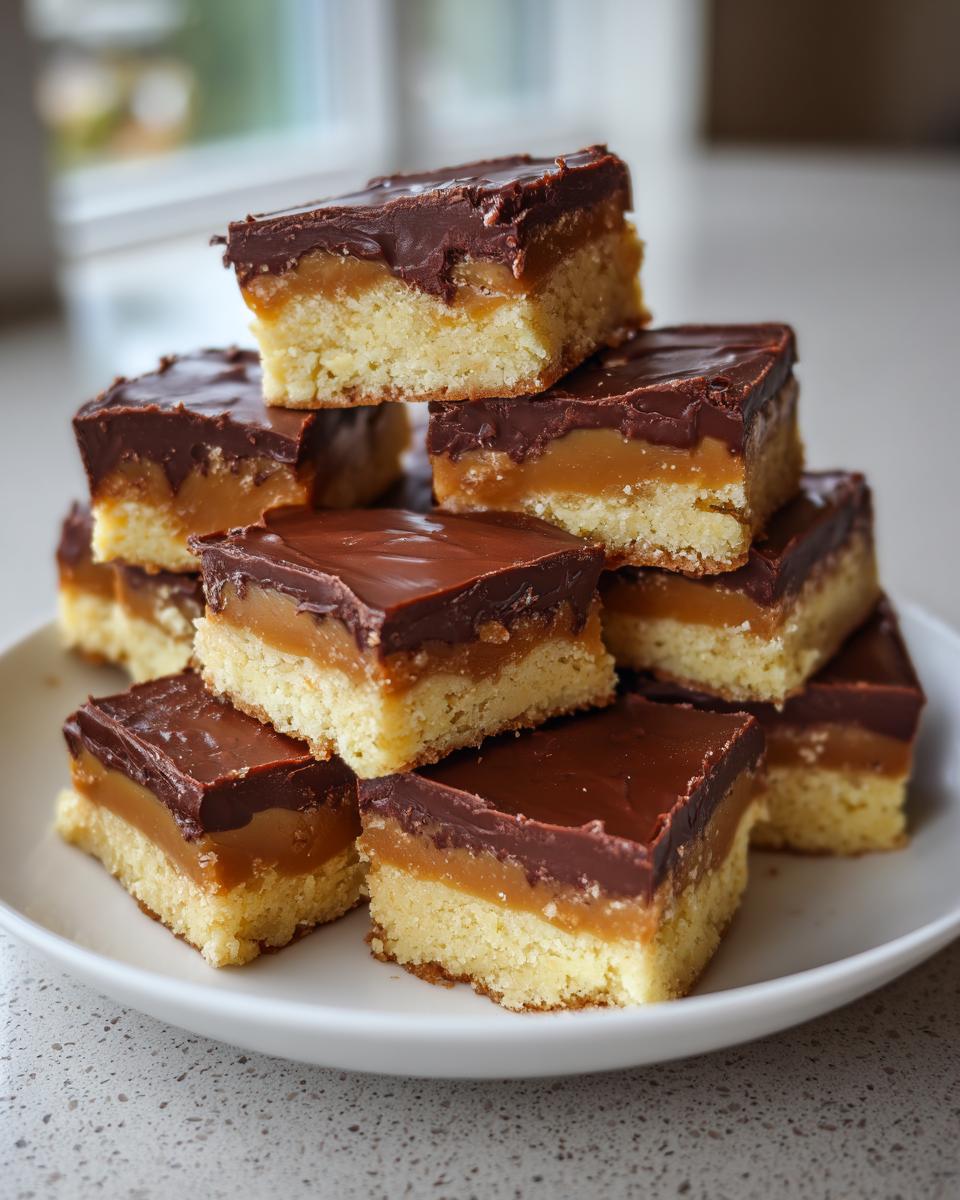
Oh, you know that deep, primal craving for something that hits every single spot? I mean that perfect salty-sweet attack that only good candy can deliver? That’s exactly what inspired me to finally nail down these incredible toffee bars. My mission here at Mia’s Meals is always to ditch the complicated stuff and deliver huge flavor payoff, and honestly, these bars are the definition of high-impact, low-effort baking! We’re talking about three distinct, addictive layers here: a buttery shortbread crust that practically melts, a chewy, homemade toffee center that sticks to your teeth (in the best way!), and a rich layer of chocolate on top. Trust me, once you try one, you’ll see why these are quickly becoming my go-to for thank-you gifts and any gathering where you want people raving. If you love simple, high-impact treats, you should check out my gallery of delicious dessert recipes!
- Why These Toffee Bars Are Your New Favorite Easy Dessert Bars
- Gathering Ingredients for Perfect Toffee Bars
- Step-by-Step Instructions for Making Homemade Toffee
- Tips for Success with Chocolate Toffee Recipes
- Storage and Reheating Instructions for Toffee Bars
- Variations on These Salty Sweet Snacks
- Serving Suggestions for Your Holiday Treats
- Frequently Asked Questions About Making Toffee Bars
- Nutritional Estimate for These Baking Recipes
Why These Toffee Bars Are Your New Favorite Easy Dessert Bars
When I adapted this recipe, I focused completely on texture—that’s why these are just the best. They give you that satisfying, layered bite every single time. You don’t need a dozen fancy tools or three days of chilling. They are truly some of the best easy dessert bars out there right now!
- That incredibly sturdy, buttery shortbread base you dream about.
- A chewy layer of homemade toffee that perfectly balances the sweetness.
- A simple, rich chocolate topping that makes them irresistible salty sweet snacks.
They travel beautifully and look amazing on a platter, which is why I love whipping up a batch when I need a quick, impressive thank you gift.
Gathering Ingredients for Perfect Toffee Bars
Listen, the quality of your ingredients really does matter here, especially that butter! Since we’re making a super buttery shortbread crust, you want the good stuff. Don’t worry, this isn’t a lengthy shopping trip; most of this is pantry staples, but getting the measurements exactly right is key to nailing that perfect texture clash between the crumbly base and the chewy center.
Shortbread Base Ingredients
For the foundation that holds everything together, you’ll need:
- 1 cup unsalted butter, softened
- 1/2 cup granulated sugar
- 2 cups all-purpose flour
- 1/4 teaspoon salt
Chewy Toffee Layer and Topping Components for Toffee Bars
Then you move into the fun part—the candy center! Here is what makes these toffee bars truly legendary:
- 1 cup (2 sticks) unsalted butter
- 1 cup packed light brown sugar
- 1/4 cup light corn syrup (don’t skip this, it keeps it chewy!)
- 1 teaspoon vanilla extract
- 1/2 teaspoon baking soda
- 1 1/2 cups semi-sweet chocolate chips
- 1/2 cup chopped pecans (optional, but those salty little pops are worth the chop!)
Step-by-Step Instructions for Making Homemade Toffee
Okay, getting that perfect texture means we have to work in stages, but trust me, it’s so worth the effort. We tackle the crust first, then move carefully into the candy-making part. My biggest piece of advice for this whole section is to have everything ready to go before you start cooking the homemade toffee because things move fast once that sugar starts boiling! If you want to practice your candy-making skills before tackling these layers, check out my recipe for easy homemade soft chewy caramels; the technique is similar!
Preparing and Baking the Shortbread Bars Base
First thing’s first: turn that oven to 350 degrees F. You absolutely must line your 9×13 pan with parchment paper, and make sure you leave a little overhang on the sides. That overhang is your lifeline later for lifting the whole slab out! For the crust, just cream your softened butter and granulated sugar until it looks lighter and fluffier—don’t rush that part. Then, mix in the flour and salt until it just comes together into a crumbly dough. Press that dough evenly into the bottom of your prepared pan. Bake it for about 15 to 18 minutes. You’re looking for the edges just starting to catch a hint of gold—lightly golden brown, not dark!
Cooking the Toffee Filling for Your Toffee Bars
While those shortbread bars are heating up, get the toffee started in a saucepan. Combine the second stick of butter, the brown sugar, and the corn syrup. You need to cook this over medium heat, stirring constantly—and I mean *constantly*—because if it scorches, the whole batch is toast! We are aiming for 290 degrees Fahrenheit on your candy thermometer. That’s the hard-crack stage, and hitting it right is what keeps these toffee bars chewy and not runny. Once you hit that temperature, pull it off the heat, and quickly stir in the vanilla and baking soda. Watch out, it foams up like crazy! Pour that hot mixture right over your warm, baked crust immediately.
Assembling and Chilling the Final Toffee Bars
As soon as that beautiful hot toffee is spread over the crust, sprinkle your chocolate chips right on top. Let it sit for just five minutes—this lets the residual heat melt the chips gently. Then, spread the melted chocolate evenly, and sprinkle on those optional pecans. Now comes the hardest part: waiting! These bars need to chill in the fridge for a minimum of two hours until they are rock solid. When you’re ready to cut, use the parchment overhang to lift the whole thing out, and I swear by running a sharp knife under hot water between each slice. It makes cutting these perfect toffee bars so much cleaner!
Tips for Success with Chocolate Toffee Recipes
I spent a few batches messing these up when I first tried to invent my perfect version, so let me save you some headaches! When you are cooking the toffee, if you see grainy bits forming, that’s sugar trying to crystallize, and it ruins the chew. Don’t stir it vigorously once it starts boiling hard; just gently guide the mixture around the pan. Also, make sure that shortbread crust is set and lightly golden before you pour the hot toffee on top! If the crust is too soft, the layers will just blend together, and you’ll lose that wonderful textural difference that makes these chocolate toffee recipes so addictive.
And don’t forget the knife tip—chilling is crucial, but a warm, clean knife is the *actual* secret to those gorgeous squares for presenting your salty sweet snacks!
Storage and Reheating Instructions for Toffee Bars
Okay, let’s talk about keeping these beauties fresh! The best part about these toffee bars is that they are fantastic for making ahead of time because they actually improve after a day or two chilling in the fridge. I generally store them cut up in an airtight container right on the counter at room temperature. They hold up really well for about a week that way, which is great for holiday baking when your fridge space gets tight!
Since we tell you to chill them until they are completely stiff before cutting, remember that they’ll be super hard right out of the fridge. If you cut them while too cold, they can crack. If you cut them later, just let the portion you plan to serve sit out on the counter for about 15 minutes before digging in. That little bit of time lets the toffee soften just enough so it’s perfectly chewy, not brittle. That’s the secret to getting that ideal texture!
Variations on These Salty Sweet Snacks
The basic foundation of a buttery shortbread base, chewy toffee, and chocolate is pretty much perfect, don’t get me wrong. But sometimes you just want to shake things up a little bit, right? Since we have these three simple layers, it’s super easy to swap out elements for a brand new flavor profile without messing up the structure of the bars. That’s what I love most about these types of salty sweet snacks—they are built for customization!
For starters, the chocolate is wide open for interpretation. I always use semi-sweet, but if you want something really decadent, go full dark chocolate. If you have sweet tooth friends, milk chocolate chips melt beautifully and make the whole thing taste even more candy-like. You’ve even got to try swapping in peanut butter chips instead of regular chocolate chips for a totally different vibe.
When it comes to the toffee layer itself, try adding a pinch or two of flaky sea salt right over the chocolate topping once it’s spread—that extra salinity makes the sweetness pop! And for texture, pecans are my favorite, but almonds or walnuts work just as well if you have them on hand. If you’re looking for more ways to make highly customizable cookie bars, I have tons of ideas saved up!
Serving Suggestions for Your Holiday Treats
These toffee bars are pretty rich all on their own—that buttery crust and sweet toffee combo means they don’t need much fanfare! But if I’m serving them up as part of a big spread, especially around the holidays, I like to balance out that decadent richness a little. They make such a stellar little gift, too, perfect for things like Mother’s Day gifts or just a friendly neighbor drop-off.
When you’re setting them out as part of your holiday treats lineup, keep the coffee rich and strong! The robustness of black coffee or a strong espresso beautifully cuts right through the sweetness of the chocolate and toffee, making each bite taste new again. Of course, kids love them with a tall, cold glass of milk—it’s a classic pairing for a reason!
If you’re trying to make the dessert platter feel a little lighter, skip heavy sauces and instead serve small wedges of these bars alongside some fresh, tart fruit. Think raspberries or maybe some sliced blood oranges if they’re in season. That hit of acidity really wakes up the palate! And if you’re looking for a great non-alcoholic drink to serve alongside them at a big party, you absolutely have to try my recipe for a festive non-alcoholic Christmas punch; it’s always a massive hit!
Frequently Asked Questions About Making Toffee Bars
I get so many questions about these bars, and honestly, that just tells me how much you all love a good homemade candy treat! Making sure the layers stay separate and that the toffee sets up just right can trip people up, but don’t worry, I’ve worked out all the kinks so your baking recipes turn out perfectly every time.
Can I make these Toffee Bars without baking the shortbread first?
Oh, please don’t try that! If you pour the hot toffee right onto raw dough, two things happen: first, the raw flour in the crust will burn underneath the candy layer, giving you an awful, gritty taste. Second, the raw fat in the dough won’t set properly. Baking that shortbread base first solidifies it. It gives you that necessary structure so you get that distinct, satisfying shortbread layer underneath the gooey toffee, rather than just one big, mushy mess. It’s a crucial step for clean layers!
What is the best way to cut these candy bars cleanly?
I mentioned it before, but this is the secret weapon for beautiful serving squares! After the bars have chilled for at least two hours—and I mean rock solid, folks—you need a very sharp, thin knife. Run the blade under some really hot tap water for about twenty seconds to warm it up, dry it off completely, and then make your cut. The heat melts just the surface of the toffee and chocolate, letting you slice right through cleanly without dragging or cracking the layers. Wipe the knife clean and re-heat it for every single slice, especially if you’re cutting up the whole batch of candy bars at once. You’ll get perfect edges every time!
We shouldn’t let fear stop us from making sweet treats, though! If you’re looking for other simple ways to add happiness to your day, you can check out some quick easy breakfast ideas while these bars chill!
Nutritional Estimate for These Baking Recipes
I always get asked about the details—you know I believe in full transparency in the kitchen! While these homemade toffee bars are certainly a treat and not an everyday staple, I wanted to give you a rough idea of what you’re getting into when you slice up a square. Remember, these numbers are just estimates for one serving based on how I prepared them, especially without those optional pecans. If you use different chocolate or add nuts, your counts will shift a little bit, of course!
When you’re planning out your week, keep in mind that these are rich because of all that lovely butter in the shortbread and the toffee. They fall into the indulgent side of my regular baking recipes, and that’s totally fine for a special occasion!
Here’s the general breakdown per bar:
- Serving Size: 1 bar
- Calories: 250
- Sugar: 22g
- Sodium: 85mg
- Fat: 16g (with 9g saturated fat)
- Carbohydrates: 25g
- Protein: 3g
My biggest disclaimer here is that these figures are based on standard calculations for ingredients like semi-sweet chips and the exact measurements in the recipe. I always say baking is an art, and slight variations in how much butter you use in the crust or the brand of chocolate chip you choose can bump these numbers around a tiny bit. But they give you a reliable baseline!
PrintEasy Chocolate Toffee Bars with Shortbread Base
Make these addictive, salty-sweet toffee bars featuring a buttery shortbread crust, a chewy toffee center, and a rich chocolate topping. They are simple to prepare and perfect for gifting or serving at gatherings.
- Prep Time: 20 min
- Cook Time: 25 min
- Total Time: 145 min
- Yield: 24 bars 1x
- Category: Dessert
- Method: Baking
- Cuisine: American
- Diet: Vegetarian
Ingredients
- 1 cup unsalted butter, softened
- 1/2 cup granulated sugar
- 2 cups all-purpose flour
- 1/4 teaspoon salt
- 1 cup (2 sticks) unsalted butter
- 1 cup packed light brown sugar
- 1/4 cup light corn syrup
- 1 teaspoon vanilla extract
- 1/2 teaspoon baking soda
- 1 1/2 cups semi-sweet chocolate chips
- 1/2 cup chopped pecans (optional)
Instructions
- Preheat your oven to 350 degrees Fahrenheit. Line a 9×13 inch baking pan with parchment paper, leaving an overhang on the sides for easy removal.
- Prepare the shortbread base: In a large bowl, cream together 1 cup softened butter and 1/2 cup granulated sugar until light and fluffy.
- Gradually add the flour and salt. Mix until just combined to form a crumbly dough.
- Press the shortbread mixture evenly into the bottom of the prepared baking pan. Bake for 15 to 18 minutes, or until the edges are lightly golden brown.
- While the crust bakes, prepare the toffee layer: In a medium saucepan, combine 1 cup butter, brown sugar, and corn syrup. Cook over medium heat, stirring constantly, until the mixture reaches 290 degrees Fahrenheit on a candy thermometer (hard-crack stage). This takes about 8 to 10 minutes.
- Remove the saucepan from the heat. Stir in the vanilla extract and baking soda quickly; the mixture will foam up.
- Pour the hot toffee mixture evenly over the warm, baked shortbread crust. Sprinkle with chocolate chips immediately. Let the bars sit for 5 minutes to allow the chips to soften.
- Spread the melted chocolate chips evenly over the toffee layer. If using, sprinkle chopped pecans over the chocolate.
- Chill the bars in the refrigerator for at least 2 hours, or until completely firm.
- Use the parchment overhang to lift the slab from the pan. Cut into squares or bars using a sharp knife.
Notes
- For clean cuts, run your knife under hot water and dry it between slices.
- You can substitute milk chocolate chips for semi-sweet if you prefer a sweeter bar.
- These homemade toffee bars store well in an airtight container at room temperature for up to one week.
Nutrition
- Serving Size: 1 bar
- Calories: 250
- Sugar: 22
- Sodium: 85
- Fat: 16
- Saturated Fat: 9
- Unsaturated Fat: 7
- Trans Fat: 0
- Carbohydrates: 25
- Fiber: 1
- Protein: 3
- Cholesterol: 45