
There is something so purely joyful about a perfect dessert, isn’t there? It’s like a little burst of happiness made portable! Growing up in Ohio, my mom and grandmother always said the best memories weren’t in the big celebrations, but in the quiet moments shared over something sweet. That’s why I absolutely adore these mini cheesecake bites. They capture that rich, creamy New York style magic but in an easy, handheld format. Honestly, these individual cheesecake desserts mean I never have to stress about slicing a giant cake again. You get all the flavor payoff with none of the clean-up stress. If you are looking for more ways to bring people together with food, you should definitely check out my collection of delicious dessert recipes! Trust me, once you try a batch, they’ll become your go-to for every single gathering!
- Why This is the Best Mini Cheesecake Recipe You Will Make
- Gathering Ingredients for Your Mini Cheesecake Bites
- How to Prepare Easy Mini Cheesecakes Step-by-Step
- Tips for Perfecting Your Mini Cheesecake Bites
- Creative Mini Cheesecake Toppings and Variations
- Storage and Serving Your Delicious Mini Cheesecakes
- Frequently Asked Questions About Mini Cheesecake Desserts
- Nutritional Snapshot of Our Creamy Mini Cheesecakes
- Share Your Perfect Mini Cheesecake Creations
Why This is the Best Mini Cheesecake Recipe You Will Make
I know everyone claims they have the best mini cheesecake recipe, but I truly believe this one is a keeper! It’s the perfect marriage of classic indulgence and modern ease. You get that rich, tangy flavor that screams New York Style, but baked up small so they’re ready to go. Honestly, what’s not to love about creamy mini cheesecakes that don’t require a knife to serve?
Perfect Portions for Parties and Entertaining
This is my favorite part! When I host, the last thing I want is chasing down serving spoons or scraping up crumbs from a sliced dessert. These are wonderful handheld cheesecake treats. They are already portioned out, making them incredible party cheesecake ideas. Guests can grab one on a napkin and mingle. It’s incredibly simple entertaining!
Achieving Creamy Texture Every Time
If you’ve ever had a gritty cheesecake, you know the disappointment. The secret sauce here isn’t just the ingredients—it’s the temperature! Make sure your cream cheese is completely soft, room temperature soft, almost jiggly. And don’t even *think* about adding cold eggs! Giving your ingredients a little time on the counter before mixing is the number one way to ensure these are dreamy and smooth. You can learn more about making the absolute best version here: best mini cheesecake recipe ever.
Gathering Ingredients for Your Mini Cheesecake Bites
Okay, let’s talk about what you need to grab from the pantry. For these mini cheesecake bites, we aren’t messing around with substitutes, especially for the filling! We need proper dairy to get that rich flavor everyone expects from classic mini cheesecakes.
Crust Components Clarity
The base is super straightforward, but don’t skimp on melting that butter fully. You’ll need 1 1/2 cups of graham cracker crumbs, mixed with exactly 1/4 cup of granulated sugar. Then, you stir in 6 tablespoons of unsalted butter that is completely melted. That’s it for the bottom layer!
Filling Requirements for Classic Mini Cheesecakes
For the filling, the most important thing is the cream cheese—it has to be full-fat and truly softened, not just slightly cool. You’ll need a full 16 ounces of it. Mix that with 1 cup of sugar and a teaspoon of vanilla. And we need 2 large eggs, beaten one at a time. Oh, and if you truly want that fancy edge for your New York style mini cheesecakes, scratch in the zest from half a lemon here!
How to Prepare Easy Mini Cheesecakes Step-by-Step
Alright, let’s get these delicious treasures into the oven! Don’t let the word ‘baking’ fool you; honestly, these mini cheesecake preparations are so much simpler than wrestling a full-sized springform pan. We are using paper liners in a standard muffin tin, which is my favorite way to keep things neat. If you’re looking for super fast clean-up after dinner later this week, check out my quick weeknight dinners collection!
Baking the Crust and Filling the Cups
First things first, get that oven preheated to 325°F. While it warms up, you mix your crust ingredients—crumbs, sugar, melted butter—until it looks like wet sand. Then, scoop a small amount, about 1 1/2 tablespoons, into each paper liner and press it down *really* firmly. That’s how you get a good base! Bake those crusts for just five minutes to set them, then let them cool briefly. While they cool, whip up your filling. When you’re spooning that creamy goodness over the crust, stop filling about three-quarters of the way up. We need some room for puffing!
The Crucial Cooling Process for Perfect Mini Cheesecakes
This is where most people mess up their little treasures, so listen closely! Once the 18 to 20 minutes are up—and you should see the edges set but that center still needs to wiggle a bit—you turn the oven OFF. Don’t take them out! Just crack the door open a tiny bit and let them sit in there for a good 30 minutes. This slow cool-down is the secret handshake to prevent those annoying cracks in your beautiful tops. After that gentle warm-down, move them to a rack to finish cooling on the counter. Don’t even think about frosting them yet! They need a minimum of four hours in the fridge to become those perfect, slice-free individual cheesecake desserts.
Tips for Perfecting Your Mini Cheesecake Bites
Even though these are already so easy, I always want to give you those little nudges that elevate a good dessert into the one people ask about at every party. These tips help you turn these into truly fantastic, simple cheesecake desserts without adding much stress to your day. Baking should be fun, not fraught with worry!
Crust Swaps for Different Mini Cheesecake Bites
If you’re out of graham crackers, seriously, don’t panic! We’ve got options. The fundamental job of the crust is just to hold everything together nicely, and we can use sturdy cookies for that. I love swapping out graham crackers for vanilla wafers—they give a subtle, buttery flavor that’s just heavenly. If you’re feeling super decadent, crush up some chocolate sandwich cookies, like Oreos (filling and all!), and use those instead. You get an instant chocolate base for your mini cheesecake bites. Just remember to cut back slightly on the sugar in the crumb mix if your cookies are already sweetened!
Making the No-Bake Mini Cheesecakes Variation
I totally get that sometimes the oven just can’t be turned on, or maybe it’s ninety degrees outside, and you don’t want to heat up the house. Good news! You can absolutely make a no bake mini cheesecakes version of this recipe. To do this, skip steps 1, 4, 6, 7, 8, and 9 completely. After you press the crust firmly into the liners (don’t bake it!), just mix the filling ingredients, avoiding the eggs, and spoon that mixture right over the crusts. The crucial difference is the chill time. Instead of an overnight chill, you need to let these set up in the fridge for at least six hours, or until totally firm. They are unbelievably creamy this way, though they tend to be a bit softer than the baked ones. And hey, if you want to top these later with something truly special, I have a recipe for easy homemade soft chewy caramels that would be amazing drizzled over the top once they set!
Creative Mini Cheesecake Toppings and Variations
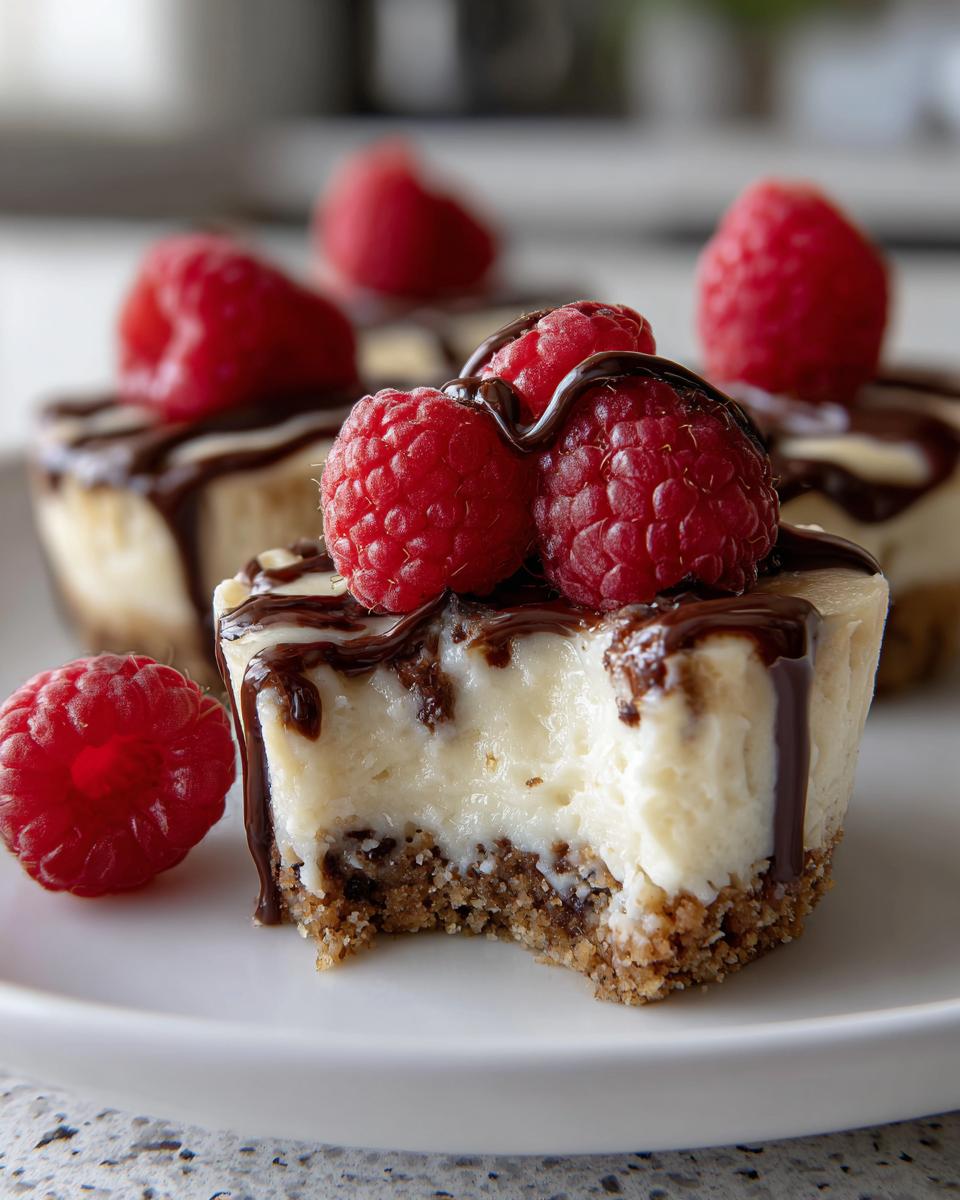
If you ask me, the final flourish on an individual dessert is what makes it truly memorable! These mini cheesecake bites have such a perfect, slightly tangy base that they just beg for some creative mini cheesecake toppings. Since they are so perfectly sized, you can afford to go big on the finish without worrying about anyone eating too much. You can check out my recipe for key lime cheesecake for more flavor inspiration, but let’s focus on dressing up these beauties first!
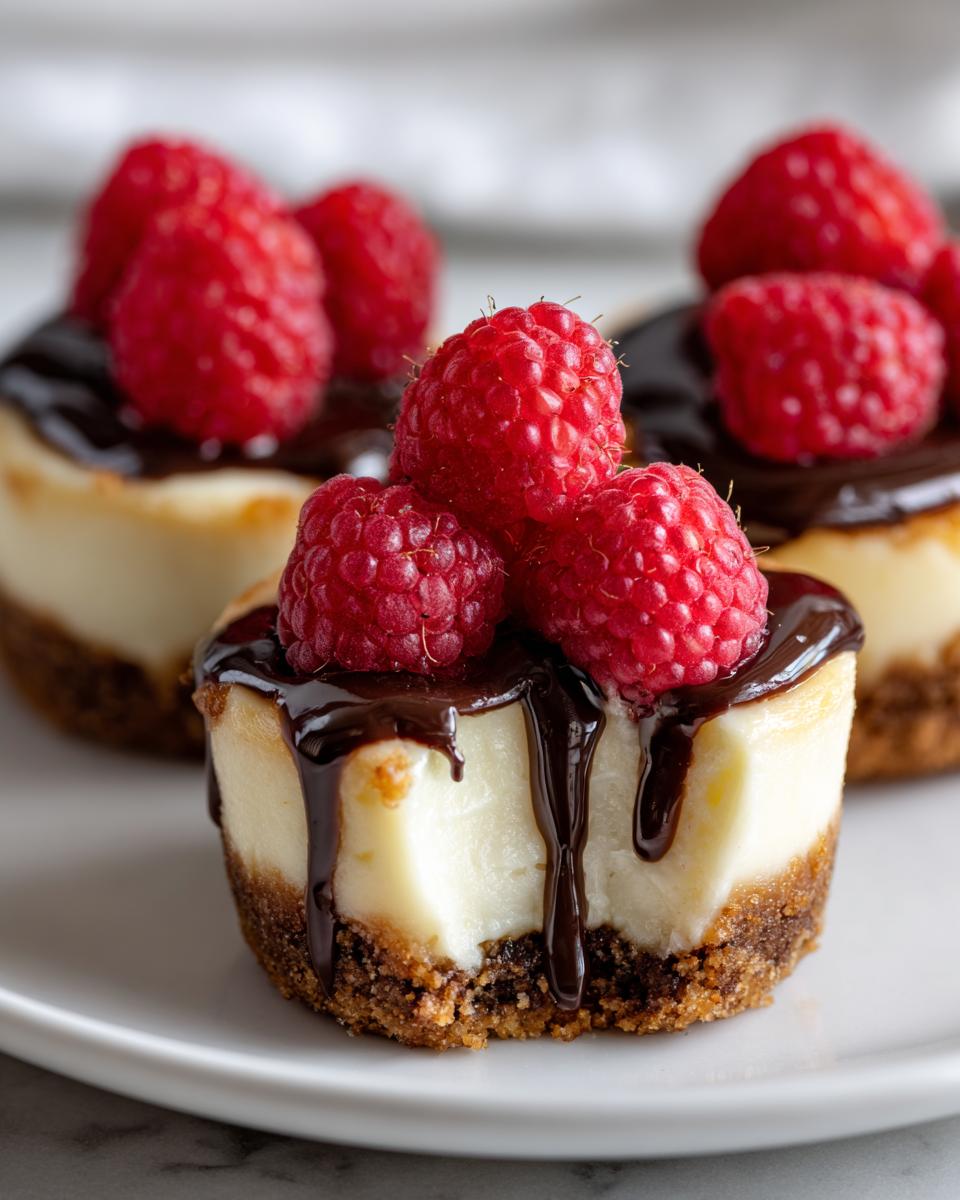
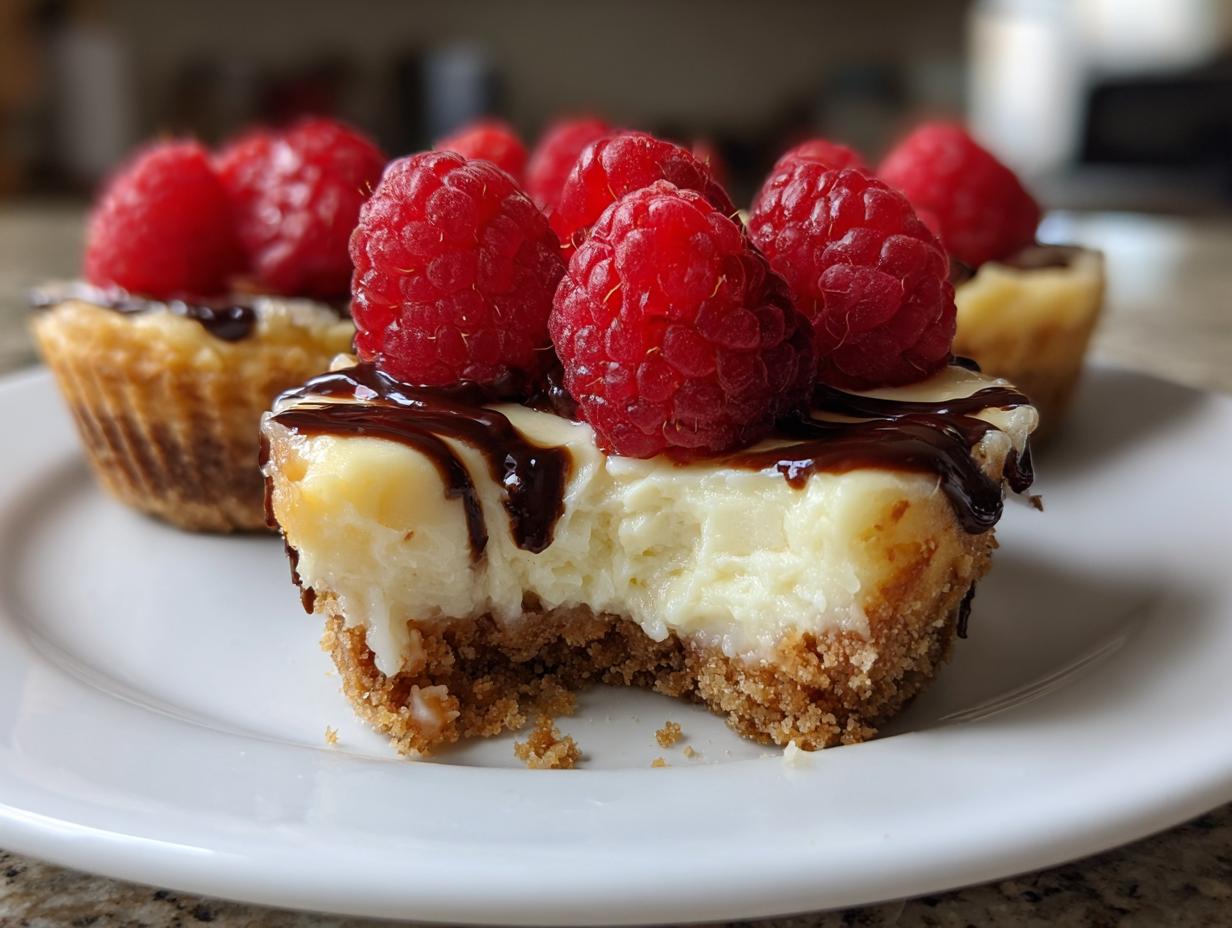
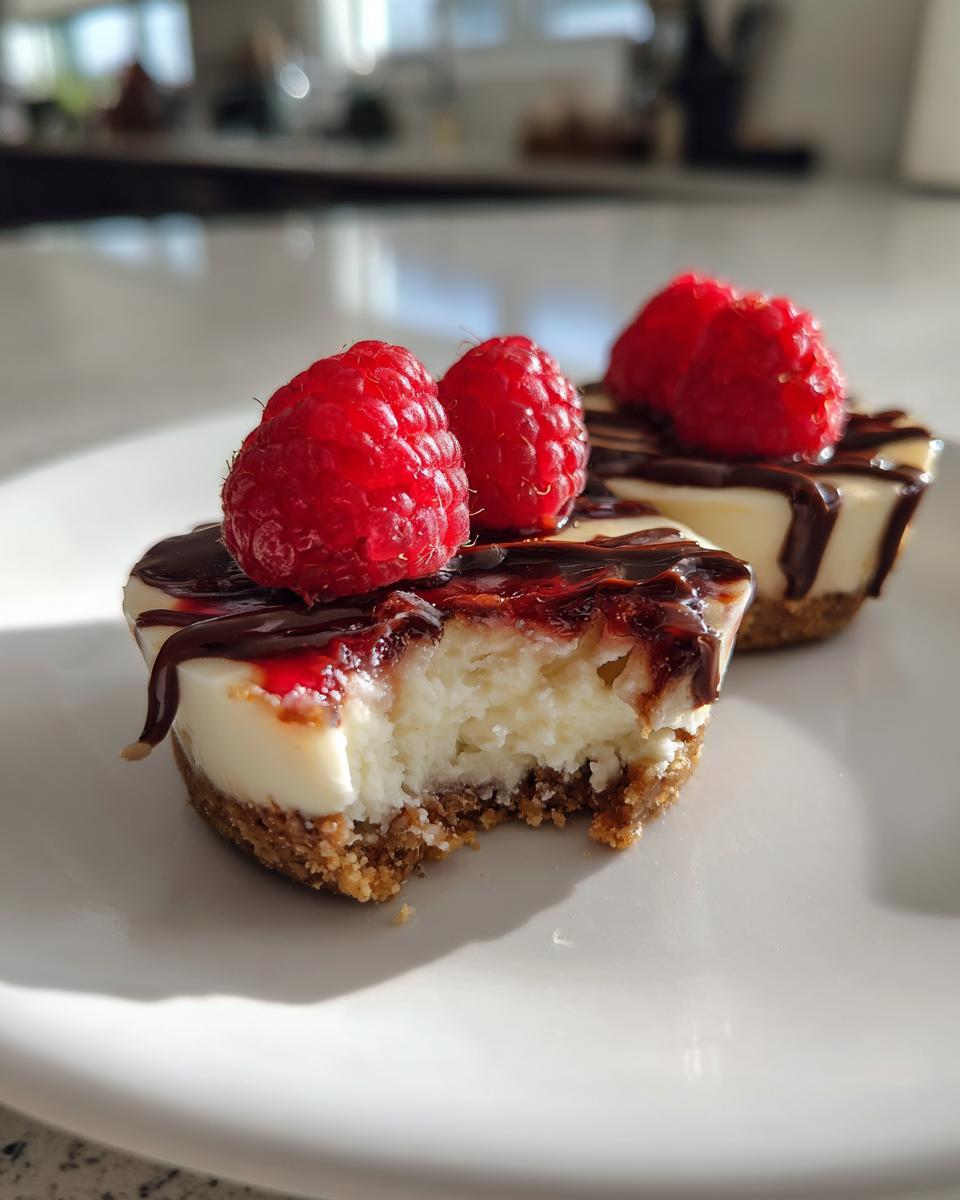
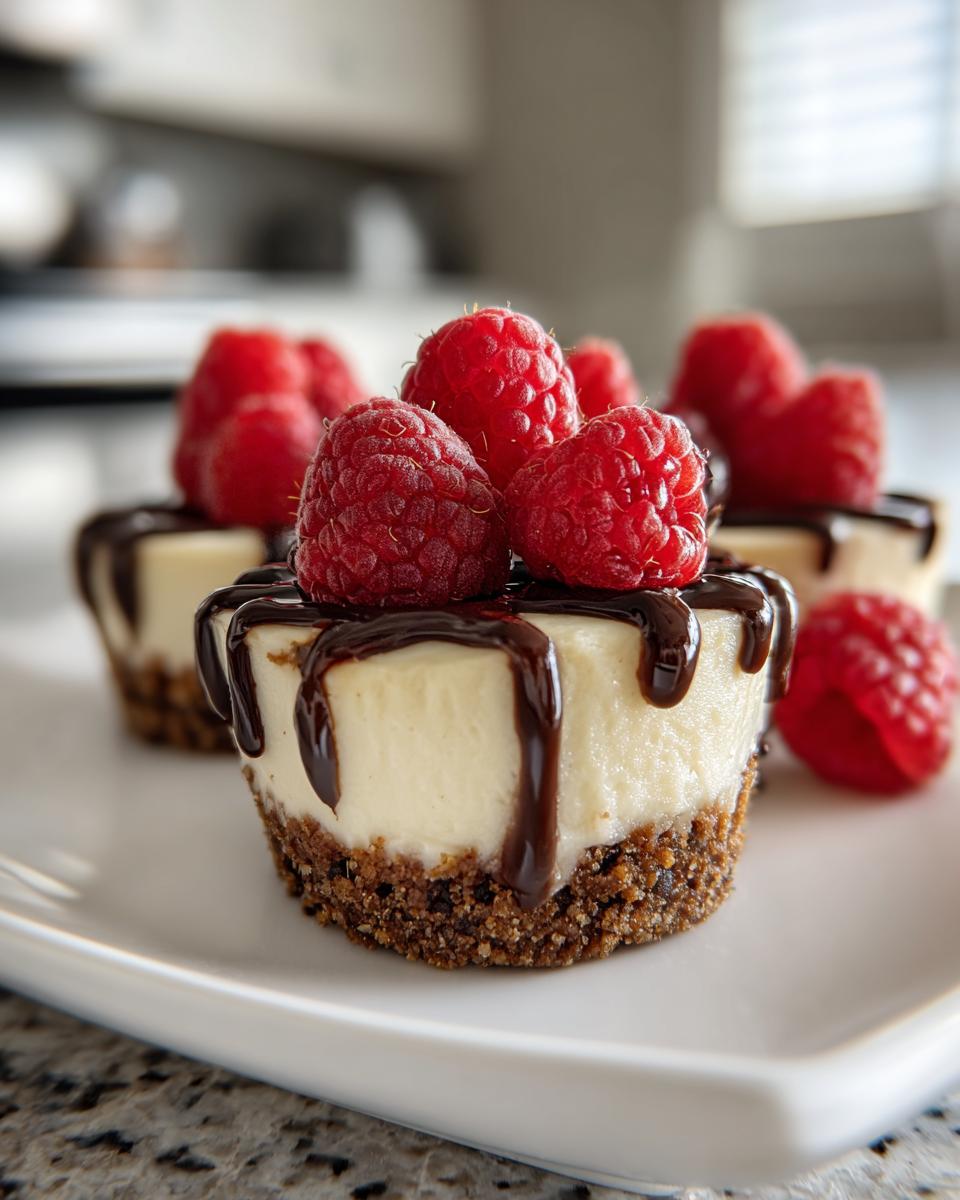
For the toppings listed in the recipe, application is key. If you’re using fresh berries, just pile a small handful right on top after they’ve chilled—the color contrast against the white filling is stunning. If you’re going for drizzly options, warm your caramel sauce or chocolate ganache just slightly so they flow nicely off a spoon. When I made them for a gathering, I found getting those toppings on just before serving kept everything looking super fresh. For inspiration on beautiful, customizable desserts that guests love, take a peek at this guide on impressive mini cheesecakes!
Flavor Twists for Your Next Batch of Mini Cheesecakes
Sometimes you want a little more excitement mixed right into the filling, and these handheld treats handle flavor changes like champs. If you want to make spectacular chocolate cheesecake bites, I highly recommend melting about 4 ounces of good quality semi-sweet chocolate and gently swirling it into about half of your prepared filling before spooning it into the liners. Don’t mix it aggressively; you want streaks of dark against the light!
Another winner is a peanut butter swirl. Take about half a cup of creamy peanut butter and just heat it for 15 seconds in the microwave so it’s runny. Dollop spoonfuls of it right on top of the filling in the cups before baking, and use a toothpick to swirl it down slightly. It bakes up beautifully! These little variations mean you can make three different kinds of great delicious mini desserts all from the same base dough. Isn’t that efficient?
Storage and Serving Your Delicious Mini Cheesecakes
The hardest part about these bite sized cheesecake treats is waiting for them to chill, but trust me, that wait is non-negotiable for the best texture! Once they are fully chilled—which is after that 4-hour minimum, but overnight is way better—they are ready to shine. Since these are designed for easy hosting, serving them is a breeze. You literally just peel off the paper liner. No messy forks, no awkward slicing required. They are instantly ready to go on a platter for your guests.
When it comes to storage, these keep wonderfully, which is fantastic if you are doing party prep ahead of time. Keep them in an airtight container in the refrigerator. They stay perfectly fresh and creamy for a good four to five days. If you top them with fruit or a whipped topping, though, I’d advise adding that right before serving, as fresh fruit can start to weep after the first day. If you’re not hosting a huge crowd, these are probably going to be your secret weeknight snack!
If you happen to have leftovers (which I highly doubt, but we can pretend!), you can absolutely freeze them—un-topped, of course! Wrap them tightly in plastic wrap and then in foil to prevent any freezer taste. They thaw beautifully on the counter for about an hour. These simple delicious dessert recipes are amazing because they hold up so well, meaning less waste and more chances to enjoy them later. Find more make-ahead friendly treats in my delicious dessert recipes section!
Frequently Asked Questions About Mini Cheesecake Desserts
It’s funny how the easiest mini dessert recipes always seem to bring out the most specific questions! I love hearing from you all because so many of these questions pop up with every batch I make, too. I’ve rounded up the few things folks ask me most often about keeping these mini cheesecake desserts perfect.
Can I freeze these mini cheesecakes?
Yes, you absolutely can, and this is a great trick if you’re prepping for a big event! If you are freezing baked ones, just let them cool completely, then wrap each one individually in plastic wrap—make sure they are tightly sealed! Then pop them into an airtight container. They keep great for about a month. When you want to serve them, just move them to the fridge the night before to thaw slowly. If you tried to freeze the no bake mini cheesecakes, they can get a little grainy when they thaw, so I always recommend baking them if you plan on freezing!
What is the best way to remove paper liners from mini cheesecake bites?
Oh, peeling those liners off can be tricky if the filling is too soft. My number one tip for these mini cheesecake bites is to make sure they are fully chilled—four hours minimum, remember? An even better secret is to chill them for an hour or two, and then, before that final long chill, gently run a very thin offset spatula around the edge of the paper liner, right near the crust line. It breaks the very slight sticking point. Then, when they’re totally firm, they peel away like butter! No tearing, no leaving bits stuck behind.
Why did my mini cheesecake filling crack?
This is the age-old baker’s sigh! When cracks happen on these little cheesecake cupcakes, it’s almost always due to temperature shock. Did you pull them straight out of the hot oven into the cold kitchen air? That sudden change makes the filling contract too fast. You need to enact my favorite slow-cool technique! Remember: turn the oven off, crack the door open, and let them hang out in that residual warmth for 30 minutes before taking them out to cool on the counter. That gentle transition is the difference between a smooth top and a fractured landscape. If you want to explore other simple treats, I have a fantastic recipe for easy no-bake chocolate eclair cake!
Nutritional Snapshot of Our Creamy Mini Cheesecakes
Now, I always feel a little bit naughty giving out nutritional information because, let’s be real, these are treats! They are for happy homes and shared moments, not for counting every single gram. However, I believe in total transparency here at Mia’s Meals, just like I said when we simplified our cooking philosophy. Knowing what’s in your food is important, even when it’s purely for indulgence.
Remember, these values are just estimates based on the recipe provided—they can shift a little bit depending on the brand of cream cheese or how much crust you managed to press down into the liner (I often use a little more!). But this gives you a good general idea of what you’re enjoying when you have one of these creamy mini cheesecakes. They really are perfect little powerhouses of flavor!
- Serving Size: 1 cheesecake bite
- Calories: 250
- Sugar: 18g
- Total Fat: 16g
- Protein: 4g
- Carbohydrates: 23g
- Cholesterol: 55mg
Enjoy them! We made them to be delicious, and that’s exactly what they are. Don’t let numbers stop you from savoring a wonderful, homemade, bite sized cheesecake moment.
Share Your Perfect Mini Cheesecake Creations
Well, that’s it! You’ve made the absolute best, easiest, and creamiest mini cheesecake treats, and I am so proud of you! That feeling when you pull them out of the fridge and the whole house smells faintly of vanilla and graham crackers? Nothing beats it.
Now, I really want to see what incredible work you’ve done! Please, take a moment to come back here and leave a quick rating—five stars if you love them as much as my family does! If you have a moment, drop a comment below telling me which topping you chose for your batch. Were you feeling classic with berries, or did you go bold with caramel?
Hearing from you and seeing your successes truly makes my day here at the kitchen table easier. If you ever have questions or just want to connect more about developing a happy home through simple food, feel free to reach out through my contact page. Happy baking, friend!
PrintEasy Mini Cheesecake Bites with Versatile Toppings

Make these simple, creamy mini cheesecake bites using a graham cracker crust. This recipe delivers the classic New York style cheesecake flavor in a perfect handheld portion, ideal for parties or quick desserts.
- Prep Time: 20 min
- Cook Time: 20 min
- Total Time: 4 hours 40 min
- Yield: 12 servings 1x
- Category: Dessert
- Method: Baking
- Cuisine: American
- Diet: Vegetarian
Ingredients
- 1 1/2 cups graham cracker crumbs
- 1/4 cup granulated sugar (for crust)
- 6 tablespoons unsalted butter, melted
- 16 ounces full-fat cream cheese, softened
- 1 cup granulated sugar (for filling)
- 1 teaspoon vanilla extract
- 2 large eggs
- Optional Toppings: Fresh berries, chocolate ganache, caramel sauce
Instructions
- Preheat your oven to 325°F (160°C). Line a standard 12-cup muffin tin with paper liners.
- Prepare the crust: In a small bowl, mix the graham cracker crumbs, 1/4 cup sugar, and melted butter until combined.
- Press about 1 1/2 tablespoons of the crumb mixture firmly into the bottom of each muffin liner.
- Bake the crusts for 5 minutes. Remove from the oven and let them cool slightly while you prepare the filling.
- Prepare the filling: In a large bowl, beat the softened cream cheese with an electric mixer until smooth.
- Add 1 cup of sugar and vanilla extract, mixing until just combined. Do not overmix.
- Beat in the eggs one at a time, mixing only until each egg is incorporated. Scrape down the sides of the bowl as needed.
- Spoon the cheesecake filling evenly over the cooled crusts, filling each liner about three-quarters full.
- Bake for 18 to 20 minutes, or until the edges are set but the centers still have a slight jiggle.
- Turn off the oven, crack the door open slightly, and let the cheesecakes cool inside the oven for 30 minutes. This prevents cracking.
- Remove the cheesecakes from the oven and let them cool completely on a wire rack.
- Chill the mini cheesecakes in the refrigerator for at least 4 hours, or preferably overnight, before serving.
- Top with your choice of fresh berries, chocolate ganache, or caramel sauce just before serving.
Notes
- For a no-bake version, skip steps 1, 4, 6, 7, 8, and 9. Chill the filling mixture in the lined cups for at least 6 hours until firm.
- Use full-fat cream cheese for the creamiest texture in your individual cheesecake desserts.
- If you want a New York Style mini cheesecake, slightly increase the vanilla and use only the zest of half a lemon in the filling.
Nutrition
- Serving Size: 1 cheesecake bite
- Calories: 250
- Sugar: 18
- Sodium: 200
- Fat: 16
- Saturated Fat: 10
- Unsaturated Fat: 6
- Trans Fat: 0
- Carbohydrates: 23
- Fiber: 1
- Protein: 4
- Cholesterol: 55