
We all get those moments, right? You’re hosting an impromptu gathering, or maybe you just successfully navigated a crazy week, and you desperately need something that tastes incredibly gourmet but doesn’t require you to stand over a double boiler for an hour. I hear you! That’s why finding the absolute easiest, yet most luxurious, chocolate mousse recipe has become a personal quest of mine. I’m thrilled because I finally cracked the code on the Easiest 3-Ingredient Silky Chocolate Mousse. This recipe embodies the Mia’s Meals mission: taking a classic favorite and making it dependable and simple for your busy home life. If you’re looking for more delicious dessert recipes that don’t stress you out, this is your starting point. Trust me, this rich, airy dessert feels fancy, but it’s shockingly fast to pull together.
- Why This Easy Chocolate Mousse Recipe Works for You
- Gathering Your Ingredients for Silky Chocolate Mousse
- Step-by-Step Instructions for Quick Chocolate Mousse
- Tips for Success in Making Homemade Chocolate Mousse
- Serving and Storing Your Creamy Chocolate Dessert
- Variations on the Classic Chocolate Mousse
- Frequently Asked Questions About This Chocolate Mousse
- Estimated Nutrition for This Decadent Chocolate Dessert
- Share Your Simple Sweet Treats Experience
Why This Easy Chocolate Mousse Recipe Works for You
When I set out to simplify classic desserts, I knew I had to keep the elegant factor—no one wants a dessert that tastes simple but looks plain! This method delivers purely decadent flavor with zero fuss. It’s designed specifically for the home cook who doesn’t have time to mess around with egg whites or complicated tempering.
- It’s unbelievably fast to assemble; you’ll have a quick chocolate mousse ready for chilling in about 15 minutes.
- The melt-and-whip technique guarantees that beautiful silky chocolate mousse texture we all crave, every single time.
- It requires almost no cleanup, which is honestly my favorite part!
The Magic of 3 Ingredient Chocolate Mousse
Seriously, just three things stand between you and dessert heaven! The magic here is that we skip the traditional French steps involving raw eggs or a lengthy ganache process. By melting high-quality chocolate into hot cream and then actively whipping that mixture once cooled slightly, we incorporate the air needed to make a truly light and airy mousse. It’s a brilliant no bake dessert that tastes like it took hours.
Perfect for Dinner Party Desserts
If you’re hosting, you know things get chaotic right before guests arrive. This is where this recipe shines. You mix it together the morning of, or even the night before, and let it chill. It holds up beautifully, looking sophisticated when presented in little glasses. Minimal active time means you get to actually enjoy your dinner party desserts alongside your guests instead of rushing back to the kitchen!
Gathering Your Ingredients for Silky Chocolate Mousse
When you’re working with something this simple, the quality of your few ingredients matters so much! This is how we hit that perfect, rich flavor in our chocolate mousse without adding extra sugar or stabilizers. Don’t skip the details here; they are what makes the difference between a good mousse and an absolutely spectacular one.
- 1 cup heavy whipping cream
- 6 ounces dark chocolate (at least 70% cacao), finely chopped
- 2 tablespoons granulated sugar
See? That’s it! Four lines of instructions and only three things on the shopping list. I used to stand over these bowls, wondering why my mousse never set right until I looked closely at Grandma’s notes. She was obsessed with the chocolate percentage, and I am too now!
Ingredient Notes and Substitutions
Let’s talk quality control because that’s what separates a quick treat from a decadent one. You absolutely need that heavy whipping cream—anything with less than 35% fat just won’t whip up properly, and we need that air structure!
For the chocolate, aim high! I specify 70% cacao because the higher cocoa content allows the cream to stabilize better when we whip it, giving you a stronger, slightly less sweet, and truly luxurious flavor. Plus, it helps that mousse stay firm when it chills.
If you try using milk chocolate instead of dark, the mousse will be sweeter and much softer. It might need longer chilling time or might not set up as firmly, which is why I always prefer the good dark stuff for this recipe. You can grab a great brand of dark chocolate right here if you need a link!
Also, make sure you chop that chocolate finely! If the pieces are too large, the hot cream won’t melt them evenly, and you’ll spend ages whisking out lumps. I use a small paring knife for this—it makes quick work of it, though my neighbor swears by grating it if she’s feeling lazy. I also keep an eye out for good deals on baking supplies like the ones I find when I’m stocking up on supplies for my caramel recipe.
Step-by-Step Instructions for Quick Chocolate Mousse
Alright, let’s get this incredible chocolate mousse made! I’ve laid out the precise steps from the recipe below, but pay close attention to the timing and the temperatures—that’s where the texture miracle happens. We aren’t making a thick, heavy pudding here; we are aiming for something light and dreamy, which means temperature control is everything!
Creating the Chocolate Base
First, put your 6 ounces of finely chopped dark chocolate into a heatproof bowl. Then, heat up that heavy cream with the sugar in a saucepan until you see tiny little bubbles forming around the edge—don’t let it actually boil like crazy! Pour that hot cream right over the chocolate. Here is the crucial part: walk away! Let it sit there, doing its job, for five full minutes without touching it. After that rest, whisk it gently until it looks glossy and perfectly smooth. Now, you must let this mixture cool down until it’s just lukewarm—I usually give it about 20 minutes on the counter. If it’s hot, it will completely melt the air right out of the cream later!
Achieving Light and Airy Mousse Texture
Once that chocolate base is only lukewarm, it’s time to introduce the air! Grab your electric mixer (or a whisk if you want an arm workout!) and start whipping the mixture. You are whipping the base itself until it turns noticeably lighter and starts to develop soft peaks. If you keep going past that point, you might feel it getting too stiff and grainy—that’s over-whipping, and we want velvety, not grainy!
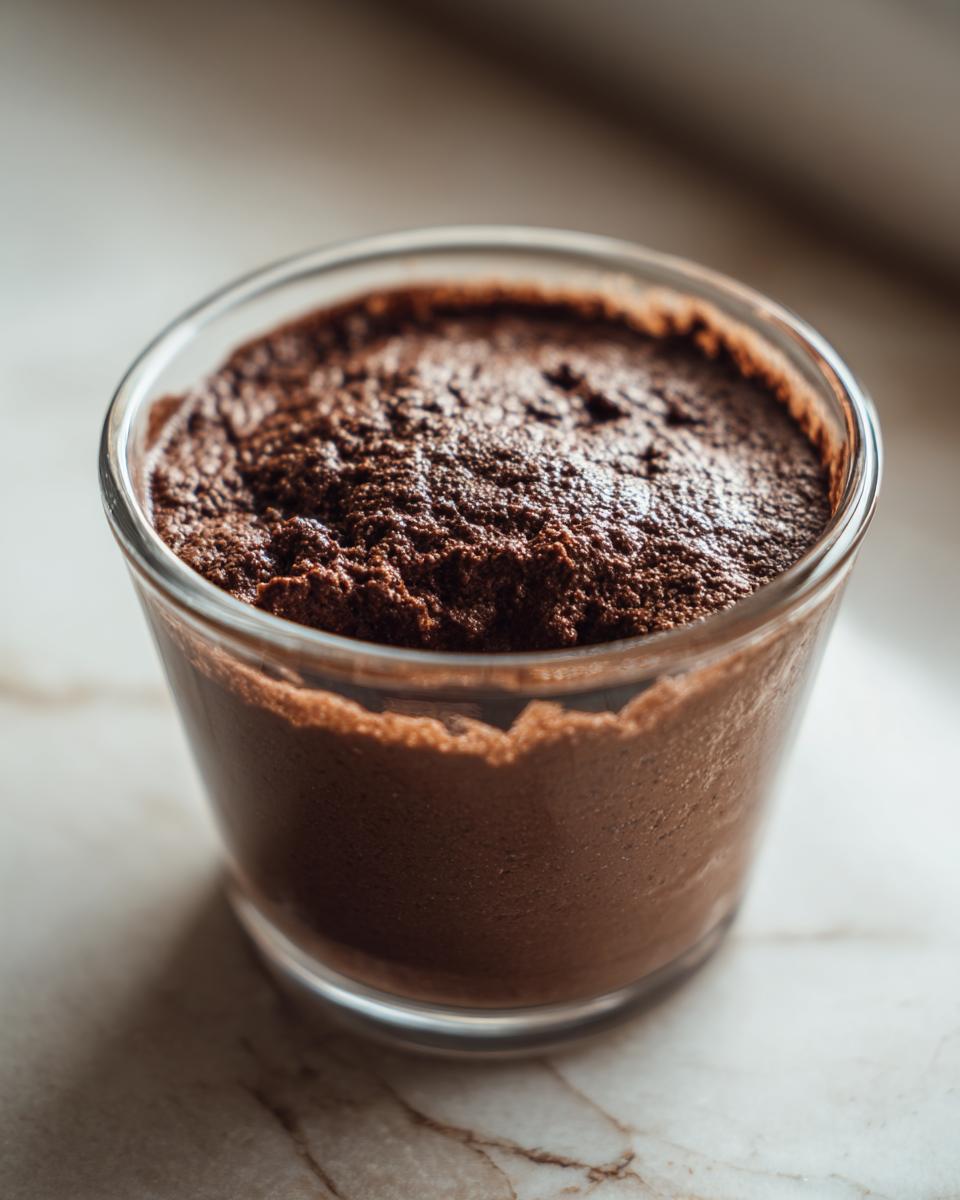
After you hit those soft peaks, get that mousse into your little individual serving cups. Don’t forget they need to chill for at least four hours. You can sneak a taste test, but that chilling time is non-negotiable for the final texture. If you’re interested in diving deeper into the proper techniques of French desserts, check out this piece from Baker Street Society, but honestly, this simplification is my go-to!
Tips for Success in Making Homemade Chocolate Mousse
Making truly great homemade chocolate mousse isn’t just about following steps; it’s about listening to the ingredients. I learned this the hard way years ago when I was trying to impress my in-laws for the first time. I rushed the cool-down phase, and when I whipped that lukewarm base, I managed to create something that looked fluffy for about thirty seconds before weeping sadly into a dense, oily blob. Total disaster!
The lesson? Temperature control is king here. When you get that chocolate base to lukewarm (not warm, not cold—just slightly above room temperature), it has enough body to hold the air without completely melting the fat structure when you start whipping. Always trust your touch on that one. Don’t use a spoon to check the temperature religiously; use your clean finger for a quick sense check.
Secondly, the chilling process cannot be rushed. I know you’re eager to taste it, especially if you made this for a last-minute dessert, but those four hours (or overnight!) are essential. That time allows the cocoa butter to firm up properly, giving you that signature, beautiful melt-in-your-mouth structure. If you try serving it after only an hour in the fridge, it’ll be more like a thick, sloppy frosting than a delicate mousse. Patience truly pays off with this simple sweet treat.
If you’re looking for other foolproof baking guides that rely on that same patient attention to detail, you might want to check out my guide on making the best soft, chewy chocolate chip cookies. It’s all about managing textures!
Serving and Storing Your Creamy Chocolate Dessert
Once your creamy chocolate dessert has firmed up after chilling, it’s time for the best part: the reveal! Presentation makes such a difference, especially when you’ve worked hard on something that tastes this decadent. The good news is that since this recipe is so simple, you don’t need complicated techniques to make it look like it came from a fancy bakery case. I love that we can make this ahead of time, too. The notes say you can prep this up to 24 hours in advance, making it a true lifesaver for any bustling cook hosting a dinner party!
Presentation Ideas for Individual Chocolate Mousse Cups
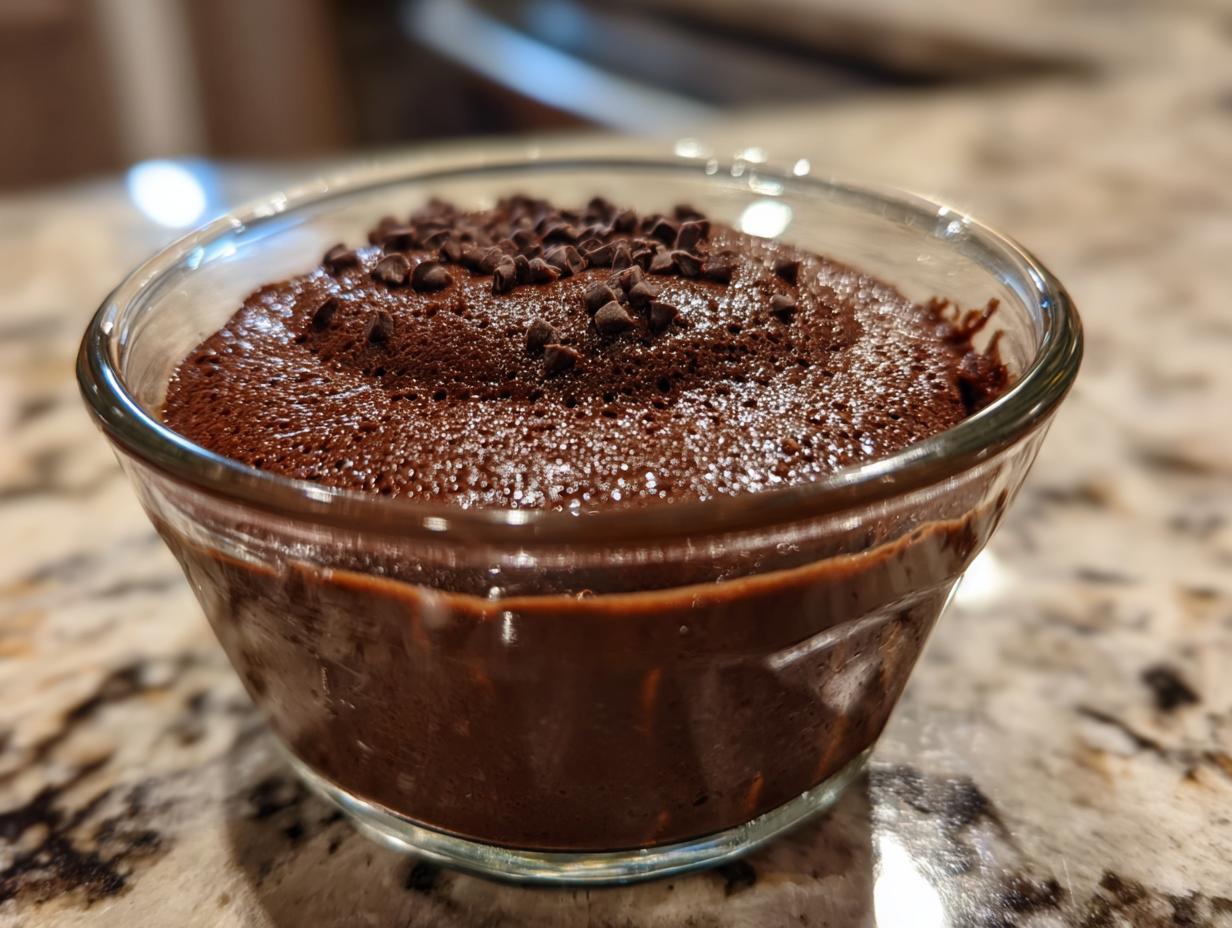
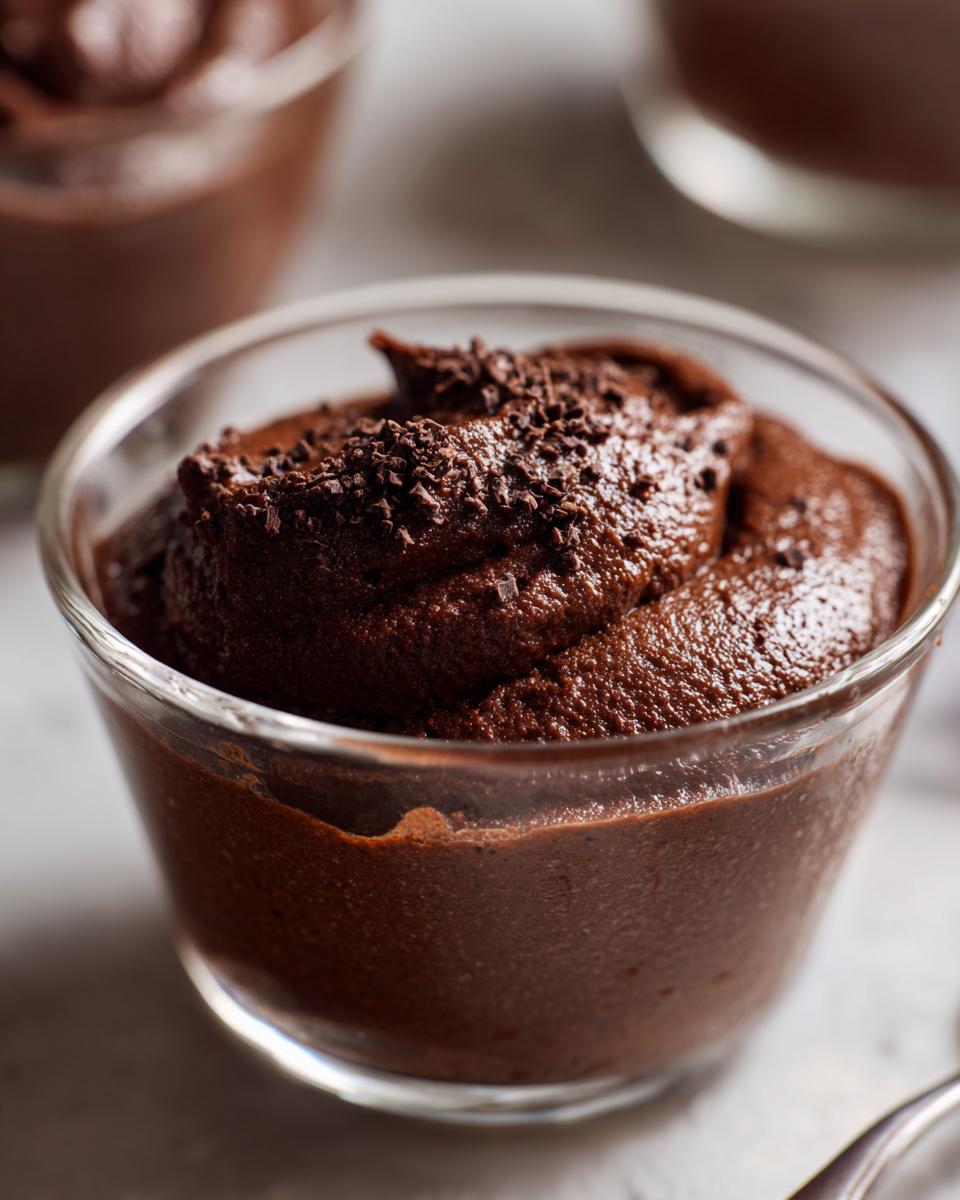
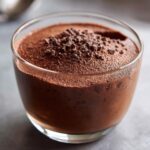
This recipe is perfectly portioned for four servings, which makes creating individual chocolate mousse cups incredibly easy. Whether you’re using small wine glasses, cute little ramekins, or even espresso cups for a tiny, elegant bite, just spoon the chilled mousse in gently. The little indentations around the top of the mousse look so inviting!
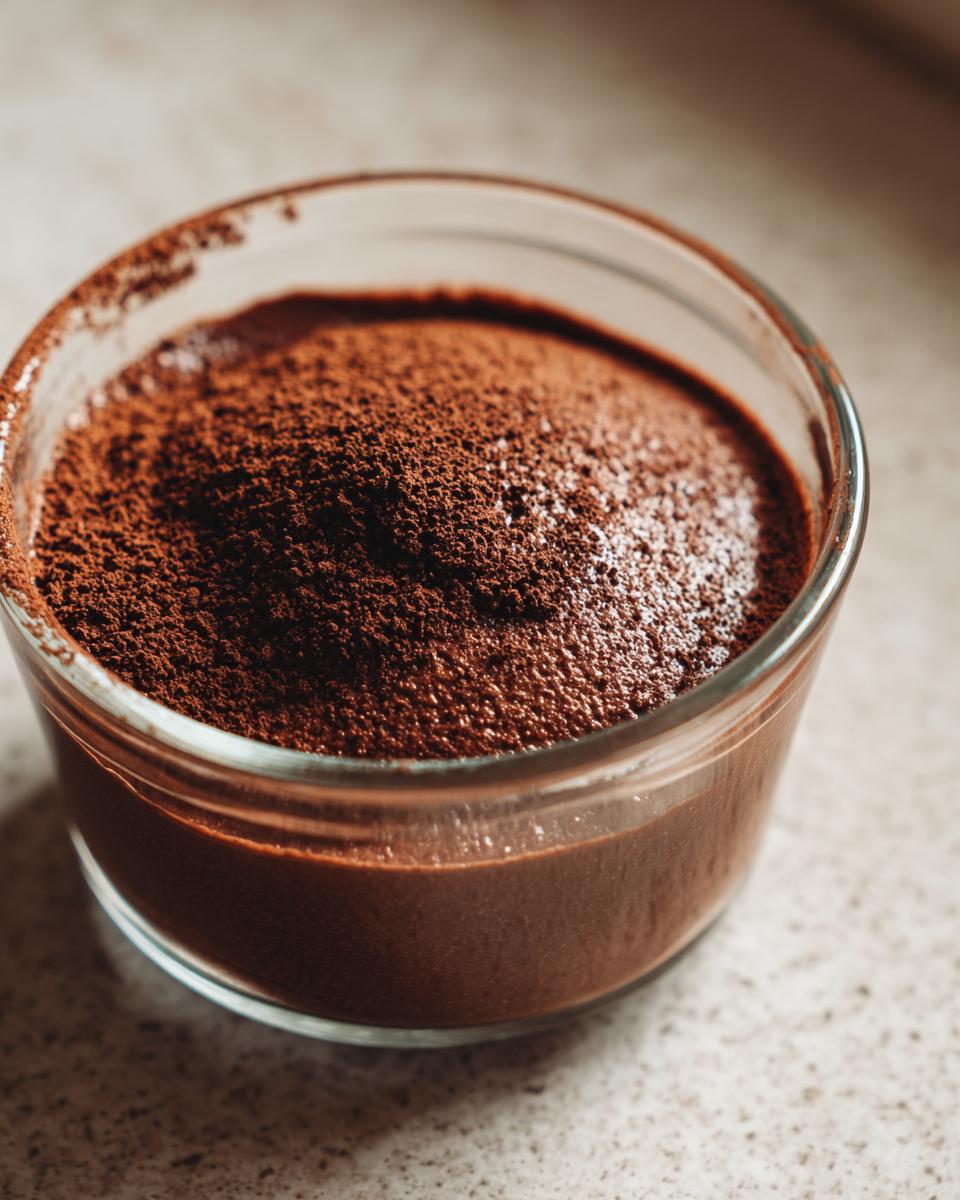
For a little flourish, I always stick to the simplest toppings. A small dollop—and I mean small, we want to see the mousse!—of freshly whipped cream on top looks great. Then, take a vegetable peeler and shave off a few curls of your dark chocolate right over the top. The contrast between the pale cream and the dark shavings is just stunning. If you feel like getting extra fancy, a tiny sprinkle of sea salt balances the sweetness beautifully.

If you’re transporting these or leaving them out on a buffet for a while, just keep them covered in the fridge until the absolute last minute. They hold their shape perfectly as long as they stay chilled. If you end up with leftovers (unlikely here!), cover the cups tightly with plastic wrap and they stay divine for a couple of days. Leftovers are best eaten while curled up on the couch, maybe after enjoying a slice of my banana cream pie!
Variations on the Classic Chocolate Mousse
Just because this recipe keeps things to three core ingredients doesn’t mean we can’t play around with it a little bit! Everyone loves a good chocolate mousse, but sometimes you want to give it a signature twist that makes it exclusively yours. Luckily, since we aren’t dealing with delicate egg yolks or whites here, adding a splash of an extract or a pinch of spice is super easy and doesn’t mess up the structure at all. These little tweaks are what turn a simple sweet treat into something memorable!
For example, when I’m making this for a grown-up dinner party, I almost always add a tiny flavor booster to the hot cream right before I pour it over the chocolate. A quarter teaspoon of pure vanilla extract works wonders, adding depth that makes people ask what secret ingredient I slipped in there.
If you’re looking for something a bit more exciting—maybe you’re trying to impress someone special—try a little something extra:
- A Hint of Orange: Stir in about half a teaspoon of high-quality orange extract along with the vanilla. That classic chocolate-orange pairing is pure elegance.
- Spicy Kick: A tiny pinch (and I mean tiny!) of cayenne pepper stirred into the dry sugar before heating the cream gives the mousse a warm, lingering heat on the tongue that is just divine after a rich meal.
- Mint Chocolate Dream: Swap out the granulated sugar for brown sugar, and add a few drops of peppermint extract after the base has cooled slightly. This is fantastic when served with chocolate shavings on top.
If you’re feeling really ambitious and want to skip dessert entirely in favor of a layered masterpiece, you could always use this mousse as a filling, kind of like mentioned in this decadent chocolate mousse brownies recipe inspiration. But for a straightforward, fast, and impressive dessert, sticking to simple flavor additions is the way to go!
If you’ve mastered this technique and want to try something slightly different but still within the easy-baking realm, I have a wonderful recipe for a moist lemon pound cake that is just fantastic in the spring!
Frequently Asked Questions About This Chocolate Mousse
I always get a flood of questions when I post a recipe that seems almost too simple, and with good reason! You want to make sure your dessert looks fancy but tastes perfect. Getting that luxurious texture right is usually the first hurdle people worry about, but don’t you worry. I’ve gathered the most common things folks ask about this easy chocolate mousse recipe so you can bake (or chill!) with total confidence.
Can I make this chocolate mousse without eggs?
Yes, absolutely! The very best part about this specific method is that it is naturally egg-free! We are using the fat and air incorporated into the heavy cream to create that structure, rather than relying on whipped egg whites or yolks. Traditional mousse au chocolat often uses eggs, but I ditched them because let’s be honest, raw eggs can be a real worry for home cooks, especially when you need a last minute dessert idea or are serving kids. By whipping the melted (and cooled!) chocolate base aggressively, we incorporate all the necessary air—no eggs required!
How do I ensure my mousse is velvety and not grainy?
This is the make-or-break moment, and it all comes down to one critical word: temperature. Remember how I emphasized letting that melted chocolate base cool down until it’s only lukewarm? If that base is too hot when you start whipping, it melts the fat in the heavy cream, and you end up with a loose, oily mess that never sets quite right, or worse, it ends up grainy. You want it cooled enough so that when you dip your pinky in, it feels just slightly warm, definitely not hot enough to burn.
When you whip it, stop right at the soft peak stage, too! If you whip it into actual stiff peaks like you would for plain whipped cream, the structure becomes too tight and you lose that beautiful, delicate mouthfeel we are aiming for. We want a texture that’s almost like a velvety chocolate pudding but lighter—the slow chill time helps everything settle into that perfect, smooth state. This attention to warmth is what guarantees that homemade chocolate mousse feels rich without being heavy!
If you are worried about quick baking in general, I have some simpler snack ideas you can check out over on my easy breakfast ideas page—sometimes sweet treats just need to be fast, not fancy!
If you’re looking for more quick, no-fuss dessert inspiration, my readers always rave about these chocolate mousse cups—they are basically an instant classic!
Estimated Nutrition for This Decadent Chocolate Dessert
I always get a few emails asking about the nutrition facts, which is totally fair, especially when you’re serving something this rich! Since this is such a simple recipe, the numbers usually stabilize quite nicely, but remember that how you serve it matters! If you double up on the garnishes, those calorie counts will creep up, obviously.
This is based on breaking the full batch (4 servings) into equal portions. Please take these numbers as a general guideline for this amazing, decadent chocolate dessert. The precise values depend heavily on the exact brand of dark chocolate you choose.
- Serving Size: 1 cup (per estimated serving)
- Calories: 380
- Sugar: 18g
- Fat: 32g
- Protein: 5g
- Total Carbohydrates: 22g
- Fiber: 3g
- Cholesterol: 105mg
When I look at these numbers, what stands out to me is the fat content—that’s where all the creamy, silky magic comes from with the heavy cream! But honestly, for something that tastes this luxurious and requires zero baking, I think it’s a fantastic reward after a busy week. If you’re watching your sugar intake, remember that switching to an unsweetened chocolate option will drastically cut that sugar number down.
We’re focused on flavor and ease here at Mia’s Meals, but if you’re looking for recipes that lean more heavily into the macros, you should check out my guide on easy protein muffins! It’s always nice to have options when you’re cooking for the family.
Share Your Simple Sweet Treats Experience
Well, that’s it! You’ve made it through the chilling time—which I know takes serious willpower—and now you have your own batch of incredibly easy, unbelievably rich chocolate mousse sitting in the fridge! I am so excited for you to dig into this!
Creating these simple recipes for you is truly the heart of Mia’s Meals. It brings me so much joy knowing that something that tastes like a gourmet French dessert only took you about 15 minutes of active time. Now, I need to know: How did it turn out? Did you use the dark chocolate or try that spicy cayenne twist I mentioned?
Please, please, please come back and leave a rating for this recipe right here on the site! Clicking those five stars lets me know that this easy chocolate mousse recipe is working for other busy folks just like me. Your feedback is what helps me keep simplifying those classic favorites that we all love.
If you snapped a picture of your beautiful individual chocolate mousse cups—maybe garnished with those fancy chocolate curls—I would absolutely love to see them! Tag me on social media so I can share in your success. It’s moments like those, seeing your beautiful food out there in the world, that makes all the recipe testing worth it.
If you have any lingering questions after making this, or maybe an idea for another classic dessert that you wish I would simplify next, don’t hesitate to reach out! You can always send me a direct message via my contact page. Happy serving!
PrintEasiest 3-Ingredient Silky Chocolate Mousse
Make this unbelievably easy, silky chocolate mousse using only three ingredients. It creates a light, airy, and decadent dessert perfect for any dinner party or last-minute sweet treat.
- Prep Time: 15 min
- Cook Time: 0 min
- Total Time: 4 hr 15 min
- Yield: 4 servings 1x
- Category: Dessert
- Method: No Bake
- Cuisine: French
- Diet: Vegetarian
Ingredients
- 1 cup heavy whipping cream
- 6 ounces dark chocolate (at least 70% cacao), finely chopped
- 2 tablespoons granulated sugar
Instructions
- Place the chopped dark chocolate in a medium, heatproof bowl.
- In a small saucepan, heat the heavy whipping cream and sugar over medium heat until it just begins to simmer around the edges. Do not let it boil rapidly.
- Pour the hot cream mixture over the chopped chocolate. Let it stand undisturbed for five minutes to allow the chocolate to melt completely.
- Whisk the mixture gently until it is completely smooth and glossy. This is your chocolate base. Let this base cool at room temperature until it is lukewarm, about 20 minutes.
- Once the chocolate base is lukewarm, use an electric mixer or a whisk to whip the mixture until it becomes light, airy, and holds soft peaks. This incorporates the air needed for a light and airy mousse.
- Spoon the mousse into individual serving cups or ramekins.
- Chill the chocolate mousse in the refrigerator for at least four hours, or until firm.
- Serve cold for a truly decadent chocolate dessert experience.
Notes
- For an extra elegant presentation, top the chilled mousse with a dollop of fresh whipped cream and chocolate shavings before serving.
- You can prepare this rich chocolate recipe up to 24 hours ahead of time, making it a perfect make ahead dessert for dinner parties.
- If you prefer a slightly sweeter taste, use milk chocolate, but note that the texture may be slightly less stable.
Nutrition
- Serving Size: 1 cup
- Calories: 380
- Sugar: 18
- Sodium: 35
- Fat: 32
- Saturated Fat: 19
- Unsaturated Fat: 13
- Trans Fat: 0.5
- Carbohydrates: 22
- Fiber: 3
- Protein: 5
- Cholesterol: 105