
You know those moments? It’s 3 PM, the kids are melting down, or you’ve just finished a killer workout, and you desperately need something cold, quick, and good for you? My busy life as a mom and trying to run this whole site means my freezer is my best friend. I swear, if I have to bake something elaborate, it’s just not going to happen during the week! That’s why I live for super simple, make-ahead treats.
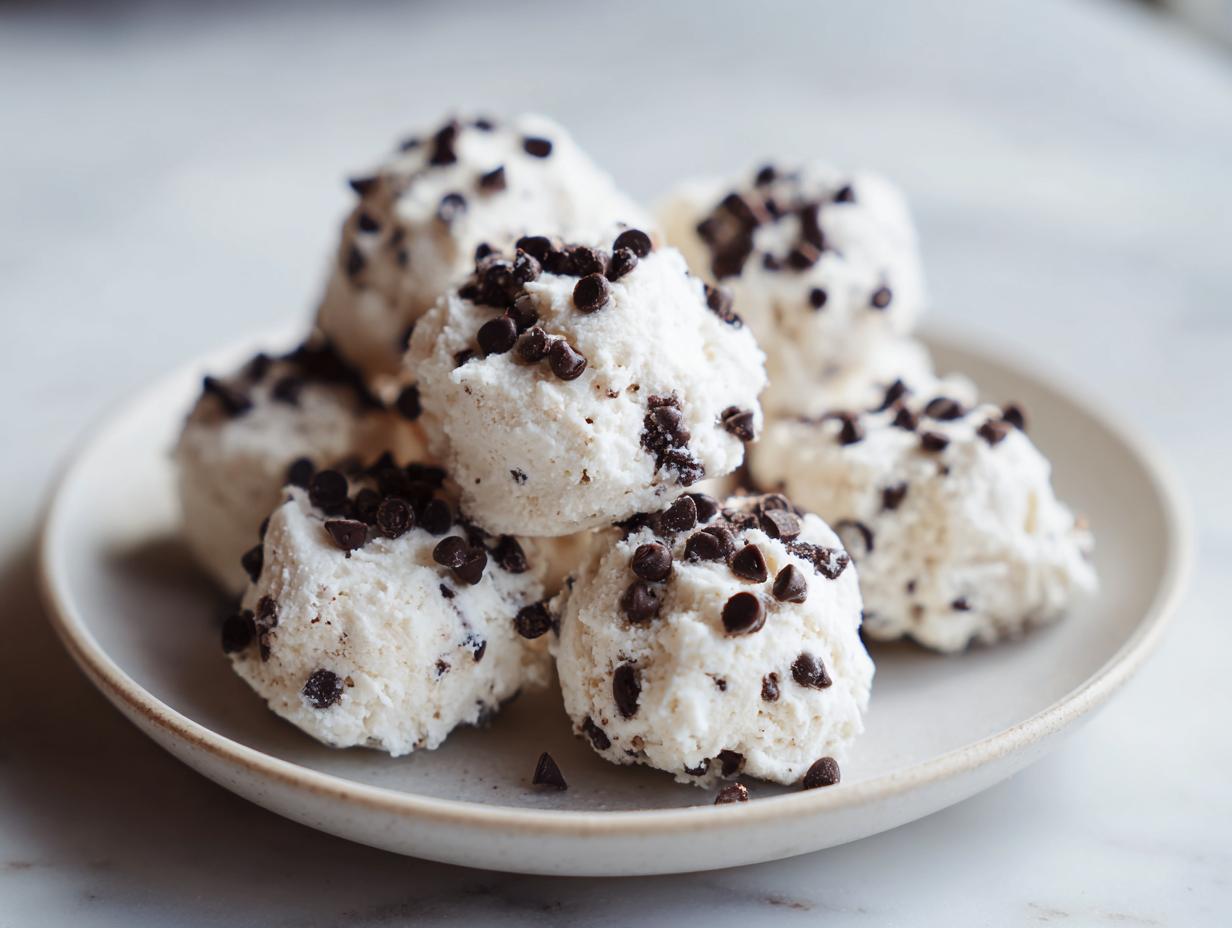
When the craving for something sweet but protein-packed hits, nothing beats these **frozen greek yogurt peanut butter bites**. Seriously, they come together in about ten minutes of active time, and then the freezer does all the heavy lifting. It captures that simple, comforting flavor we love—peanut butter and sweet tang—in a perfectly portioned, high-protein snack. This recipe is pure Mia’s Meals philosophy: maximum joy, minimal fuss. You can read more about my philosophy over on the About page, but for now, let’s get mixing!

- Why You Will Love These Simple frozen greek yogurt peanut butter bites
- Gather Your Ingredients for the frozen greek yogurt peanut butter bites Recipe
- How to Prepare Your Easy no bake yogurt desserts: frozen greek yogurt peanut butter bites
- Tips for Perfect frozen greek yogurt peanut butter bites Every Time
- Storage and Make Ahead Tips for Freezer friendly peanut butter snacks
- Variations on the Greek yogurt frozen bites recipe
- Serving Suggestions for your Mini Greek yogurt peanut butter cups
- Frequently Asked Questions About frozen greek yogurt peanut butter bites
- Nutrition Estimate for Homemade frozen greek yogurt peanut butter bites
Why You Will Love These Simple frozen greek yogurt peanut butter bites
This recipe absolutely saves me during those hectic mid-week slumps! If you’re looking for a snack that tastes like a treat but secretly functions as healthy fuel, this is it. Forget complicated steps; these bites are designed for real life. Trust me, you’ll be pulling these out all the time!
- The preparation time is unbelievably fast—we’re talking less than 10 minutes before they hit the freezer.
- They are packed with protein thanks to that Greek yogurt, making them fantastic **high protein frozen treats** for recovery or keeping you full until dinner.
- No oven required, ever! This is purely a mixing and freezing process, perfect for hot days or when you just don’t want the oven on.
- They satisfy that creamy, salty-sweet craving without any guilt. It’s dessert territory, but you can eat it for breakfast!
- Portion control is built right in! Since they are small, you just grab one or two, making them perfect for curbing overeating.
- These are wonderful for making ahead; you can batch them on Sunday and have snacks ready for nearly a week. Check out my ideas for easy breakfast ideas that use similar make-ahead strategies!
Gather Your Ingredients for the frozen greek yogurt peanut butter bites Recipe
Okay, let’s get these simple ingredients lined up. This is the beauty of this recipe—you probably have most of this stuff already! You need one big cup of plain Greek yogurt, and I always recommend using the full fat or 2% because it freezes up much nicer than the non-fat version. Then, half a cup of creamy peanut butter—none of that all-natural runny stuff unless you want to drain it first! If you like a little sweetness, grab two tablespoons of maple syrup or honey, though you can totally skip it.
A splash of vanilla extract brings everything together. We also have optional mini chocolate chips for decorating the top. If you’re planning ahead, check out my thoughts on healthy lunch recipes—these bites are the perfect addition to a packed lunch box!
Ingredient Substitutions and Notes
Don’t stress if your pantry doesn’t match my list exactly! If you use a thicker yogurt, like Icelandic Skyr, you might find you need just a tiny splash of milk or water to help it blend easily. When it comes to the peanut butter, conventional works best because the added stabilizers keep the bites creamier when frozen. If you skip the maple syrup entirely, they will be much less sweet, which is great if you are watching sugar, but they might feel slightly icier.
How to Prepare Your Easy no bake yogurt desserts: frozen greek yogurt peanut butter bites
Getting these ready takes basically no time at all—we’re talking ten minutes of active work, and then you let the freezer handle the rest! These are the ultimate set-it-and-forget-it **easy no bake yogurt desserts**. The key here is patience at the mixing stage, which guarantees you get that creamy, delicious result instead of something grainy. If you are planning your week, these are wonderful to whip up right after dinner so they are ready for lunch packing the next day! You can find more time-saving inspiration on my page dedicated to quick weeknight dinners.
Mixing the Peanut Butter Yogurt Base
First things first, make sure your tin or sheet is lined! That saves so much trouble later. Now, grab your bowl. You want to get the yogurt, peanut butter, vanilla, and sweetener (if you’re using it) all in there together. Don’t just stir it lazily! You are mixing until it’s velvety smooth. Use your spatula to really scrape the sides and the bottom of the bowl several times. We need every bit of that peanut butter fully incorporated so we don’t end up with pockets of plain yogurt once they freeze solid. This is crucial for that perfect flavor payoff!
Portioning and Freezing the frozen greek yogurt peanut butter bites
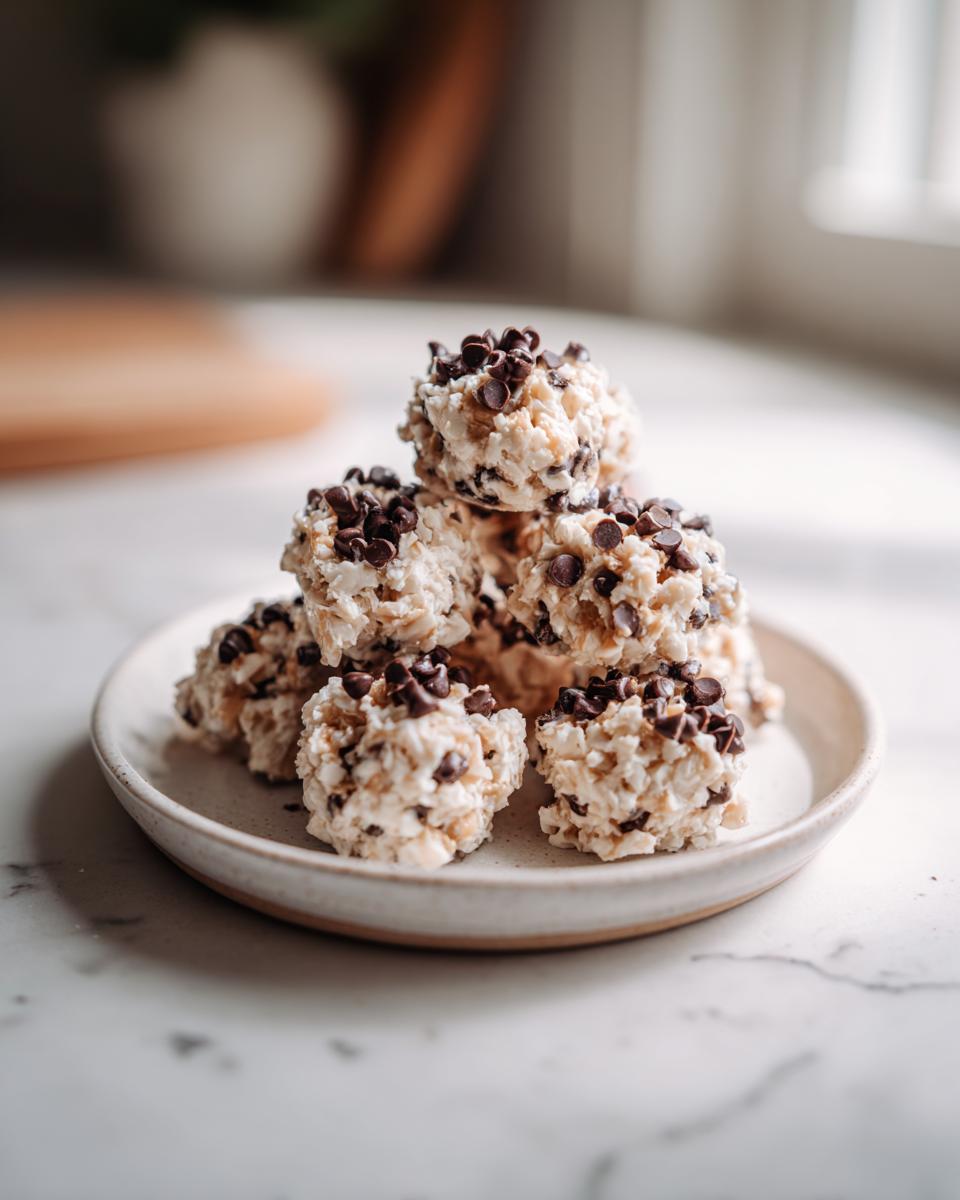
Once the base is perfectly blended, it’s time to portion them out. I love using my mini muffin tins lined with silicone cups—they pop right out! Spoon that smooth mixture into your liners, filling them about three-quarters full. If you’re feeling fancy, this is when you gently press just a couple of those mini chocolate chips right on top of each bite. That little crunch is worth the effort! After everything is portioned, get them straight into the freezer. You absolutely need to let these chill for at least three to four hours, but honestly, overnight is even better. We need them completely solid before we try to move them!
Tips for Perfect frozen greek yogurt peanut butter bites Every Time
Even though this is such an easy recipe, there are a few little things I learned through trial and error that really elevate these from “good” to “I need to hide these from my husband” good! Since we aren’t baking, our success depends entirely on texture control before freezing, and making sure they release cleanly. Nobody wants to fight their muffin tin first thing in the morning!
If you find your mixture seems a little too stiff after combining the cold yogurt and peanut butter, don’t panic and add more sweetener! Instead, just scrape down your bowl and let the mixture sit on the counter for about five minutes while it warms up just slightly. This lets the peanut butter soften a hair, making it much easier to scoop evenly. This trick is my secret to getting all my scoops exactly the same size for a **Simple frozen yogurt bites recipe** that looks professional!
If you don’t have any silicone liners and you’re using a metal mini-muffin tin, you have to be careful about sticking. My grandmother always told me coating the pan was key, and the same goes here. You can use a tiny bit of coconut oil sprayed into each cup, or you can use my homemade “cake goop” if you are making regular cakes—just brush a tiny bit into each cup!
Remember the tip from the notes? If you really don’t have molds, use a cookie scoop right onto parchment paper. You need to drop the scoop quickly. If you take too long blending the batter and it starts to melt, the scoops will spread out into flat puddles instead of nice little mounds. Speed is your friend when the mix is ready for the pan!
When you are ready to serve them, they come out of the freezer rock solid—that’s the point! But sometimes they are *too* hard to bite into right away. Just let them sit on a plate on the counter for about 3 to 5 minutes before serving. That tiny bit of thawing takes them from icy to perfectly creamy and chilly. For more great make-ahead inspiration, you should check out my simple appetizers and snacks collection!
Storage and Make Ahead Tips for Freezer friendly peanut butter snacks
Now, this is my favorite part of this recipe! Because these **frozen greek yogurt peanut butter bites** are made entirely for the freezer, they are the ultimate in meal prep. I usually make a double batch every other Sunday, and that keeps us stocked for snack emergencies right through to the next weekend. They hold up so beautifully, and honestly, they taste even better the next day when the flavors have really melded!
The secret to success here is how you store them. You must use an airtight, freezer-safe container. If you just toss them in a regular Ziploc bag, they’ll suck up any weird smells floating around your freezer, and we certainly don’t want vanilla-peanut-butter-meets-frozen-fish sticks flavor!
If you end up with a massive batch and need to stack them, here’s my trick to keep them from sticking together in one giant yogurt brick: use parchment paper! Line your freezer container, place one layer of bites snugly inside, but before you put the second layer on top, lay down a sheet of parchment paper. Repeat that layering until your container is full. This way, when you need just a few, they separate easily. It makes grabbing these **freezer friendly peanut butter snacks** so much easier on a busy morning.
I’ve found these stay perfectly textured for about a month in a deep freeze. Over that time, I haven’t noticed any major difference in taste or texture, but if you happen to have any leftovers after a month, toss ’em! You can always find more great ideas for delicious dessert recipes when you need a refill!
Variations on the Greek yogurt frozen bites recipe
Part of the fun with recipes this simple is that they are absolute blank canvases! Once you master the basic ratio of yogurt to peanut butter, you can start playing around with flavor combinations that suit your mood. Think of the base recipe as the perfect starting point for your own little frozen creations. I love changing these up depending on the season, or just what I have lying around the pantry!
If you want a very cozy, slightly warmer flavor profile, definitely stir in about a quarter teaspoon of cinnamon right along with the vanilla extract. It pairs beautifully with the peanut butter notes. If you’re feeling salty-sweet, you could try switching out the peanut butter for almond butter; these **Greek yogurt frozen bites recipe** variations still freeze up perfectly. Just give it a good, long stir!
Now, what about fruit? This is where you have to be a little careful. Since we aren’t baking, adding too much liquid will make your bites icy. If you want to try a fruit swirl—maybe raspberry or blueberry—I suggest using a very thick fruit reduction or letting frozen berries thaw slightly and then mashing them really well so they are almost like a thick paste first. You can gently mix just a tiny spoonful into each mold, but don’t overdo it! If you want inspiration for other simple additions that bake up beautifully, you should take a look at my maple brown sugar cookies for flavor ideas!
Serving Suggestions for your Mini Greek yogurt peanut butter cups
Once you have these little powerhouses frozen solid, you might wonder when the best time to enjoy them is! Honestly, I keep a container right next to the frozen veggies in the deep freeze, and I grab them whenever a craving strikes. They are my absolute favorite **post-workout snack** because they deliver that slow-release energy from the peanut butter and the satisfying protein boost from the yogurt.
They also make an incredible light dessert after dinner. If you’ve had a heavy meal, reaching for one or two of these sweet, cold bites feels so much more satisfying than digging into a heavy piece of cake. They are definitely a step up from just grabbing a regular old ice pop! For another easy protein boost, check out my recipe for easy protein muffins.
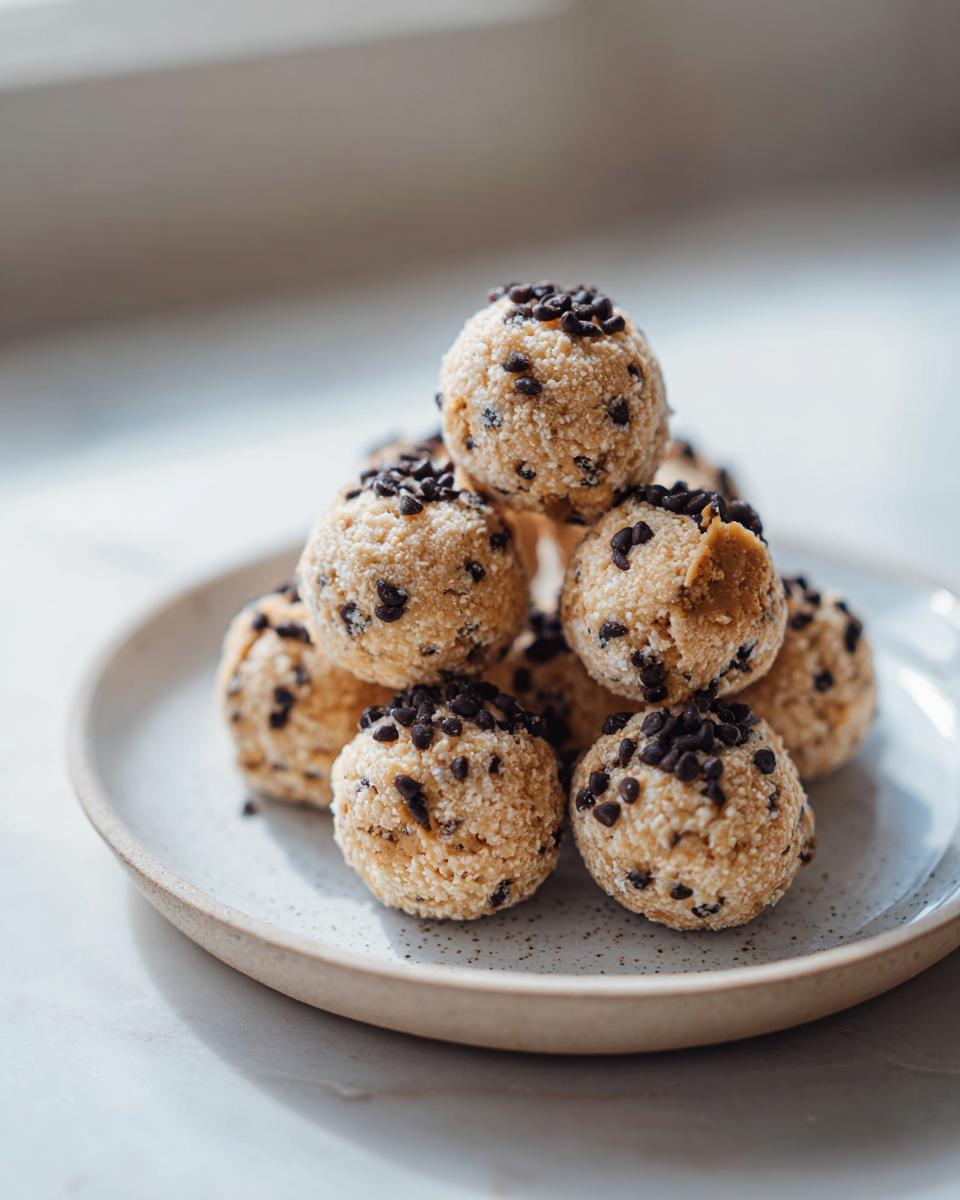
Now, here’s the key to eating them right away: texture! If you pull these **mini Greek yogurt peanut butter cups** straight from the deep freeze, they might be too hard to bite comfortably. Don’t let them sit out for long—we don’t want a puddle! Just let them rest on a small plate on your counter for about five minutes. That short rest takes them from rock-solid to perfectly creamy and makes them taste even richer. You’ll know they are ready when you can press gently on the top and feel a slight give, but they aren’t melting yet. Enjoy!
Frequently Asked Questions About frozen greek yogurt peanut butter bites
I get so many questions about these little freezer gems once people try them! It’s natural to wonder about tweaks, especially when you are dealing with frozen treats. I’ve pulled the most common ones right here so you can troubleshoot before you even start mixing. We all want perfect texture when we make these **frozen greek yogurt peanut butter bites**!
Can I use low-fat or non-fat Greek yogurt for these bites?
Oh, that’s a great question, and one I learned the hard way testing recipes! I seriously recommend sticking to full-fat or 2% Greek yogurt if you can find it. When you use non-fat yogurt, because it has less natural fat to hold onto the water molecules, the resulting texture tends to be much icier and harder once frozen. You end up with something closer to a sorbet rock than a creamy bite. The higher fat content helps keep these **Healthy frozen yogurt snacks** wonderfully creamy, even when rock solid!
What is the best way to remove the Peanut butter yogurt drops from silicone molds?
Silicone molds are a lifesaver here, but sometimes they still grip on tight, especially when perfectly frozen! If you try to wrestle them out immediately, you might accidentally squash the pretty shape. My best advice is this: work fast, but give them a moment of grace. After they are completely solid, just flip the mold over onto a cutting board or a parchment-lined tray. If they don’t immediately drop, leave the mold sitting on the counter for just two or three minutes. That tiny hit of room temperature softens the very edge of the yogurt where it touches the silicone, and they should pop right out with a gentle push underneath. These little **Peanut butter yogurt drops** look so much better when they come out cleanly!
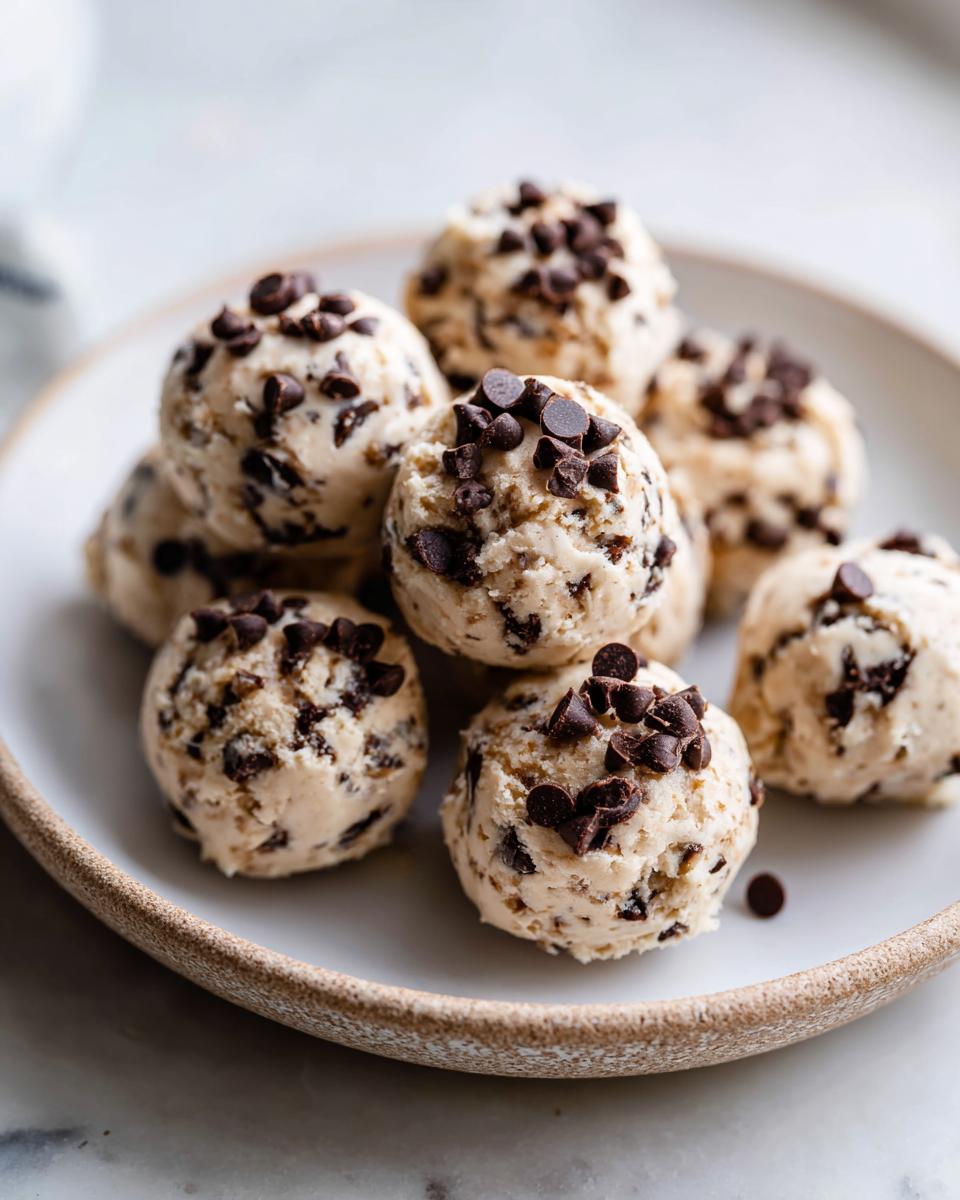
Are these considered Healthy frozen yogurt snacks if I add the chocolate chips?
They absolutely still fit the bill as a healthy option, even with the optional chocolate chips on top! Remember, the base of these bites is basically just protein-packed Greek yogurt and peanut butter. Those tiny chocolate chips are purely for decoration and a little extra flavor pop—we’re only pressing a few right on top, not mixing a cup into the batter. If you skip the optional sweetener, they are already super low in sugar. So yes, toss those chips on! They add negligible calories but give you that satisfying dessert component you sometimes need. If you’re looking for other ways to round out your healthy eating, check out my contact page—I love hearing about people’s healthy wins!
Nutrition Estimate for Homemade frozen greek yogurt peanut butter bites
When I talk about bringing back simple, joyful eating, that doesn’t mean we ignore what we’re putting into our bodies! I know so many of you want snacks that fit right into your busy routines but still keep you feeling energized. Since these are so easy to whip up, I wanted to give you a clear idea of what you’re getting in a single bite.
Now, this is super important: these numbers are just an estimate for one single bite, and they are based *only* on the essential ingredients—the yogurt, peanut butter, and the small amount of natural sweetener if you choose to use it. If you load yours up with extra chocolate or use a different nut butter, these numbers will shift a hair. These are great for portion control, but you have to be honest about how many you sneak!
- Serving Size: 1 bite
- Calories: 85
- Protein: 5 grams (Wow, for that small size!)
- Fat: 6 grams (Mostly good fats from the peanut butter)
- Carbohydrates: 6 grams
- Sugar: 5 grams (This varies widely based on your sweetener choice!)
See? That’s a fantastic little boost to get you through the afternoon or after the gym! Because they are so simple, you can easily track them if you need to. If you ever want to read up on how I approach simple pastry nutrition, I wrote a post recently about sugar cookie icing that touches on balancing sweetness!
PrintNo-Bake Frozen Greek Yogurt Peanut Butter Bites

Make these simple, high protein frozen yogurt bites using Greek yogurt and peanut butter. They are quick to prepare and perfect for a healthy freezer snack.
- Prep Time: 10 min
- Cook Time: 0 min
- Total Time: 4 hours 10 min
- Yield: About 18-20 bites 1x
- Category: Dessert
- Method: Freezing
- Cuisine: American
- Diet: Vegetarian
Ingredients
- 1 cup plain Greek yogurt (full fat or 2%)
- 1/2 cup creamy peanut butter
- 2 tablespoons maple syrup or honey (optional, adjust to taste)
- 1 teaspoon vanilla extract
- 1/4 cup mini chocolate chips (optional, for topping)
Instructions
- Line a mini muffin tin or a small baking sheet with silicone liners or parchment paper.
- In a medium bowl, combine the Greek yogurt, peanut butter, maple syrup (if using), and vanilla extract. Mix until completely smooth and uniform.
- Spoon the mixture into the prepared liners or molds, filling each cavity about three-quarters full.
- If using, gently press a few mini chocolate chips onto the top of each bite.
- Place the tray in the freezer and freeze for at least 3 to 4 hours, or until completely solid.
- Once frozen, remove the bites from the molds or liners. Store them in an airtight, freezer-safe container.
Notes
- For a lower sugar option, omit the maple syrup or honey. The peanut butter provides enough flavor.
- If you do not have silicone molds, you can use a small cookie scoop to drop rounded spoonfuls onto a parchment-lined baking sheet.
- These frozen yogurt drops keep well in the freezer for up to one month.
Nutrition
- Serving Size: 1 bite
- Calories: 85
- Sugar: 5
- Sodium: 45
- Fat: 6
- Saturated Fat: 1.5
- Unsaturated Fat: 4.5
- Trans Fat: 0
- Carbohydrates: 6
- Fiber: 1
- Protein: 5
- Cholesterol: 5