
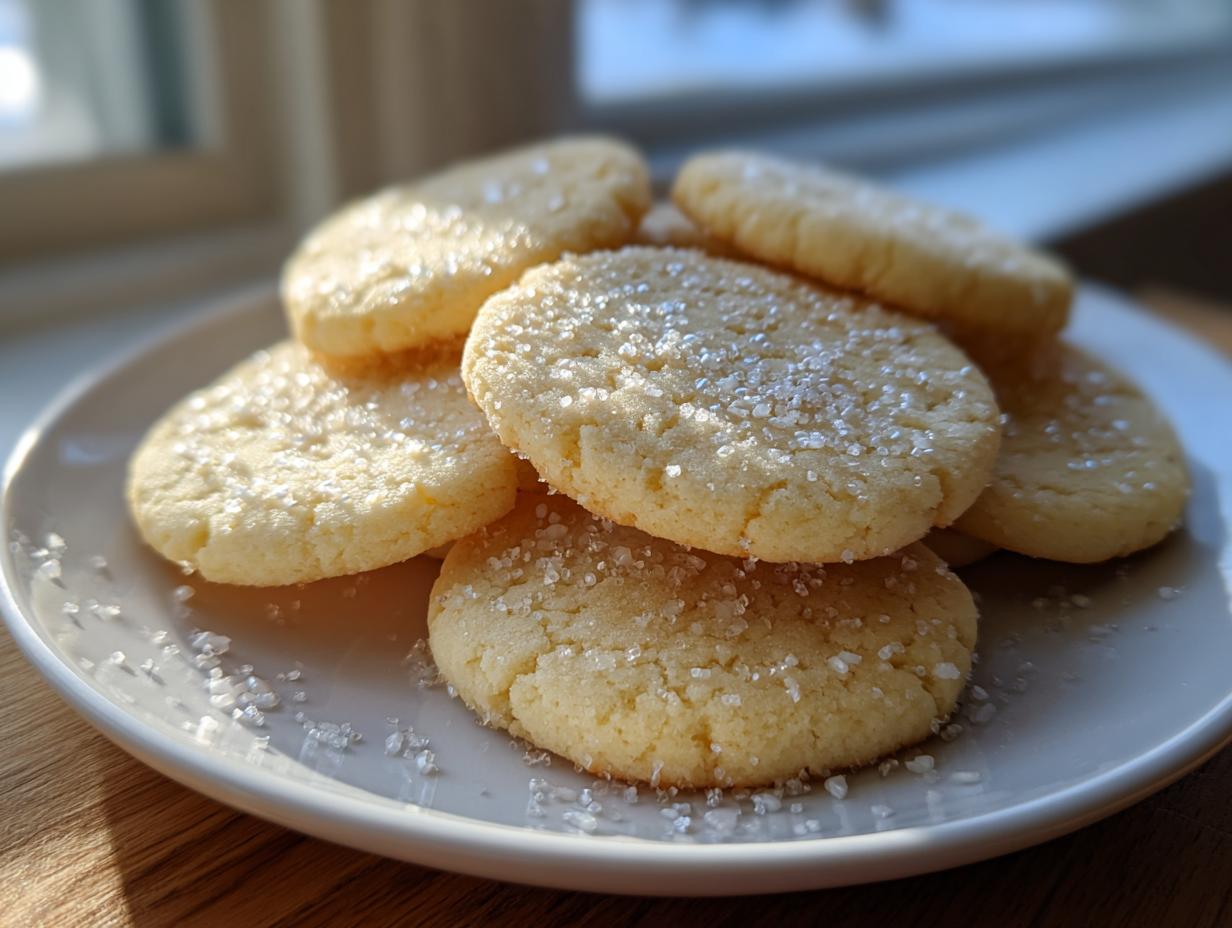
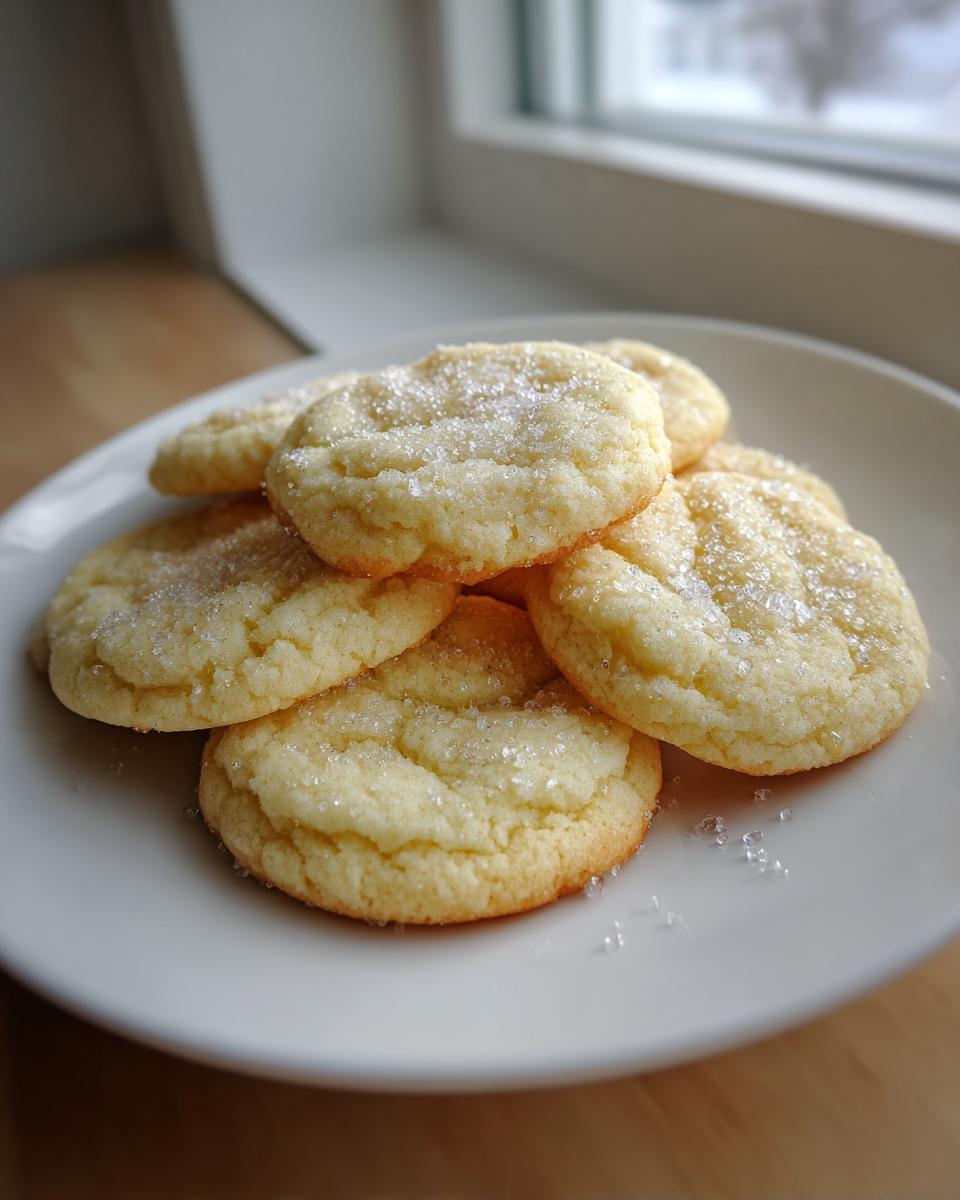
Oh, the tragedy of a dry sugar cookie! You know the one—it crumbles into dust the second you try to bite it, or worse, it spreads out into a sad, thin puddle in the oven. That’s just not how comfort food should taste, especially not in my kitchen. That flaky, stiff texture brings me right back to wishing I could recreate the wonderfully simple, dependable treats my mom used to make so we could have something fun after dinner.
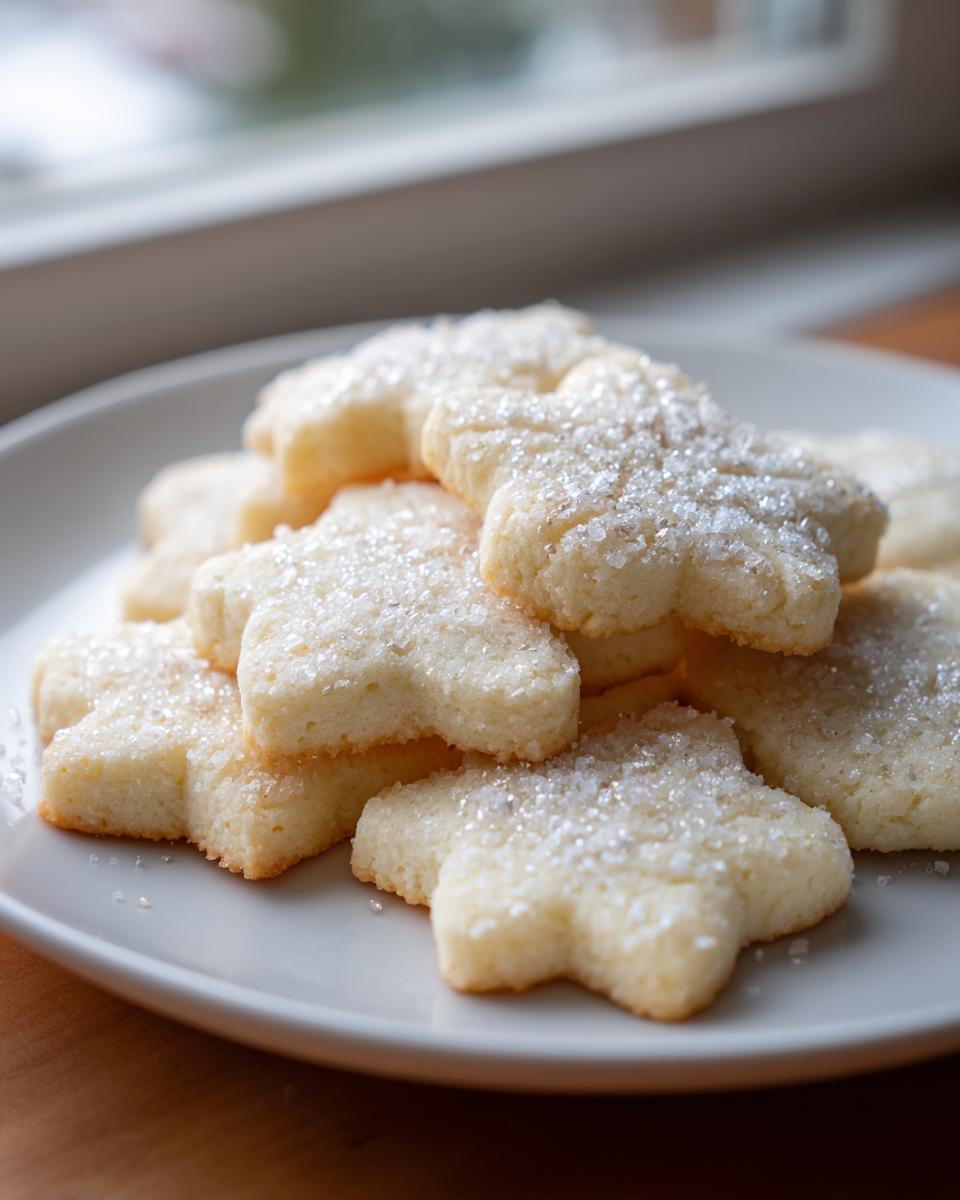
I spent ages testing out every single flour ratio and sugar combination to solve this problem once and for all. And I found the sweet spot! These are genuinely the ultimate soft sugar cookies. They are wonderfully chewy right out of the oven, they stay melt-in-your-mouth tender for days, and here’s the best part: they hold their shape beautifully if you plan to decorate them; you can check out my tips for other chewy favorites while you’re waiting for this dough to chill. This recipe is pure, reliable magic for your family table.
- Why These Are the Best Soft Sugar Cookies You Will Ever Make
- Ingredients for Perfect Soft Sugar Cookies
- Step-by-Step Guide to Making Your Soft Sugar Cookies
- Tips for Guaranteed Soft Sugar Cookies Success
- Making Cut Out Sugar Cookies Soft and Chewy
- Storing Your Homemade Sugar Cookies to Keep Them Soft
- Frequently Asked Questions About Chewy Sugar Cookies Recipe
- Estimated Nutritional Information for These Soft Sugar Cookies
- Share Your Perfect Soft Sugar Cookies
Why These Are the Best Soft Sugar Cookies You Will Ever Make
When I set out to make this recipe for my own busy family, I had three major rules, and guess what? These soft sugar cookies follow every single one. This isn’t some finicky recipe you try once and forget; this is your new go-to for reliable sweetness.
- They are genuinely soft and chewy! Unlike so many recipes that promise tenderness but deliver crunch, these stay delightfully tender in the center long after they’ve cooled. If you love that bakery style cookies texture without the bakery price, you are in the right spot.
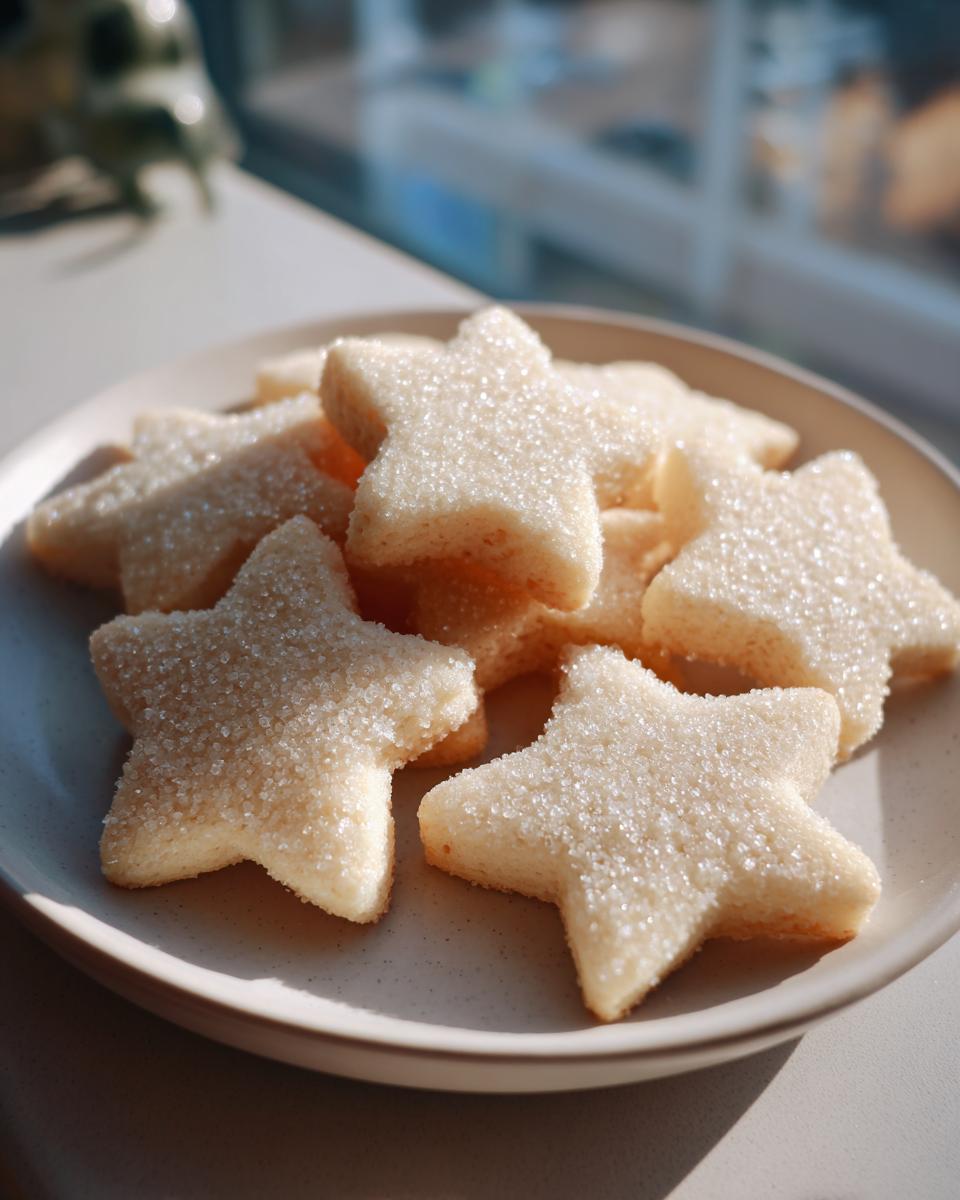
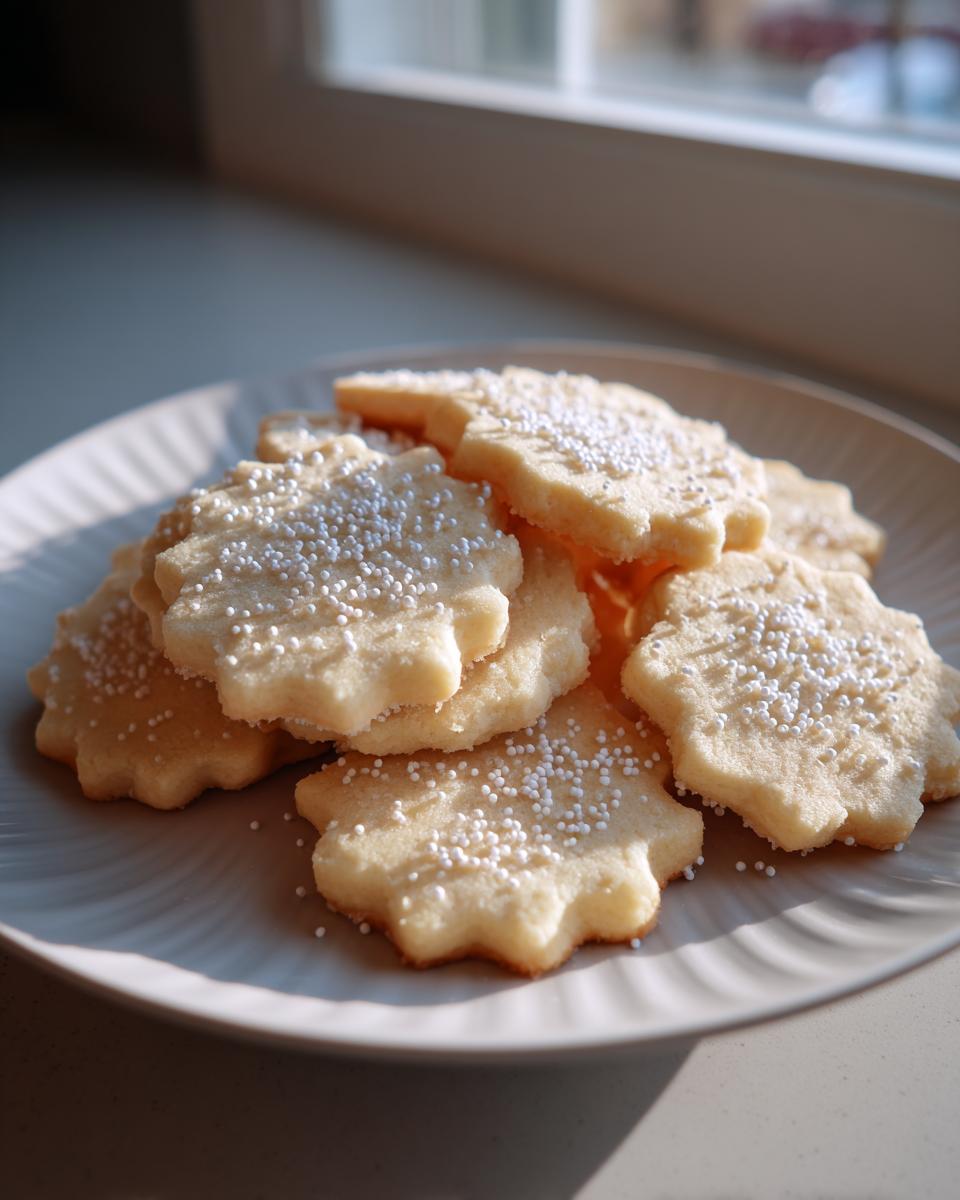
- They hold their shape perfectly. This is HUGE if you want to cut out stars or snowflakes for holidays. We make sure the dough is firm enough so your fun cookie cutters don’t result in unrecognizable blobs.
- Simple ingredients, maximum flavor. We rely on classic, honest ingredients like real butter and good vanilla extract to give you that deep, buttery taste we all crave in homemade sugar cookies.
- They freeze beautifully! You can roll out the dough, cut your shapes, freeze them solid, and bake them straight from the freezer later. Perfect for when unexpected guests pop over, or you need a quick holiday batch.
Trust me; once you try these, you won’t look back. Need more chewy goodness? You should check out my recipe for maple brown sugar cookies or maybe try these amazing peanut butter blossoms too!
Ingredients for Perfect Soft Sugar Cookies
It’s all about quality ingredients when you want that melt-in-your-mouth experience. I always make sure everything is right there on the counter before I even think about turning on the mixer. Remember, we are aiming for tender sugar cookies, so those measurements have to be spot on!
- 1 cup unsalted butter, softened
- 1 1/2 cups granulated sugar
- 2 large eggs
- 1 teaspoon vanilla extract
- 3 3/4 cups all-purpose flour
- 1 teaspoon baking powder
- 1/2 teaspoon salt
See? Simple stuff! But when you combine these classic pantry staples using the right technique, you get texture magic.
Step-by-Step Guide to Making Your Soft Sugar Cookies
This is where the magic happens, but honestly, the process is so straightforward! I designed this recipe to be incredibly dependable, even if you aren’t an expert baker. You just have to respect the dough a little bit, especially when it comes to temperature. Follow these steps, and you’ll see why these are the best sugar cookie recipe out there.
Mixing the Wet and Dry Components for Soft Sugar Cookies
First thing’s first: we need to build that fluffy base. Get your softened butter and that granulated sugar into your mixing bowl. Now, here’s my little Mia tip: when you cream them together, *really* cream them! I mean, beat them until they look almost pale and fluffy, like whipped clouds. This step is what traps air, ensuring you get those wonderful, airy holes that lead to a super tender center later on. Don’t rush this part!
Once the creamed mixture is light, beat in your eggs one at a time until they are totally incorporated, then stir in that beautiful vanilla extract. In a separate bowl, whisk your flour, baking powder, and salt together—we want those leaveners evenly distributed.
Now, add the dry stuff to the wet stuff. This is critical: mix it on low speed only until you see the last streaks of flour disappear. Seriously, stop the moment it’s combined. Overmixing develops gluten and that leads straight to tough cookies, and we want happy, soft sugar cookies!
The Crucial Chill Time for No-Spread Sugar Cookies
If you skip this, your cookies will spread into flat little pancakes, and we absolutely cannot have that. Chilling isn’t just suggested; it’s mandatory for these no spread sugar cookies! Once everything is mixed, divide the dough into two flat disks, wrap them up tightly, and tuck them into the fridge for at least two hours. I sometimes make the dough on a Friday and leave it until Saturday afternoon—it actually deepens the buttery vanilla flavor!
You can safely store this dough, wrapped up tight, in the refrigerator for up to two full days. If you’re planning for holiday baking, this make-ahead ability is a lifesaver!
Rolling, Cutting, and Baking Your Tender Sugar Cookies
Once chilled, it’s time to have some fun! Preheat your oven to 375°F (190°C) and line your baking sheets. Roll out one disk at a time between two pieces of parchment paper—this keeps your surface flour-free and prevents sticking. Make sure your dough is about 1/4-inch thick; this thickness is key to getting that fantastic fluffy sugar cookie result.
Cut out your shapes and place them on the prepared sheets, leaving an inch of space between them. Now for the final temperature secret: bake them for 8 to 10 minutes. When the timer goes off, pull them out! The edges should just be slightly set, but the centers should still look slightly pale, not golden brown. They will firm up on the baking sheet as they cool. If you wait until they look perfectly done in the oven, they’ll be crunchy when they cool down. Remember, if you plan on decorating these later, you should definitely check out my guide on icing so it sets just right!
Tips for Guaranteed Soft Sugar Cookies Success
I’ve gathered up all those little bits of wisdom that my mom and I learned over the years—the things that took us from ‘pretty good cookies’ to cookies that people actually beg for. If you follow these pointers for your next batch of soft sugar cookies, you’re setting yourself up for pure success, I promise!
First off, let’s talk extra insurance for that melt-in-your-mouth texture. One of the biggest upgrades you can make is adding an extra egg yolk to the dough mixture. That extra bit of fat and richness works wonders; it keeps the cookie softer, more tender, and gives it that rich, almost buttery density we are aiming for. Don’t overthink it; just add that extra yolk when you beat in the eggs!
Another thing Mia’s Meals insists on is using the right flour measurement. A lot of times, cookies spread because we accidentally pack too much flour in when scooping it out of the bag. Instead, gently spoon the flour into your measuring cup and then level it off with a straight edge. If you can, just stick to the whisked dry ingredients mixture I gave you, but if you have to adjust, measure carefully!
When you are cooling your cookies, don’t let them cool completely on the hot baking sheet. If you do, they keep cooking from the residual heat, and that can steal some of your precious softness! Pull them onto a wire rack after about five minutes. Then, for even more insurance against dryness, check out how I keep my lemon scones perfectly moist; the principle of proper cooling is the same!
If you’re having trouble with spread, remember that chilling is your best friend, but sometimes the environment matters too. If your kitchen is super warm when you go to roll them out, try chilling the cutouts on the actual baking sheet for 10 minutes right before they go into the oven. It’s an extra minute of waiting, but it helps lock in those clean edges, just like the pros at Cooking by Carla suggest for stable cutouts.
Making Cut Out Sugar Cookies Soft and Chewy
Now, I know what you’re thinking! How can we get those cute, defined shapes needed for cut out sugar cookies soft *and* chewy at the same time? Usually, when a recipe is designed to hold a shape, it means you sacrifice tenderness for structure, right? Not with this one, thank goodness!
The secret ingredient here—besides the creamed butter and sugar—is temperature control. That chilling step we talked about earlier? It matters double when you’re rolling and cutting. Firm dough means clean edges. If your dough is warm or sticky when you try to cut out your holiday shapes, those edges just slump over before they even hit the pan.
My biggest piece of advice when you get to the rolling stage is to work fast! Take one disk of dough out of the fridge at a time. Use a light dusting of flour on your countertop, but use as little as possible. Too much flour gets incorporated into the dough as you roll, and that dries out the finished cookie, making it crisp instead of wonderfully chewy.
If you plan to make these for Christmas or just love beautiful homemade sugar cookies, give yourself an extra few minutes. As I mentioned before, after you cut your shapes and place them on the parchment-lined sheet, pop that entire tray back into the fridge for 10 minutes. This small step ensures that the butter in the dough is rock solid when it hits the oven’s heat. This keeps them from spreading sideways, allowing them to rise *up* slightly, which keeps the center fluffy and soft. It’s the trick that guarantees structure without becoming hard. You’ll get perfect little gingerbread men or stars that are soft all the way through. For more fun, simple baking ideas, take a peek at my Christmas cookie bars!
Storing Your Homemade Sugar Cookies to Keep Them Soft
You went through all the effort to create these perfectly homemade sugar cookies—we certainly don’t want them going stale on day two! Keeping that melt-in-your-mouth texture is actually pretty simple, but you have to be disciplined about storage. Remember, these cookies are tender, which means they are slightly more susceptible to air than crunchy biscotti or shortbread.
The biggest mistake people make is leaving them out on a plate or, heaven forbid, in a plastic baggie on the counter. Air is the enemy of softness! You absolutely must use an airtight container. My preferred method is a large, sturdy cookie tin with a tight-fitting lid. If you don’t have a tin, a good quality zip-top bag with almost all the air pressed out works well too.
If you are stacking them in the container, please, please separate the layers with a piece of parchment paper or wax paper. Since these cookies are so soft, if you layer them directly on top of each other without a barrier, the frosting (if you used any!) can stick, or the cookies can slightly compress together. We want them looking as beautiful as they taste!
Here’s the best part about this recipe: they truly stay soft for days! I find they are at their absolute peak texture on day two, but if stored correctly in that airtight container at room temperature—never the fridge, as that dries them out—you can enjoy that perfect, chewy bite for three to four days easily. Don’t even think about freezing them once they are frosted, but unfrosted, chilled cookies are fine for up to three months!
Frequently Asked Questions About Chewy Sugar Cookies Recipe
When I first started baking for my family, I had a million questions for my mom! It’s totally normal to wonder about the little details that make the difference between a good cookie and the absolute best, most tender cookie you’ve ever had. Here are a few things I always get asked about these chewy sugar cookies recipe favorites!
Why are my sugar cookies spreading flat instead of staying thick?
Oh, this is the number one complaint I hear, and it almost always comes down to one of two things. First, your butter was way too warm when you started creaming it. If your butter is greasy or melting while you mix it, it can’t hold the air bubbles we need for thickness. Second, and this is the big one, you skipped the chilling time! When the dough is warm, the fat melts too fast in the oven, and *poof*—no structure left. Remember, chilling the dough is what locks in the shape so you get those beautiful, thick, tender sugar cookies instead of flat discs.
How can I make these vanilla sugar cookies taste more like bakery style cookies?
That rich flavor you taste in those high-end shops is often about using really good flavor boosters! While our recipe is built on simple ingredients, you can absolutely step it up. The absolute easiest way to get that amazing aroma and taste is to use high-quality vanilla extract—not the imitation stuff. If you want to get really fancy, try using 3/4 teaspoon of pure vanilla extract and swap the remaining 1/4 teaspoon for pure almond extract. Just a tiny bit of almond pushes these vanila sugar cookies right into that professional, gourmet space without changing the texture!
Also, don’t forget to lightly dust your cutouts with a tiny bit of granulated sugar right before baking! That sweet coating caramelizes just a hint on top and gives you that slight sugary crust that separates the truly great bakery style cookies from the rest. It’s a small step, but it makes a difference!
If you’re looking for more simple ways to boost your home baking game, you have to check out my recipe for easy homemade cranberry sauce; sometimes the best flavors come from unexpected simplicity!
Estimated Nutritional Information for These Soft Sugar Cookies
Now, I know that when we are baking for comfort and connection, we’re usually not too worried about the macros, right? But I always like to give you guys a general idea of what’s in these goodies! Remember, since the size of your cookie cutters and how thick you roll the dough can change things, this is just an estimate based on standard 3-inch cookies split into 3 dozen servings.
These are rich, satisfying homemade sugar cookies, so they have a bit of everything in them! We are relying on good butter and sugar to give us that wonderfully soft texture, so keep that in mind.
- Serving Size: 1 cookie
- Calories: 160
- Fat: 8g (Mostly from that necessary butter!)
- Carbohydrates: 20g
- Protein: 2g
If you use less sugar, naturally, those numbers will come down, but you might sacrifice a little bit of that ‘melt-in-your-mouth’ quality we worked so hard to achieve! Enjoy them without guilt; they are made with love, and that’s the most important nutrient!
Share Your Perfect Soft Sugar Cookies
Okay, now it’s your turn! I’ve given you all my secrets for achieving the softest sugar cookies that bake up perfectly every single time—now I want to see what you create in your kitchen! Baking, for me, is always about sharing that warmth, whether it’s handing a plate to a neighbor or seeing your kids’ faces light up over a frosted star.
When you make this easy sugar cookies recipe, please come back here and let me know how it went! Just leave a star rating right below—a five-star rating means I nailed the technique for you, and that makes my day! If you try any of the tips, like adding that extra egg yolk, tell me how you liked the results.
And please, take a picture! Snap a photo of your beautiful, tender sugar cookies—whether they are plain, lightly dusted, or covered in buttercream—and tag me on social media. Seeing your beautiful homemade sugar cookies really feels like I’m right there in the kitchen with you, sharing a moment over something delicious. It helps me know which recipes I need to keep refining for our Mia’s Meals family.
If you happen to be looking for another simple project for when you have leftovers or just need another sweet bake, go check out my recipe for easy puff pastry apple strudel. Happy baking!
PrintThe Softest Sugar Cookies: Easy, Chewy, and Perfect for Cutouts

You need this dependable recipe for the softest sugar cookies that stay wonderfully tender and chewy for days. This simple method guarantees a melt-in-your-mouth texture and the cookies hold their shape for easy decorating.
- Prep Time: 25 min
- Cook Time: 10 min
- Total Time: 155 min
- Yield: 3 dozen 1x
- Category: Dessert
- Method: Baking
- Cuisine: American
- Diet: Vegetarian
Ingredients
- 1 cup unsalted butter, softened
- 1 1/2 cups granulated sugar
- 2 large eggs
- 1 teaspoon vanilla extract
- 3 3/4 cups all-purpose flour
- 1 teaspoon baking powder
- 1/2 teaspoon salt
Instructions
- In a large bowl, cream together the softened butter and granulated sugar until light and fluffy. This step builds the base for your soft cookies.
- Beat in the eggs one at a time, mixing well after each addition. Stir in the vanilla extract.
- In a separate bowl, whisk together the flour, baking powder, and salt.
- Gradually add the dry ingredients to the wet ingredients, mixing on low speed until just combined. Do not overmix the dough.
- Divide the dough in half, flatten each half into a disk, wrap tightly in plastic wrap, and chill in the refrigerator for at least 2 hours, or up to 2 days. Chilling is crucial for no-spread sugar cookies.
- Preheat your oven to 375°F (190°C). Line baking sheets with parchment paper.
- On a lightly floured surface, roll out one disk of dough to 1/4-inch thickness. Cut the dough using your favorite cookie cutters.
- Place the cutouts onto the prepared baking sheets, leaving about 1 inch between them.
- Bake for 8 to 10 minutes. For the softest sugar cookies, slightly underbake them; the edges should just be set, not deeply golden.
- Let the cookies cool on the baking sheet for 5 minutes before transferring them to a wire rack to cool completely.
- Frost or decorate once completely cool. These bakery style cookies are best enjoyed within 3 days.
Notes
- For extra soft cookies, use slightly less flour or add 1 extra egg yolk to the dough mixture.
- If you plan to decorate, chilling the cutouts on the pan for 10 minutes before baking helps them hold their shape perfectly.
- Store cookies in an airtight container at room temperature to maintain the melt in your mouth texture.
Nutrition
- Serving Size: 1 cookie
- Calories: 160
- Sugar: 14g
- Sodium: 110mg
- Fat: 8g
- Saturated Fat: 5g
- Unsaturated Fat: 3g
- Trans Fat: 0g
- Carbohydrates: 20g
- Fiber: 0g
- Protein: 2g
- Cholesterol: 35mg