

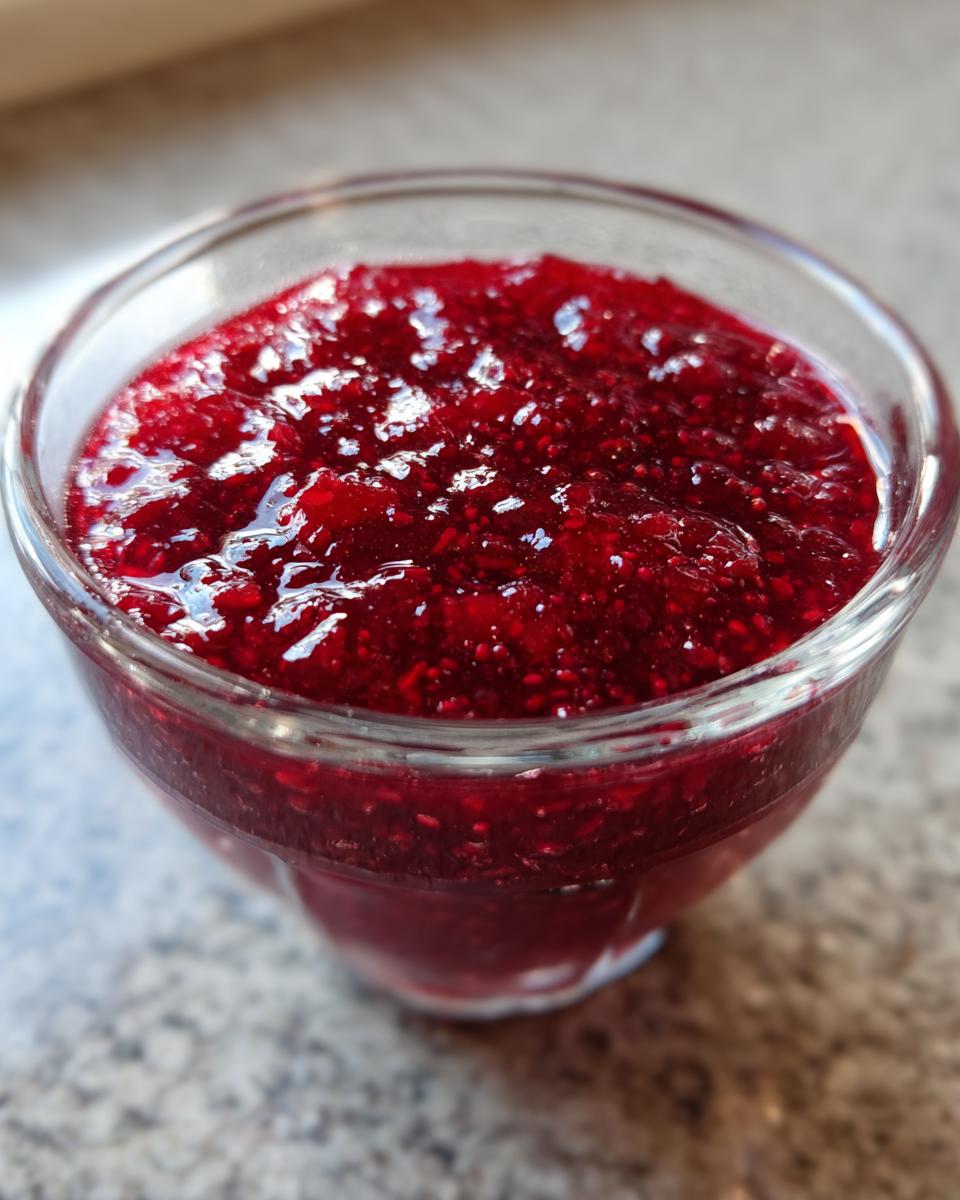
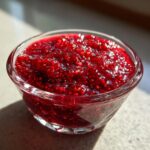
Oh, you know those perfect summer days when the raspberries are so heavy they almost beg you to pick them? I just can’t stand the thought of that bright, bursting flavor disappearing when summer ends. That is exactly why I rely on this incredible recipe for raspberry jam. It’s my favorite way to keep that sunshine feeling alive all year long. We’re skipping the weird stuff—no added pectin here! This is pure, sweet, tart flavor made with just three simple ingredients. Remember how my mom always taught me that cooking should connect us? Well, this simple jam recipe does just that; it brings a taste of my childhood kitchen right to your breakfast table in under an hour. Trust me, this is the easiest jam you’ll ever make.
- Why This Easy Raspberry Jam Recipe is a Kitchen Staple
- Gathering Ingredients for Your Raspberry Jam
- Essential Equipment for Making Raspberry Jam
- Step-by-Step Instructions for Easy Raspberry Jam
- Tips for Perfect Small Batch Jam Success
- How to Use Your Fresh Raspberry Recipe Beyond Toast
- Storage and Reheating Instructions for Raspberry Jam
- Frequently Asked Questions About Making Raspberry Jam
- Estimating Nutrition for Your Natural Fruit Jam
Why This Easy Raspberry Jam Recipe is a Kitchen Staple
When I share a preserve recipe, I want you to trust it completely. We aren’t messing around with stabilizers or weird chemical thickeners here! This recipe gets its wonderful set purely from relying on what Mother Nature gives us. It’s reliable, and that’s why it always has a spot on my counter, whether I’m canning or just making a quick batch for the fridge.
- It uses just three core ingredients—you can’t get much simpler than that!
- It works beautifully whether you’re using fresh berries from the farmer’s market or frozen ones tucked away in the freezer.
- It creates that perfect, spreadable consistency without needing added pectin.
The Secret to Perfect Homemade Raspberry Jam Without Pectin
People get so scared about making jam without pectin. Honestly, it’s all about the balance! Raspberries naturally contain a decent amount of pectin, but to make sure it activates and sets properly, we need acid. That little bit of fresh lemon juice you add is doing major heavy lifting here. It’s the key player that helps the sugar and the fruit’s natural pectin bond together perfectly, giving you that fantastic, thick Homemade Raspberry Jam texture every single time. We’re keeping it natural and sweet!
Quick Raspberry Preserves Ready in Under an Hour
I get it, you want that summer flavor *now*. This recipe respects your time! From the moment the berries hit the sugar to when we’re skimming foam off the top, it’s only about 40 minutes total. That means you can decide on a whim this afternoon that you need fresh Quick Raspberry Preserves for your sourdough tomorrow morning. It’s practically instant gratification in a jar!
Gathering Ingredients for Your Raspberry Jam
Making incredible raspberry jam doesn’t require a huge shopping list. In fact, it’s the short list that makes this recipe so appealing! Since we aren’t relying on commercial pectin, we are really letting the star ingredients shine. Getting these three items right is the secret sauce. Remember, good ingredients always win out in preserving, so grab the best berries you can find—whether they are bursting ripe on the vine or waiting for you in the freezer aisle!
Ingredient Notes and Substitutions for Raspberry Jam
We are keeping this recipe incredibly simple: berries, sugar, and lemon juice. That’s it! You can absolutely use frozen raspberries here; just toss them straight into the pot with the sugar, no need to thaw them first. The lemon juice is non-negotiable, though! It provides the acid needed for the set, which replaces what pectin usually does for us. Now, for my favorite trick: if the seeds drive you crazy, you can make a lovely seedless raspberry jam. After the jam has cooked for about 10 minutes, carefully pour the whole mixture through a fine-mesh sieve set over a bowl to catch all those seeds. Give it a good push, then return the gorgeous, smooth seed liquid to the pot to finish boiling until it sets. It’s extra work, but totally worth it if you prefer that silky texture!
Essential Equipment for Making Raspberry Jam
Before you even think about turning on the stove, let’s talk about what you need assembled on the counter. Think of your equipment like your backup singers—they make the main star (the raspberries!) sound amazing. Making jam involves using high heat and sugar, so we need sturdy tools that can handle the job without scorching the bottom of your beautiful berries.
First up, you absolutely must have a large, heavy-bottomed pot. I can’t stress enough: large! The berries foam up like crazy when they boil, and you need room to safely cook that mixture down without it boiling over everywhere. Believe me, cleaning exploded jam off your stovetop is not a fun way to spend an afternoon!
Next on the list is your temperature detective: a candy thermometer. While I love the plate test for confirming the set, having a thermometer lets you know exactly when you’re approaching that crucial 220°F mark. It takes all the guesswork out of the final five minutes of cooking, which is key for a good set. Plus, you’ll need your canning jars ready to go (if you are preserving), a ladle for filling them up neatly, and maybe a non-metallic spoon for skimming foam off the top once the jam is done cooking.
Step-by-Step Instructions for Easy Raspberry Jam
Okay, now for the fun part! This is where we transform those sweet, tart berries into shiny, beautiful jars of goodness. Don’t let the canning part scare you, even if you’re just using the freezer method. The key here is patience during the initial wait and speed once it hits the high heat. Following these steps means you’ll have the best raspberry jam you’ve ever tasted. We are aiming for that magical 220°F setting point, which guarantees a perfect, thick result. Let’s get started!
Preparing Jars and Macerating the Fruit for Raspberry Jam
First things first, get your jars squeaky clean. If you are going the water bath canning route—which I highly recommend for shelf stability—you need those jars sterilized and kept piping hot until we fill them. Trust me, putting hot jam into cold jars is a recipe for disaster and a cracked jar! If you’re just making a batch to keep in the fridge or freezer, just make sure your containers are clean.
Next, we let the magic steep. Toss your two pints of raspberries (fresh or frozen, remember?) with the three cups of sugar in that big pot we talked about. Now, step back and let the sugar do its work for about 15 minutes. This waiting period is crucial! It draws all that gorgeous juice out of the berries so you aren’t just trying to dissolve dry sugar later. You’ll see a syrupy liquid start forming around the fruit before you even turn on the heat. That’s the start of your perfect raspberry jam!
Achieving the Setting Point in Your Simple Berry Jam
Once you’ve given your fruit 15 minutes to rest, put that pot over medium-high heat. Stir gently until every single granule of sugar disappears. Once it starts roiling—a full, rolling boil that won’t stop when you stir—toss in that tablespoon of lemon juice. This is where we stop stirring the sides of the pot; we want the jam to boil hard so the water evaporates and we concentrate that pectin.
Now watch your thermometer! We need to hit 220°F (or 104°C). If you don’t have a thermometer, grab a small plate you’ve chilled in the freezer earlier. Spoon a tiny bit of the boiling mixture onto that cold plate. Give it a minute, then gently push it with your finger. If the surface wrinkles? Bingo! You’ve got set! That lovely, sweet-tart result is why we love this Simple Berry Jam. It usually takes about 15 to 20 minutes of active boiling after that lemon juice goes in, but always trust the wrinkle test if you’re unsure.
Finishing and Storing Your Quick Canning Recipes
Once you hit that set point, immediately pull the pot off the heat! You’ll notice some pinkish foam on top; that’s totally normal. Just skim that foam off gently with a metal spoon—it makes the final product look much prettier on the shelf. Now, decide your fate: canning or freezing?
For those tackling the water bath method, this is where our Quick Canning Recipes knowledge comes in handy. Carefully ladle the piping hot jam into your hot jars, making sure you leave exactly 1/4 inch of space at the top—that’s the headspace. Wipe those rims spotless, put on the lids and rings finger-tight, and process them in a vigorously boiling water bath for 10 minutes. Let them cool completely to hear that satisfying *pop* as they seal.
If you are going the freezer route—which is fantastic for easy summer fruit preservation—just let the jam cool down for a minute at room temperature before pouring it into clean, freezer-safe containers. Always leave about 1/2 inch of space at the top, because liquids expand when they freeze! Close them up and stick them straight in the freezer. Either way, you’ve successfully preserved summer!
Tips for Perfect Small Batch Jam Success
When you’re making Small Batch Jam, you have a little more control than with huge commercial pots, but you still have to respect the process! I call these my little kitchen secrets because they are the things I learned only after scorching a batch or two myself back in the day. Don’t let fear of scorching keep you from making this jam—just keep your heat honest and your stirring steady!
My number one pointer for success? Don’t walk away when it’s boiling rapidly! Sugar and fruit concentrate fast, and it can go from perfectly boiling to burnt goo on the bottom in about thirty seconds flat. Keep that spoon moving along the base of the pot during those peak boiling minutes.
Also, if you find your jam seems runny even after hitting 220°F, wait five minutes and test it again. Sometimes the temperature is right, but it just needs a tiny bit more time to evaporate that last bit of surface water before it truly locks into its final set. That’s why having a jar ready in the freezer for a plate test is such a lifesaver! If you want to learn more about my philosophy, check out my About Page to see why simple cooking matters so much to me.
How to Use Your Fresh Raspberry Recipe Beyond Toast
We all love slathering homemade preserves on a warm piece of sourdough (especially if it’s homemade too!), but honestly, stopping there is such a waste of all that bright, beautiful flavor we just captured! This jam is so versatile, and since it’s made with just three simple components, it enhances whatever it touches without tasting overly complex or artificial. Think of it as a power-up for all your favorite meals and treats!
It’s incredible spooned warm over vanilla ice cream, or stirred right into plain Greek yogurt for a ridiculously easy breakfast. If you’re feeling fancy, a spoonful mixed into sparkling water with a bit of gin makes a fantastic, fresh summer cocktail. I truly believe the best fruit comes when its in season, and using it right away like this feels like magic.
Incorporating Raspberry Jam into Breakfast Spreads and Baking
If you’re trying to make desserts a little bit brighter, this jam is your shortcut! Because we kept this an unbelievably simple 3 Ingredient Jam Recipe, it layers into baked goods without adding weird texture or flavors. Try using it as the center filling for classic thumbprint cookies—the color looks stunning against the shortbread! You can also use it to level up your scones or swirl it beautifully through muffin batter before baking. Honestly, it makes even the most boring morning pastry feel like a special homemade treat. For more ways to bring simple flavor to your desserts, check out my page on Delicious Dessert Recipes!
Storage and Reheating Instructions for Raspberry Jam
One of the best feelings is knowing you have shelves stocked with beautiful raspberry jam! How long it lasts depends entirely on how you packed it away. If you followed the water bath canning steps correctly and heard that wonderful *pop*, those sealed jars are shelf-stable for a full year, stored cool and dark. Don’t open those until you’re ready to spread!
If you made refrigerator jam or freezer jam, you’ll need to keep that cold. Refrigerated jam is good for about three weeks—which is why I always make a small, secondary freezer batch! Once a jar is opened, canned or not, treat it like fresh fruit spread and keep it in the fridge. I never really “reheat” jam unless I’m maybe pouring a tiny bit over pancakes, and even then, I just warm it briefly in the microwave for about ten seconds! Quick and easy, just the way I like it.
Frequently Asked Questions About Making Raspberry Jam
I always get so many questions about preserves! It’s natural when you’re stepping into the world of Kitchen Canning Projects. Don’t worry if you feel a bit unsure about the rules—that’s why I gather these common queries right here. We’re all learning together, and getting these small details right means delicious, safe jams every time.
Can I use less sugar in this Simple Berry Jam recipe?
This is the big one when it comes to making jam without pectin! Sugar does so much work besides just making things sweet; it helps achieve that proper set and acts as a mild preservative. If you cut the sugar too much, your jam is much more likely to stay runny. If you absolutely must cut back, I wouldn’t go lower than 2 1/2 cups for this amount of fruit, but be prepared that you might need to rely on the thermometer and test the set much more rigorously. If you want to try reducing it even further, I strongly suggest switching to the freezer method rather than canning, just to be safe.
Can I use other berries to make this 3 Ingredient Jam Recipe?
Absolutely! This base method works wonderfully for many firm fruits. If you use strawberries or blueberries, they have a similar pectin profile to raspberries, so you can likely follow this exact recipe. Here’s a heads-up for softer fruits like peaches, plums, or cherries—they have less natural pectin. For those, you might need to increase the lemon juice slightly, or you might find you prefer adding a little commercial pectin just because the natural set won’t be as firm. But for other cane berries like blackberries? Go for it!
How can I be 100% sure my canned jam sealed properly?
This is so important for safety, especially for long-term storage! When the jars come out of the water bath and cool down on the counter, you should hear a distinct *ping* or *pop*. That sound means the vacuum seal has formed. Once they are completely cool (wait 12-24 hours), gently take the ring off one jar. Try to lift the lid itself by running your fingertip along the edge. If the lid stays firmly attached to the jar, it’s sealed and safe! If the lid stays depressed but lifts easily, or if you see any bubbles, that jar didn’t seal properly. Put that jar in the fridge right away and enjoy those Breakfast Spreads within the next month!
What is the difference between jam and preserves?
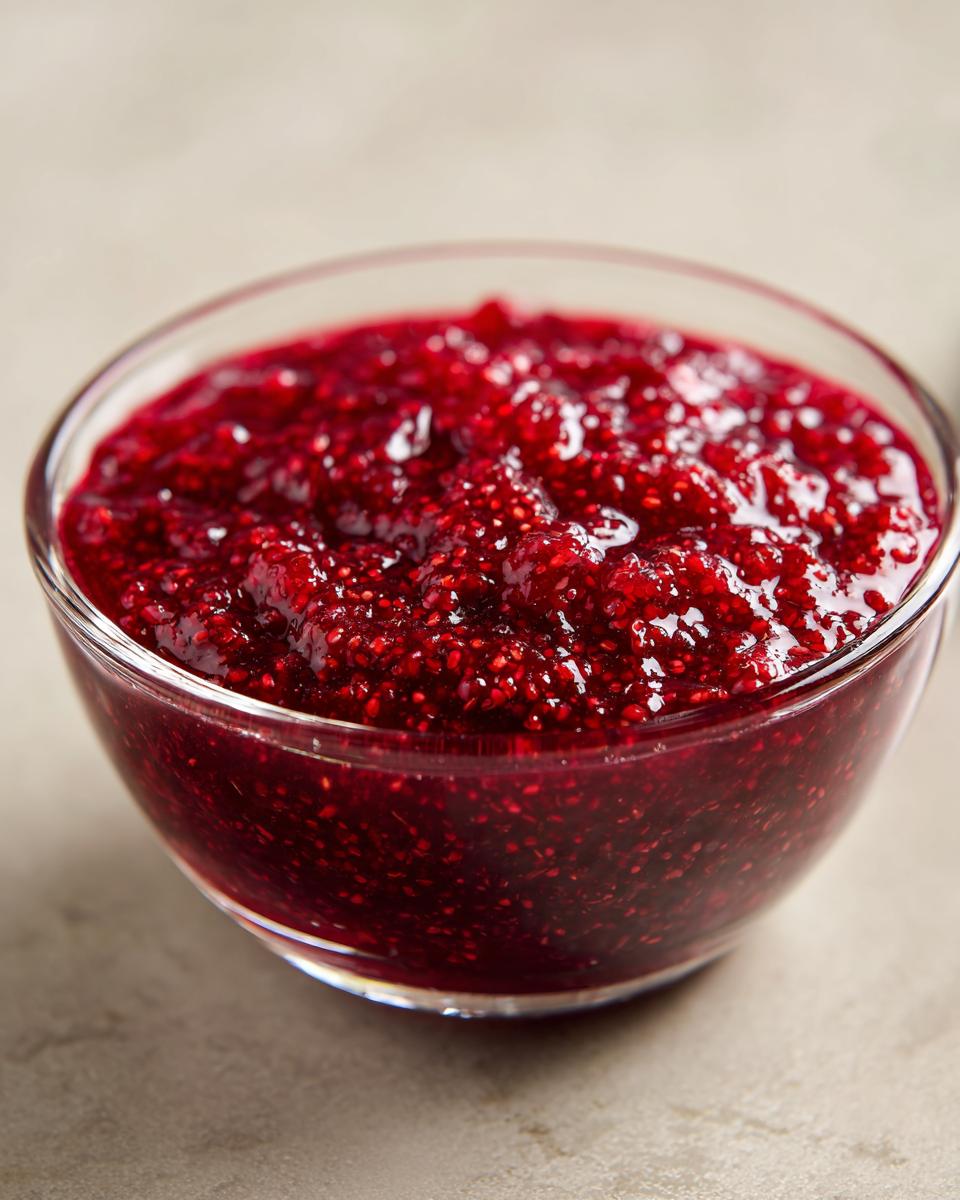
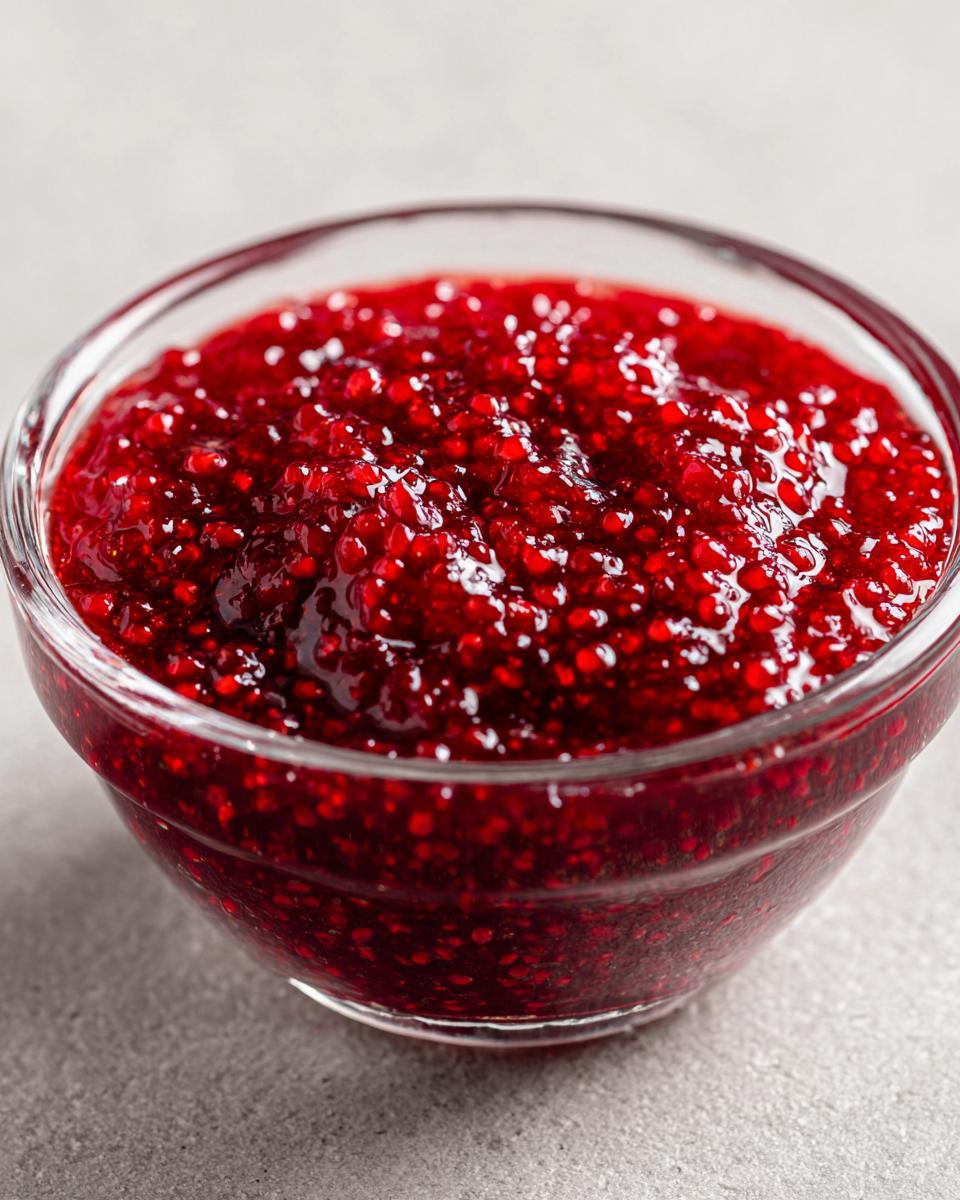
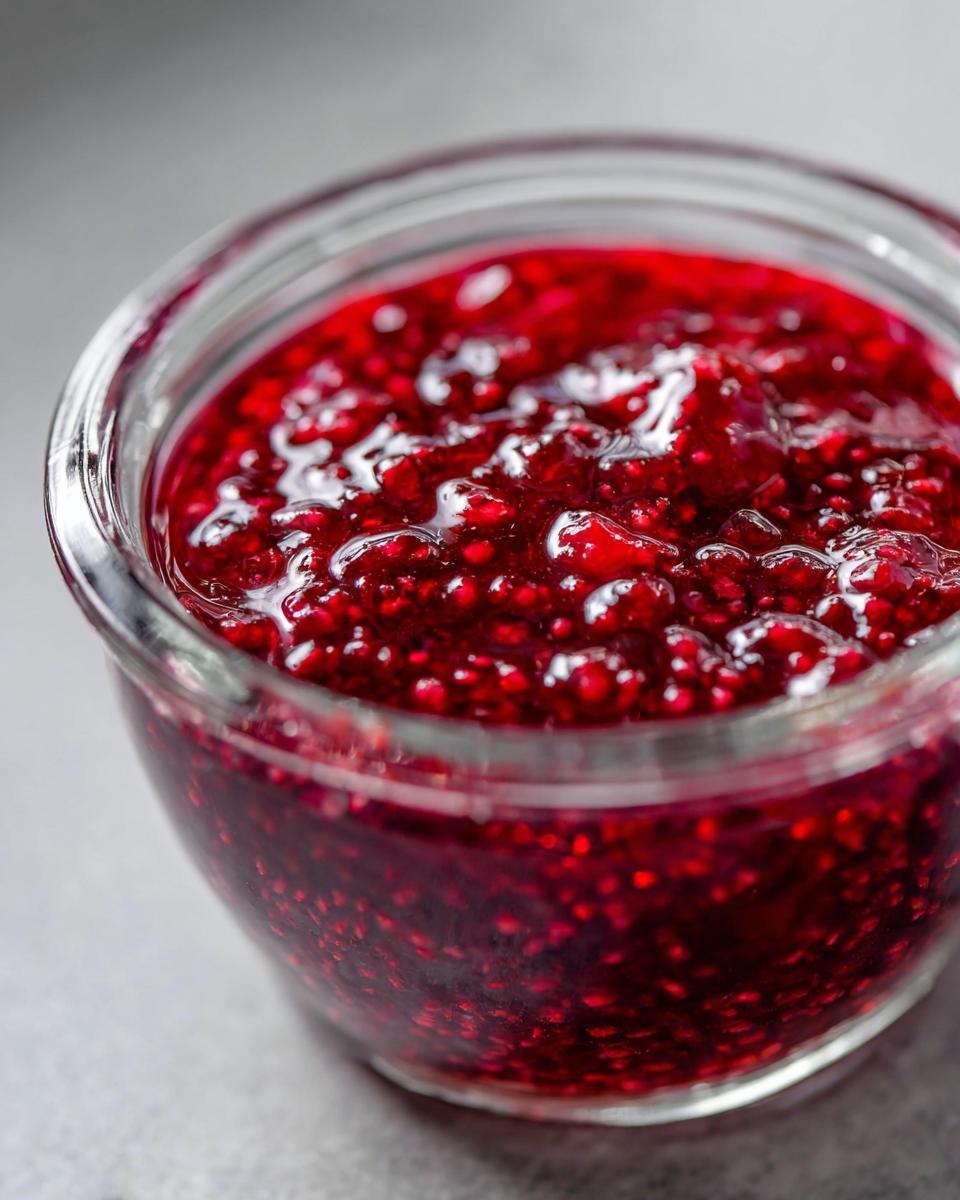
You’ll see both terms floating around, and honestly, for this recipe, they are almost interchangeable! Generally, preserves mean the fruit is left in larger, recognizable chunks, which is what we are aiming for here. Jams are often cooked down a bit more until the fruit completely breaks apart into a thick spread. Since our Easy Jam Recipe leaves whole or slightly smashed berries, you can proudly call this fresh raspberry preserves!
Estimating Nutrition for Your Natural Fruit Jam
Look, when we’re making something this delicious and simple, we aren’t focusing on spreadsheets, but it’s good to have a basic idea of what’s in your beautiful Natural Fruit Jam. Since this recipe is mostly fruit and sugar, the numbers are pretty straightforward. This is just my best estimate based on the ingredients used, so keep in mind your actual results might vary a little bit depending on how ripe your berries were or exactly how much sugar you used!
Here is the breakdown per standard two-tablespoon serving:
- Serving Size: 2 tablespoons
- Calories: 100
- Sugar: 26g
- Sodium: 1mg
- Fat: 0g
- Protein: 0g
- Carbohydrates: 26g
Please remember that this is just a guideline! Because we aren’t using commercial thickeners, the ratios are based on natural components. If you decide to make a much smaller batch using less sugar, these numbers will change, so always treat these estimates as just that—an estimate!
PrintEasy Homemade Raspberry Jam Without Pectin
Make this bright, flavorful raspberry jam with just three simple ingredients. This recipe is perfect for spreading on toast, layering in desserts, or topping yogurt.
- Prep Time: 15 min
- Cook Time: 25 min
- Total Time: 40 min
- Yield: About 3 half-pint jars 1x
- Category: Preserves
- Method: Stovetop Cooking/Water Bath Canning
- Cuisine: American
- Diet: Vegetarian
Ingredients
- 2 pints fresh or frozen raspberries
- 3 cups granulated sugar
- 1 tablespoon fresh lemon juice
Instructions
- Prepare your jars: If water bath canning, sterilize your jars and keep them hot. If making freezer jam, ensure your containers are clean and ready.
- Combine raspberries and sugar in a large, heavy-bottomed pot. Let the mixture sit for 15 minutes to allow the sugar to draw out the juices from the berries.
- Place the pot over medium-high heat. Stir constantly until the sugar dissolves completely and the mixture begins to boil.
- Once boiling, add the lemon juice. Continue to boil, stirring frequently to prevent scorching on the bottom of the pot. Do not stir down the sides of the pot once boiling begins.
- Use a candy thermometer or test for the setting point. The jam is ready when it reaches 220 degrees Fahrenheit (104 degrees Celsius) or when a small spoonful dropped onto a chilled plate wrinkles when pushed. This usually takes 15 to 20 minutes of active boiling.
- Remove the pot from the heat. Skim off any foam that has formed on the surface using a metal spoon.
- For canning: Carefully ladle the hot jam into the hot, sterilized jars, leaving 1/4 inch of headspace. Wipe the rims clean, apply the lids and rings, and process in a boiling water bath for 10 minutes, adjusting for altitude. Let the jars cool completely to seal.
- For freezer jam: Pour the jam into clean freezer-safe containers, leaving 1/2 inch of headspace. Let cool to room temperature, then cover and freeze for up to one year.
Notes
- This recipe uses the natural pectin in the fruit and lemon juice to set the jam.
- If you prefer seedless raspberry jam, gently press the cooked mixture through a fine-mesh sieve before the final boil, then return the strained liquid to the pot to finish cooking.
- For best results when canning, use fresh, ripe berries at their peak.
Nutrition
- Serving Size: 2 tablespoons
- Calories: 100
- Sugar: 26
- Sodium: 1
- Fat: 0
- Saturated Fat: 0
- Unsaturated Fat: 0
- Trans Fat: 0
- Carbohydrates: 26
- Fiber: 1
- Protein: 0
- Cholesterol: 0