
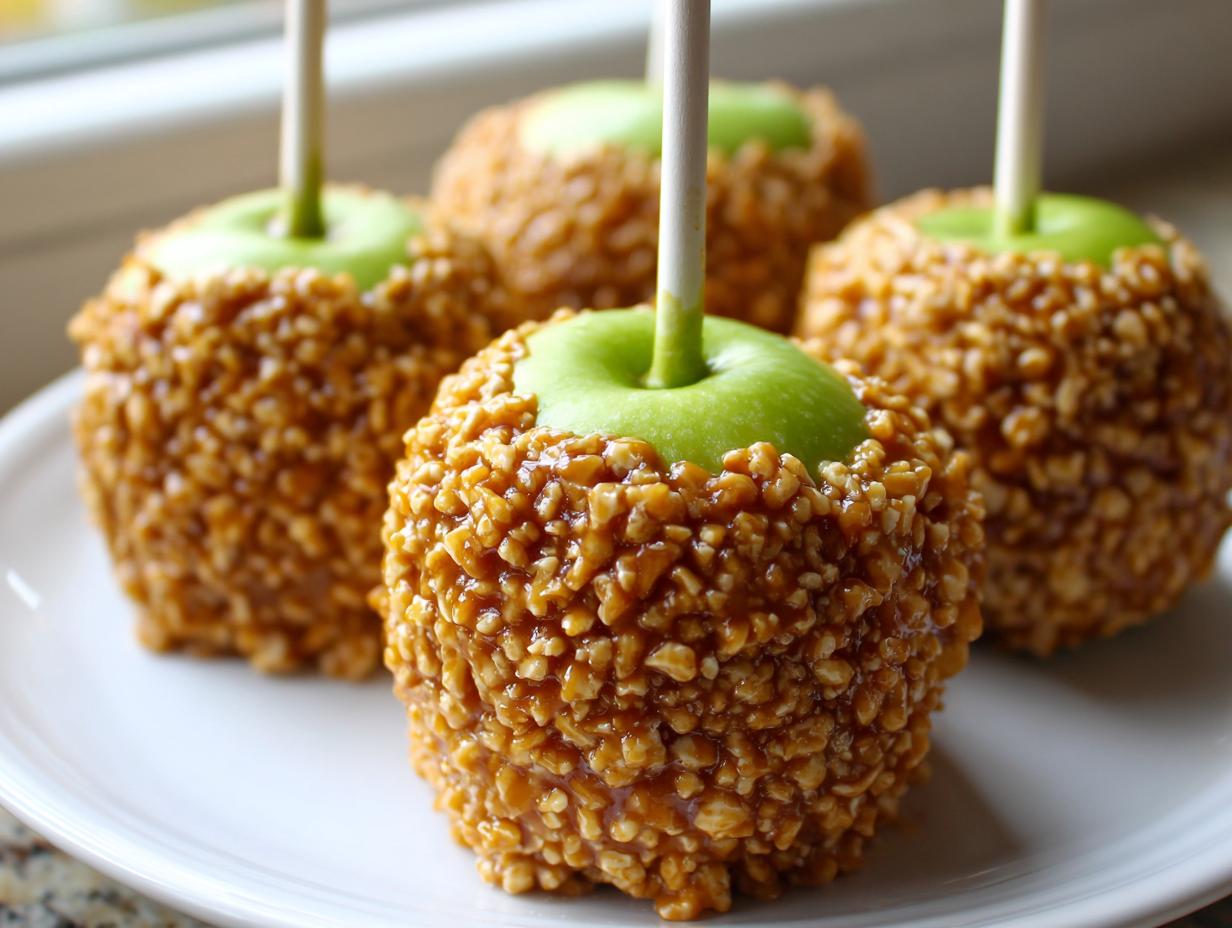
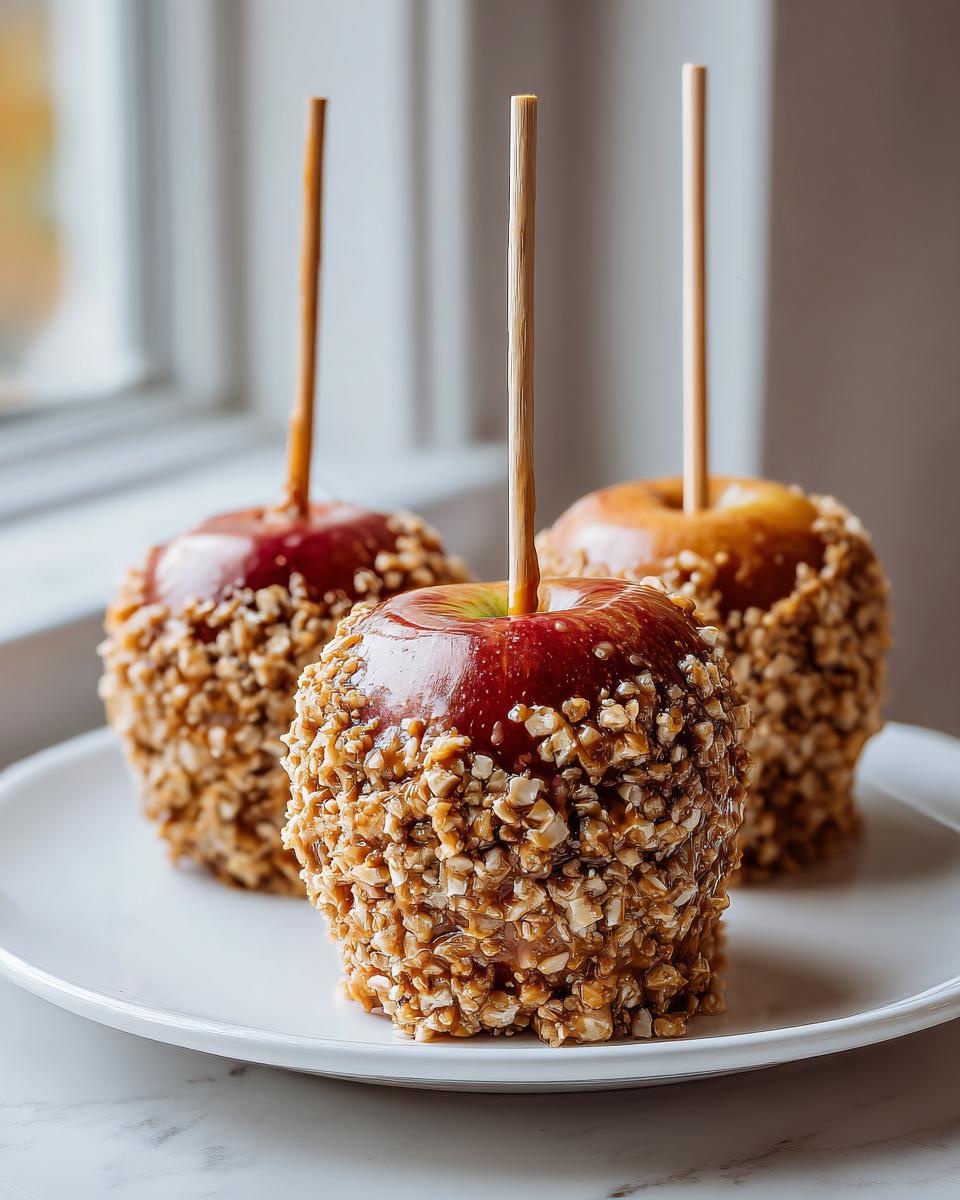
Oh, the caramel apple! Nothing screams cozy fall nostalgia quite like that perfect, crisp apple covered in thick, gooey caramel, right? But let’s be honest, making them at home almost always ends in disaster—either the caramel runs off in a sticky puddle, or it hardens like candy corn. Ugh! I spent years messing this up in my Ohio kitchen until I figured out the secret. Trust me, after testing batches until my arms ached, I landed on this foolproof, homemade caramel apples recipe. This isn’t just another recipe; it’s the keeper. We’re making a perfectly chewy caramel that *actually* sticks, every single time. It’s my favorite way to celebrate autumn, inspired by the classics my mom made, and honestly, it’s easier than making a full apple pie recipe! You’re going to love this easy fall dessert!
- Why This Homemade Caramel Apples Recipe Works (The Secret to Caramel That Sticks)
- Ingredients for Foolproof Homemade Caramel Apples Recipe
- The Best Caramel Apples Tutorial: Step-by-Step Chewy Caramel Apple Recipe
- Gourmet Caramel Apple Toppings and Variations
- Tips for Success When Making Your Caramel Apple
- Storage and Reheating Instructions for Classic Autumn Treats
- Frequently Asked Questions About Caramel Apples
- Estimated Nutritional Data for One Caramel Apple
- Share Your Perfect Caramel Apple Creations
Why This Homemade Caramel Apples Recipe Works (The Secret to Caramel That Sticks)
If your caramel always slides right off the apple and pools sadly at the bottom of the parchment paper, stop right there! That’s the nightmare I fought until I understood the three non-negotiable steps for perfect adhesion. This isn’t about fancy ingredients; it’s about prep and temperature. People search everywhere for tips on making sure the caramel that sticks to apples, and I’m telling you, it almost always comes down to moisture control.
- The Vinegar Wash: We’re stripping away the wax coating that modern apples get. Wax is the enemy of sticky caramel!
- Complete Drying: Any residual water or vinegar turns to steam and pushes your caramel away. We need bone-dry apples.
- The Temperature Check: Cooking the caramel to exactly 245°F ensures that lovely chewy texture—too cool, and it’s runny; too hot, and it turns to hard candy.
Master these things, and you’ll have the most gorgeous, gooey caramel apple treats possible.
The Essential Apple Prep for Perfect Caramel Apple Adhesion
This is the step everyone skips and then wonders why their beautiful caramel ends up on the counter instead of the fruit. Don’t skip it! First, scrub those apples like you mean it—peel stickers off gently. Then, mix one tablespoon of plain white vinegar into four cups of water. Dip your apples in this solution for just a quick dip, maybe five seconds total. Immediately pat them completely dry with paper towels. I mean bone dry. If you think they’re dry, pat them one more time!
Ingredients for Foolproof Homemade Caramel Apples Recipe
Gathering your supplies is the next big hurdle before we get to the real magic on the stovetop. Remember, for the best results, we need crisp apples! Granny Smith is a classic choice because that tartness cuts right through the rich caramel, but Honeycrisp works beautifully too. For the caramel itself, we’re using the standard heavy-hitters, but I want you to pay close attention to using packed light brown sugar—that molasses content is key for flavor!
It sounds like a lot, but these form the base for our incredible cinnamon roll apple pie recipe hybrid flavor profile.
- 12 medium crisp apples (like Granny Smith or Honeycrisp)
- 12 wooden or parchment-lined lollipop sticks
- 1 cup (2 sticks) unsalted butter
- 2 cups packed light brown sugar
- 1 cup light corn syrup
- 1 (14 ounce) can sweetened condensed milk
- 1 teaspoon pure vanilla extract
- 1 teaspoon sea salt
- For dipping: 2 pounds soft caramel candies (or pre-made caramel sauce)
- For topping (optional): Chopped nuts, sea salt flakes, melted chocolate
If you are using the pre-made candies for dipping instead of cooking from scratch, the texture will be a touch less chewy, but it’s definitely a fantastic cheat if you’re short on time! Either way, let’s get cooking.
The Best Caramel Apples Tutorial: Step-by-Step Chewy Caramel Apple Recipe
Okay, this is where the real fun begins! Making homemade caramel apples feels like chemistry class, but stick with me, because getting that temperature right is what separates the amateur snacks from the gourmet masterpieces. I remember the first time I nailed the temperature—it was 245°F, and the caramel was unbelievably rich and chewy instead of the usual runny disaster. It changed my whole approach to fall treats! If you want that perfectly chewy caramel apple recipe, this is your moment.
If you’re cooking the caramel from scratch (which I highly recommend for that authentic chew), make sure you have your parchment paper lined trays ready to go before you even turn on the heat. This process moves fast once it gets rolling! For more chewy goodness tips, check out my guide on easy homemade soft chewy caramels recipe.
Preparing Apples and Setting Up Your Caramel Apple Dipping Station
First things first: get those sticks firmly inserted into the stem end of your washed and dried apples. Give the stick a little twist as you push down so it grabs the core. Next, get your caramel mixture going in your heavy saucepan. If you’re using pre-made caramels, just melt them gently until they are smooth and dip-ready.
Cooking the Caramel to Achieve Gooey Homemade Caramel Consistency
This is the most critical part for getting that gooey homemade caramel texture. Butter, sugar, corn syrup, and condensed milk go into the pot. Stir constantly just until it melts and starts to boil, but then—stop stirring! You must attach that candy thermometer now. Let it boil until it hits exactly 245 degrees Fahrenheit. That temperature tells you it’s done cooking and will result in that perfect chewy consistency for your caramel apple. Don’t cheat this step, or the caramel won’t be just right.
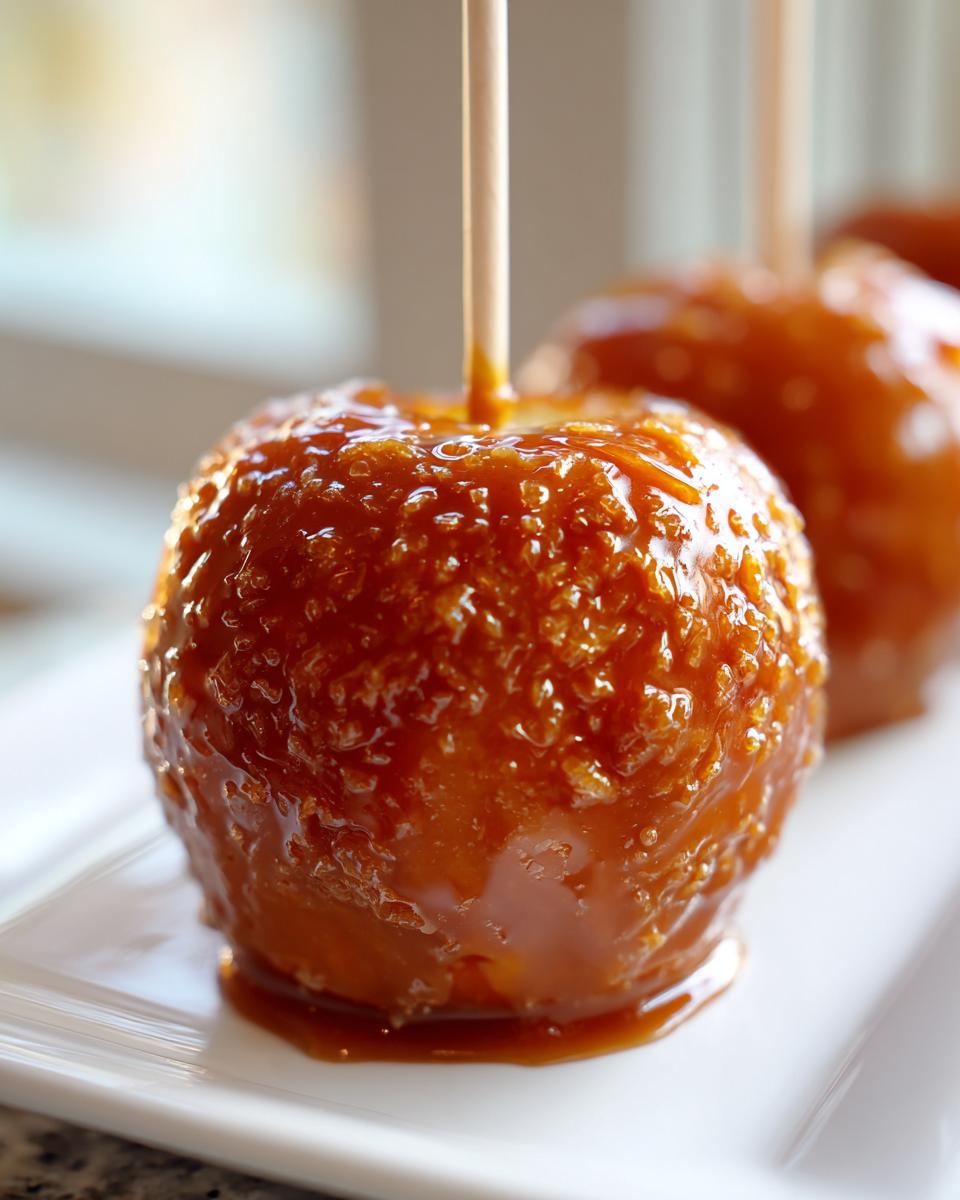
The Caramel Apple Dipping Technique for Full Coverage
Once it hits 245°F, take it off the heat instantly and stir in the vanilla and salt. Let it cool just a tiny bit—maybe five minutes—so it has some body. Now, tilt the pan; this is the secret to coating the whole thing without dipping too deep. Dip your apple straight down, rotating it to get full coverage. If you want that really professional, thick coat on your caramel apple, let the first layer set for about five minutes and then dip it *one more time*. It makes all the difference!
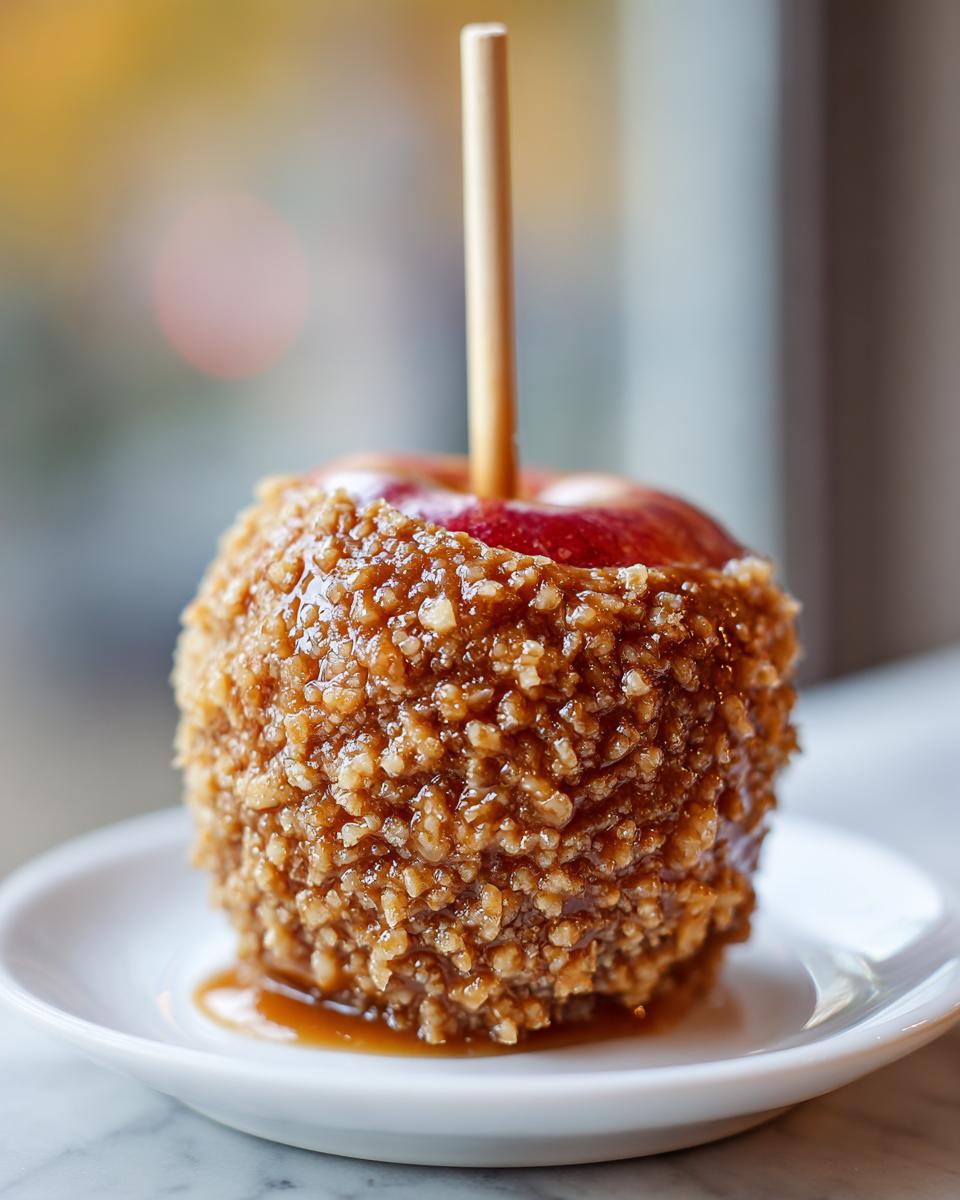
Gourmet Caramel Apple Toppings and Variations
Once you’ve nailed that perfect, chewy coat on your caramel apple, the fun truly starts! This is where you move from a classic treat to a show-stopping party centerpiece. A simple dusting of salt is great, but we can do better, right? My philosophy always leans toward adding texture and that little extra somethin’ somethin’ that makes people ask for the recipe. If you love these decadent flavors, you might also adore my recipe for red velvet cake balls recipe—it’s got that same indulgent vibe.
To get that gourmet quality, you want to move fast! Any topping needs to go on while the caramel is still warm and tacky right after dipping. For some other really interesting flavor profiles, you can check out how Chef Alba spices hers up over at Gourmet Spiced Caramel Apples for inspiration!
Easy Fall Dessert Topping Ideas
Here are a few of my must-try topping combinations for those beautiful caramel apple creations:
- A sprinkle of flaky sea salt right before setting—it balances the sweetness perfectly.
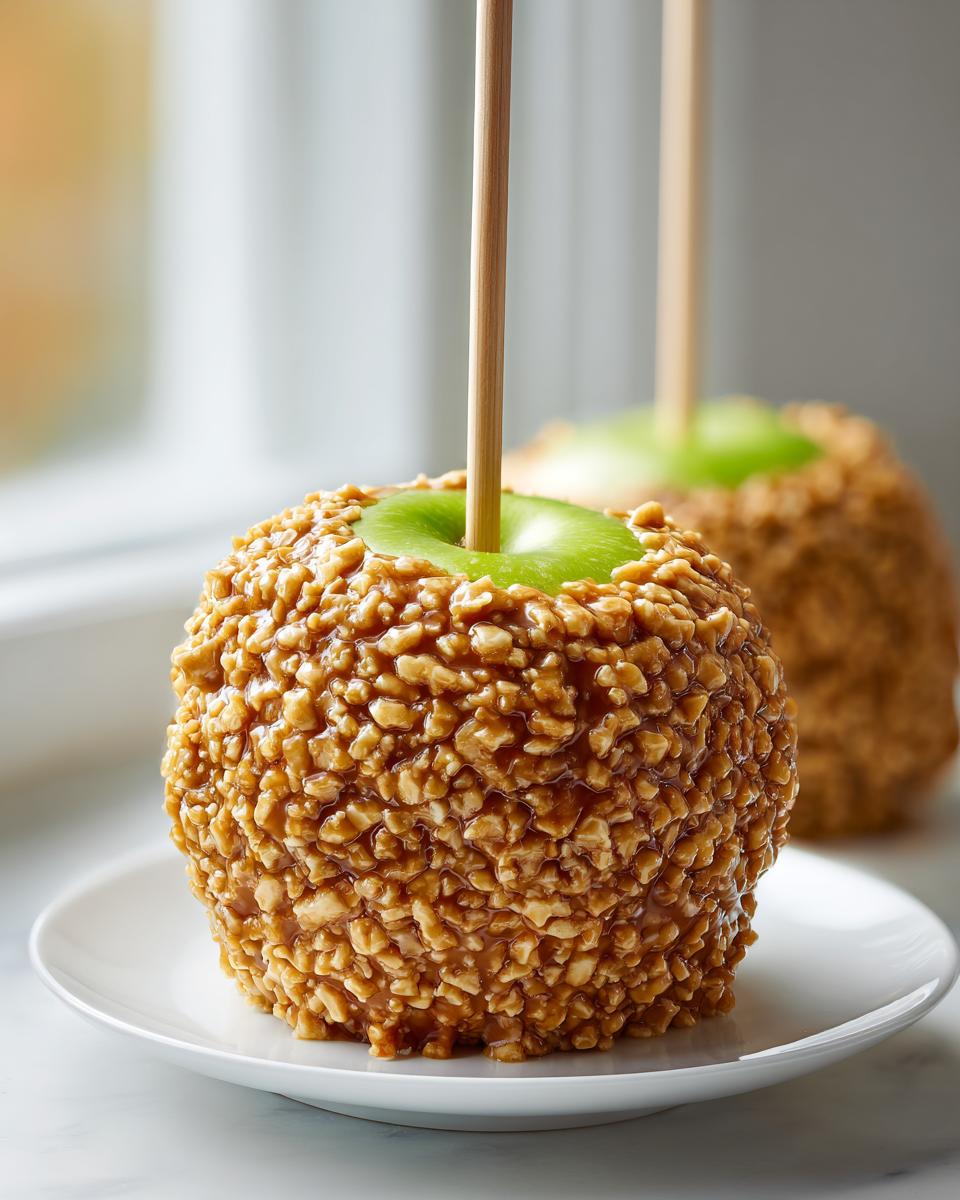
- Finely chopped pecans or walnuts, pressed gently into the sides.
- A drizzle of melted dark chocolate over the cooled caramel. It solidifies beautifully and adds richness. If you love chocolate decadence, you absolutely have to try my chocolate crinkle cookies recipe!
- Crushed pretzels for a salty-sweet crunch.
Tips for Success When Making Your Caramel Apple
Look, even with the best recipe, sometimes things go a little sideways, right? That’s totally normal! When you’re aiming for that gorgeous, thick coat on your caramel apple, the biggest troubleshooting comes down to two things we already talked about: moisture and heat. If you followed the vinegar wash and dried them completely, but the caramel still seems a bit soft after an hour, your caramel likely needed a minute or two more on the stove to hit that 245°F mark. Remember, soft caramel is usually just undercooked caramel!
If you notice your caramel getting stiff in the pot while you’re dipping, don’t panic! Just take the whole pot off the heat and let it sit on the counter for a minute, or put it back on the lowest possible setting *just* until it loosens up enough to swirl the apple through it. Never let it come to a hard boil again, or you’ll lose that chewy texture. You can use my apple cinnamon overnight oats recipe for an easy breakfast the next day, because you’ve earned it!
Storage and Reheating Instructions for Classic Autumn Treats
Once you’ve perfected your beautiful, chewy caramel apple, you want it to last, don’t you? The best way to store these is actually right on the counter! Don’t stick them in the fridge right away. The moisture from the cold air can cause the caramel to start ‘weeping’—that’s when that perfect layer starts getting sticky again. Keep them covered loosely at room temperature for up to two days. If you absolutely *must* refrigerate them, let them sit out on the counter for at least an hour before you plan to eat them so that caramel softens up again.
I actually don’t recommend reheating them much at all, especially if you cooked the caramel from scratch. If they get a little too firm, just letting them warm up naturally is best. If you’re looking for something warm later, maybe try making my moist spice cake recipe with cream cheese frosting instead, because the texture of a reheated caramel apple just isn’t the same!
Frequently Asked Questions About Caramel Apples
I know the main recipe looks solid, but I always get a ton of questions when people try making these for the first time. It’s exciting to see so many of you diving into making these classic autumn treats! If you’re wondering about alternatives or troubleshooting that gooey texture, keep reading. We’ve all been there when trying to nail that perfect coating for our caramel apple.
Can I make a Caramel Apple Dip instead of dipping whole apples?
Absolutely! If you’re aiming for a Caramel Apple Dip, you can totally use this same base. Just take the caramel off the heat when it hits about 235°F instead of 245°F. This keeps it much softer and scoopable, though you might want to still add an extra splash of cream or milk to thin it out perfectly once it cools.
My caramel is too hard/soft. What went wrong with my caramel apple?
This is 99% of the time about the temperature! If your coat is too hard, you cooked it past 245°F—it crossed into hard-crack territory. If it’s staying too soft and runny, pull it off the heat sooner next time, but always aim for that 245°F firm ball stage described in the tutorial for that perfect chew. Don’t stress if the first batch isn’t perfect; making this easy fall dessert takes a little practice!
For more fun ways to use these fall flavors, check out my roundup of easy fall dessert recipes!
Estimated Nutritional Data for One Caramel Apple
Now, look, I’m a home cook, not a certified nutritionist! These numbers are just estimates based on the ingredients listed for one serving—that means one apple dipped in caramel, assuming you’re using the foundational recipe and not going totally wild with three layers of chocolate and marshmallows, alright? That said, these caramel apple treats are certainly decadent, so take these numbers as a rough guide for enjoying this classic autumn treat!
If you want ideas for a slightly lighter start to your day, you should definitely look at my easy breakfast ideas roundup. But for a perfectly prepared treat, here’s the ballpark breakdown for one serving:
- Serving Size: 1 apple
- Calories: Approx. 450
- Sugar: Approx. 65g (It’s candy, people! But worth every bit!)
- Fat: Approx. 20g
- Saturated Fat: Approx. 12g
- Carbohydrates: Approx. 70g
- Protein: Approx. 3g
- Sodium: Approx. 180mg
You see that sodium number? That’s why I always tell everyone to sprinkle on that flaky sea salt topping—it just balances everything out so beautifully. Enjoy this perfect fall indulgence!
Share Your Perfect Caramel Apple Creations
I truly hope this recipe makes your autumn season a little sweeter and a lot less sticky! Now that you’ve mastered the art of the perfect, chewy, staying-put coating, I absolutely need to see your results. Have you gone classic, or did you try that fancy chocolate drizzle? Head down to the comments, leave a rating for this caramel apple recipe, and tell me what toppings you went with. I love seeing your amazing delicious dessert recipes come to life!
PrintFoolproof Homemade Caramel Apples: The Chewy Recipe That Actually Sticks
Make the best homemade caramel apples with a perfectly chewy caramel that adheres flawlessly. This no-fail tutorial solves the common problem of runny caramel for your fall desserts.
- Prep Time: 20 min
- Cook Time: 25 min
- Total Time: 45 min
- Yield: 12 servings 1x
- Category: Dessert
- Method: Stovetop Cooking
- Cuisine: American
- Diet: Vegetarian
Ingredients
- 12 medium crisp apples (like Granny Smith or Honeycrisp)
- 12 wooden or parchment-lined lollipop sticks
- 1 cup (2 sticks) unsalted butter
- 2 cups packed light brown sugar
- 1 cup light corn syrup
- 1 (14 ounce) can sweetened condensed milk
- 1 teaspoon pure vanilla extract
- 1 teaspoon sea salt
- For dipping: 2 pounds soft caramel candies (or pre-made caramel sauce)
- For topping (optional): Chopped nuts, sea salt flakes, melted chocolate
Instructions
- Prepare the apples: Wash the apples thoroughly. Remove the stickers. To help the caramel stick, dip each apple briefly in a solution of 1 tablespoon white vinegar mixed with 4 cups of water. Dry the apples completely with paper towels. Insert the sticks firmly into the stem end of each apple.
- Prepare the caramel base: In a heavy-bottomed saucepan, combine the butter, brown sugar, corn syrup, and sweetened condensed milk.
- Cook the caramel: Heat the mixture over medium heat, stirring constantly until the butter melts and the sugar dissolves. Stop stirring once it boils. Attach a candy thermometer.
- Boil without stirring: Allow the mixture to boil until it reaches 245 degrees Fahrenheit (firm ball stage). This usually takes 15 to 20 minutes. Do not stir during this phase; swirling the pan gently is acceptable.
- Finish the caramel: Remove the pan from the heat immediately when it reaches 245 degrees F. Stir in the vanilla extract and sea salt. Let the caramel cool for 5 to 10 minutes until it thickens slightly. If you are using pre-made caramel, warm it gently until it is dipping consistency.
- Dip the apples: Tilt the saucepan slightly. Dip each apple into the caramel mixture, rotating it to coat evenly. Lift the apple and allow excess caramel to drip off. For a thicker coat, dip a second time after the first layer sets slightly (about 5 minutes).
- Add toppings: If using toppings like chopped nuts or sea salt flakes, apply them immediately while the caramel is still tacky.
- Set the apples: Place the coated apples on a baking sheet lined with parchment paper or silicone mats. Let them cool completely at room temperature for at least 1 hour until the caramel is firm.
Notes
- For the best adhesion, ensure your apples are completely dry after washing and vinegar treatment. Moisture prevents the caramel from setting properly.
- If your caramel becomes too stiff while dipping, return the pan to very low heat briefly to loosen it, but avoid overheating, which causes runniness later.
- For a gourmet finish, drizzle melted dark or white chocolate over the cooled caramel layer before serving.
Nutrition
- Serving Size: 1 apple
- Calories: 450
- Sugar: 65
- Sodium: 180
- Fat: 20
- Saturated Fat: 12
- Unsaturated Fat: 8
- Trans Fat: 0
- Carbohydrates: 70
- Fiber: 2
- Protein: 3
- Cholesterol: 40