
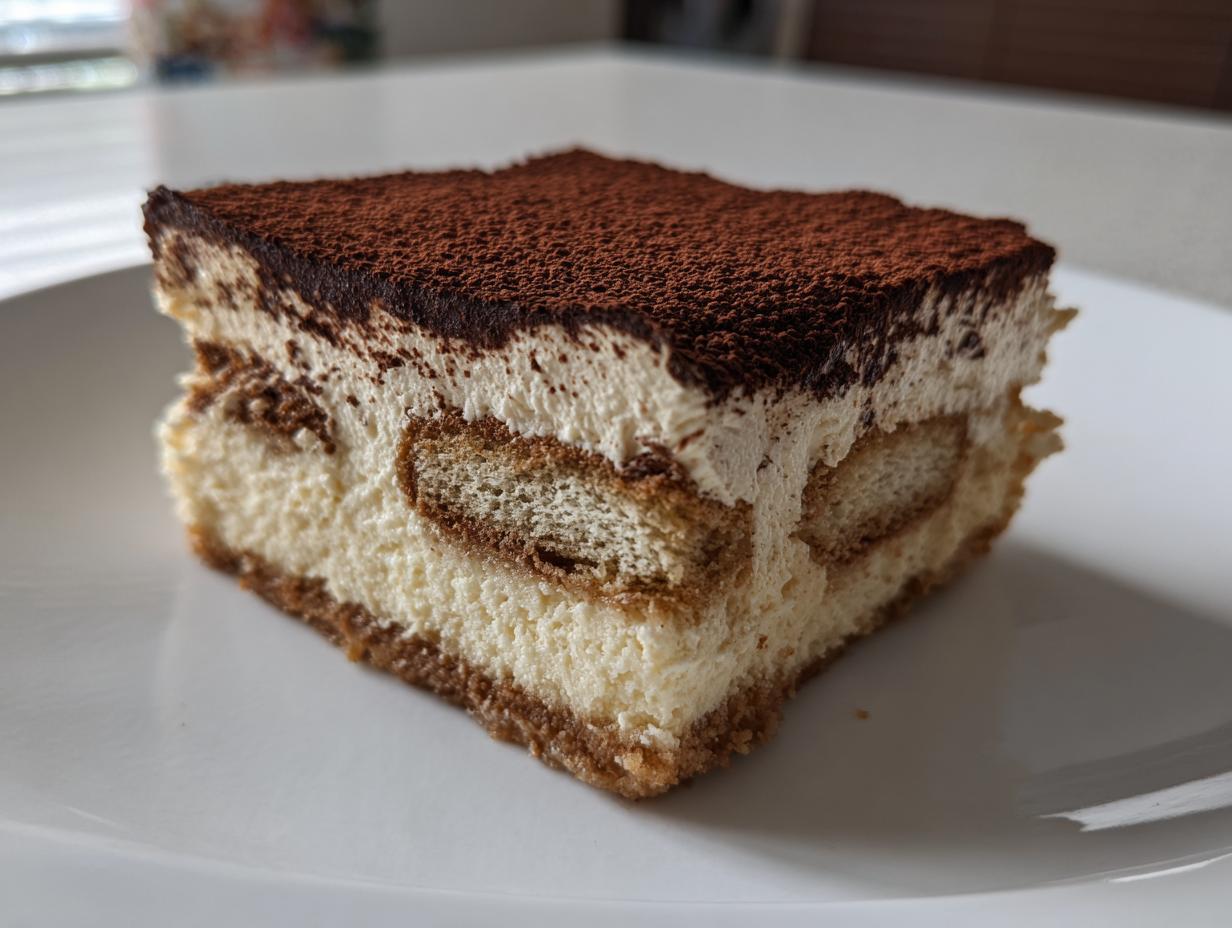
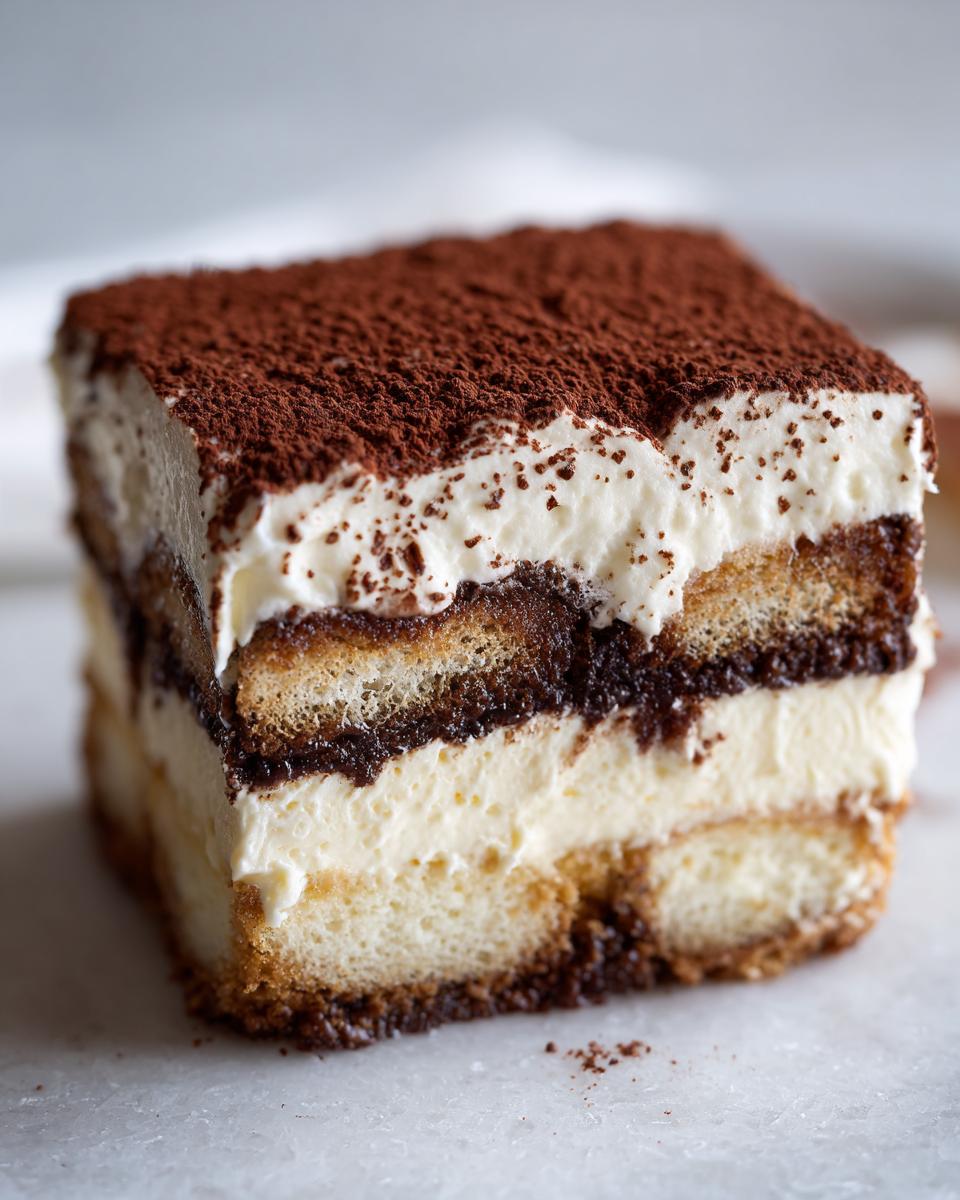
Sometimes, you just crave that perfect moment where two incredible desserts decide to get married, right? Well, pull up a chair, because I’ve created the ultimate dessert fusion that fills my kitchen with the most wonderful coffee aroma: the tiramisu cheesecake. Forget heating up the oven after a long day! This recipe is wonderfully a No Bake Tiramisu Cheesecake. It gives you that showstopping, luxurious texture we all want for special gatherings, but it’s surprisingly easy to pull together. It reminds me so much of my childhood kitchen—creating something wonderful and memorable, even when time felt tight. This recipe proves you don’t need hours on your feet to make something truly special.
- Why This No Bake Tiramisu Cheesecake is Your New Favorite Dessert Fusion Recipe
- Gathering Ingredients for Your Ultimate Tiramisu Cheesecake Mashup
- Step-by-Step Instructions for the No Bake Tiramisu Cheesecake
- Expert Tips for the Best Tiramisu Cheesecake Results
- Serving Suggestions for Your Decadent Cheesecake Fusion
- Storage and Make Ahead Dessert Convenience for Tiramisu Cheesecake
- Frequently Asked Questions About Making Tiramisu Cheesecake
- Estimated Nutritional Information for Tiramisu Cheesecake
- Share Your Italian Inspired Desserts Experience
Why This No Bake Tiramisu Cheesecake is Your New Favorite Dessert Fusion Recipe
I’ve tested a few different ways to tackle this incredible flavor combination, and trust me, the no-bake version is just unbeatable for consistent results. It’s elegant enough for your fanciest dinner party, but simple enough for a Tuesday night craving. You get that signature decadence without the stress!
- It’s a truly spectacular make ahead dessert—it actually gets better overnight!
- The texture is out-of-this-world; pure silkiness thanks to that creamy mascarpone dessert filling.
- Zero oven time means your kitchen stays cool, which is a huge win in the summer months.
- It delivers that bold coffee punch without any risk of cracking or over-baking, which haunts my dreams!
Effortless Preparation: The No Bake Tiramisu Cheesecake Advantage
When I say no bake, I mean zero oven time, folks. That’s the best part! We achieve that beautifully smooth, luscious texture by carefully whipping the cream and folding it into the dense cheese mixture. It sets up perfectly in the fridge, giving you that melt-in-your-mouth sensation you look for in a quality no bake cheesecake, but with all the sophisticated coffee and cocoa vibes of Italian tiramisu.
Gathering Ingredients for Your Ultimate Tiramisu Cheesecake Mashup
Okay, since we aren’t baking this beauty, getting our ingredients ready—what we call ‘mise en place’—is even more critical. We need everything to be the perfect texture before we start folding things together because that’s how we lock in that amazing, silky finish! Don’t skimp on the mascarpone, either; it’s key to that creamy mascarpone dessert experience we’re aiming for. Getting these things together first means the assembly goes smoothly, and trust me, you want that smooth transition! Check out my recipe for that great no-bake peanut butter pie for more ideas on prepping chilled desserts.
For the Chocolate Cookie Crust
We are skipping the standard graham crackers because we want that deep, rich contrast against the creamy filling. Make sure your melted butter is ready to go when you mix everything up:
- 1 1/2 cups chocolate wafer cookie crumbs
- 1/4 cup granulated sugar
- 6 tablespoons unsalted butter, melted
- 1 teaspoon instant espresso powder (this gives the base a little kick!)
For the Creamy Mascarpone Filling
Here’s where the magic happens! Remember, your heavy whipping cream needs to be really cold—I mean straight from the back of the fridge cold—to whip up properly. And patience with the mascarpone; it needs to be softened for ultimate smoothness:
- 8 ounces cream cheese, softened
- 1 cup powdered sugar
- 1 teaspoon vanilla extract
- 1 cup heavy whipping cream, cold
- 8 ounces mascarpone cheese, softened
For the Espresso Soaked Ladyfingers Layer
The coffee needs to be brewed strong and completely cooled down before you even think about dipping anything. If it’s warm, it’ll melt your beautiful filling! If you enjoy a little grown-up flavor, the optional liqueur makes a huge difference.
- 1/2 cup strong brewed espresso or coffee, cooled
- 2 tablespoons coffee liqueur (Kahlua works wonders here, but it’s optional!)
- 1 package (7 ounces) ladyfingers
And of course, you’ll need a good dusting of unsweetened cocoa powder waiting for the grand finale. Getting these quality ingredients together means you’re halfway to serving up the best Tiramisu Cheesecake Recipe around!
Step-by-Step Instructions for the No Bake Tiramisu Cheesecake
Now that we have all our gorgeous ingredients—the coffee is cool, the mascarpone is soft—it’s time to put this beautiful dessert fusion recipe together! This process is all about patience, especially when combining those light and dense elements. We want silky smooth, not stiff and unhappy! If you’re looking for another easy chilled treat, check out my guide for that amazing Biscoff Cheesecake.
Building and Chilling the Crust
First up is our crust. In a bowl, mix those chocolate wafer crumbs, the sugar, the melted butter, and that little bit of espresso powder until it looks like wet sand. Once it’s all incorporated, press that mixture firmly into the bottom of your 9-inch springform pan. I use the bottom of a flat glass to really pack it down tight—you want a sturdy base! Pop that whole thing into the fridge for at least 15 minutes while we tackle the filling. That chill time is non-negotiable.
Creating the Two-Part Filling for the Tiramisu Cheesecake
We’re doing this in two stages to keep everything light! Start by beating your softened cream cheese with the powdered sugar and vanilla until it’s completely lump-free. Set that bowl aside. Then, you need to whip your cold heavy cream in a separate, clean bowl until you get stiff peaks—you know, when the peaks stand up perfectly when you lift the whisk. Gently fold those whipped peaks into your cream cheese base. Now, in a third bowl, beat your softened mascarpone with the cooled espresso (and liqueur, if you’re using it). Finally, pour that coffee-mascarpone mix into your cream cheese fluff. You must, must, *must* fold gently here. We are trying to keep all that glorious air we just whipped in!
Assembling the Espresso Soaked Ladyfingers and Filling
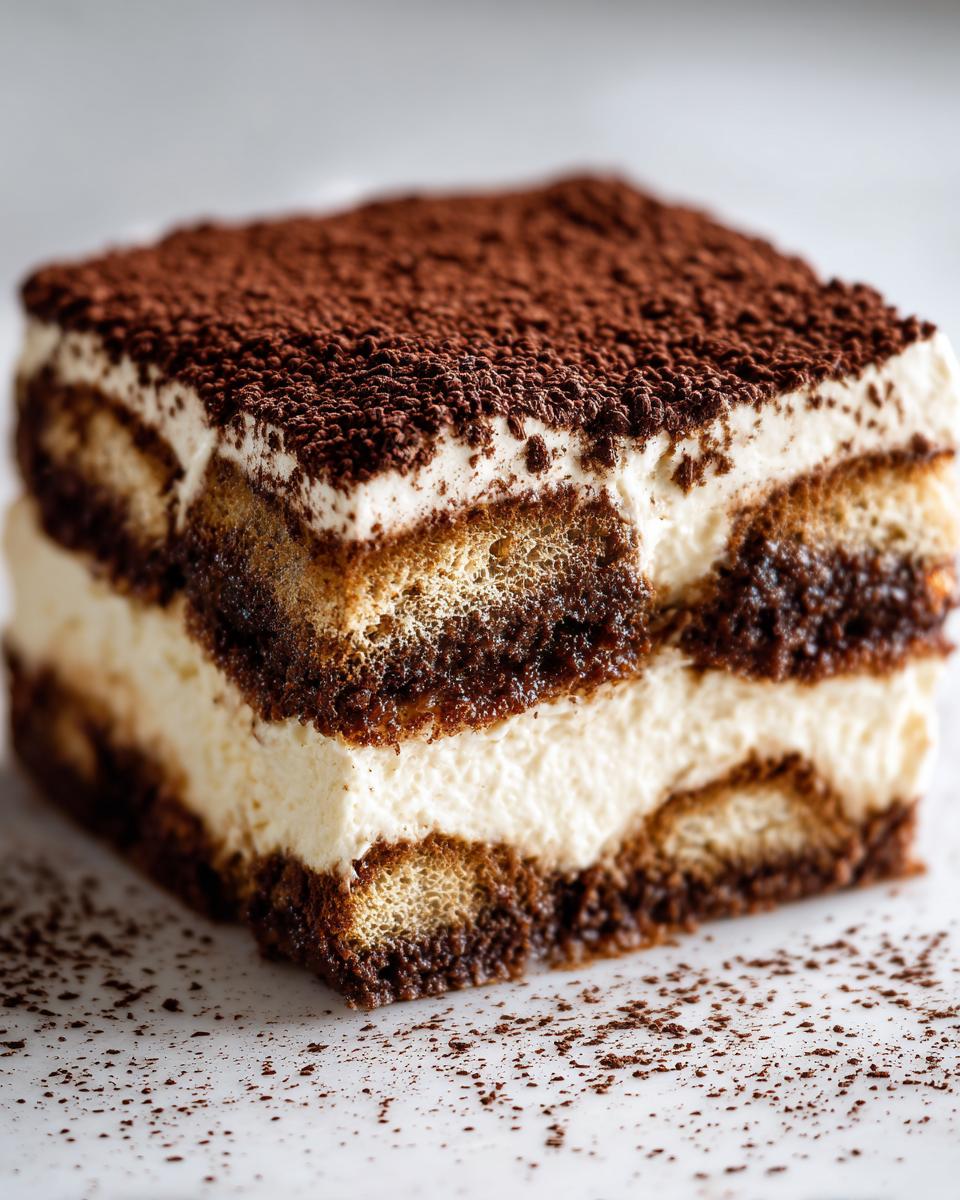
This is the crucial, fun part! Take your ladyfingers and dip them *lightning fast* into the remaining cooled espresso. Seriously, a quick dunk on each side is all they need, or they turn to mush, and we certainly don’t want a soggy layer in our tiramisu cheesecake! Once dipped, lay half of those coffee-soaked beauties right over your chilled crust. Spread half of your gorgeous two-part filling on top. Repeat that sequence: the rest of the ladyfingers, then the rest of the filling. Smooth the top, cover it loosely, and let it chill for a minimum of six hours, but honestly, overnight is always worth the wait.
Expert Tips for the Best Tiramisu Cheesecake Results
We have the steps down, but these little secrets are what turn a good tiramisu cheesecake into something truly memorable. It’s all about respecting the ingredients! If you want that robust, authentic tiramisu flavor—the one that makes people close their eyes when they take a bite—you have to pay attention to the coffee component.
Achieving Perfect Coffee Flavor in Your Tiramisu Cheesecake
Don’t settle for weak coffee here; this is crucial for a great coffee flavored cheesecake! I always pull my espresso using a dark roast; it stands up perfectly to the richness of the mascarpone and cream cheese. If you’re skipping the liqueur, try adding half a teaspoon of instant espresso powder directly into your cooled coffee soak. It gives the ladyfingers an extra layer of deep, beautiful coffee flavor that just sings!
Ingredient Notes and Substitutions
We chose those chocolate wafer cookies for the crust for a reason—they mimic that chocolate-and-coffee pairing so well! Also, please promise me you’ll use good quality, full-fat cheeses. Trying to substitute low-fat versions in this creamy mascarpone dessert recipe just won’t give you that luxurious set we are looking for once it chills. Speaking of other wonderful, easy options, I have a fantastic homemade cranberry sauce recipe that is perfect if you need a tart counterpoint to a rich dessert like this! For more inspiration on perfecting this Italian mashup, I always recommend checking out how Sweeney handles her version here.
Serving Suggestions for Your Decadent Cheesecake Fusion
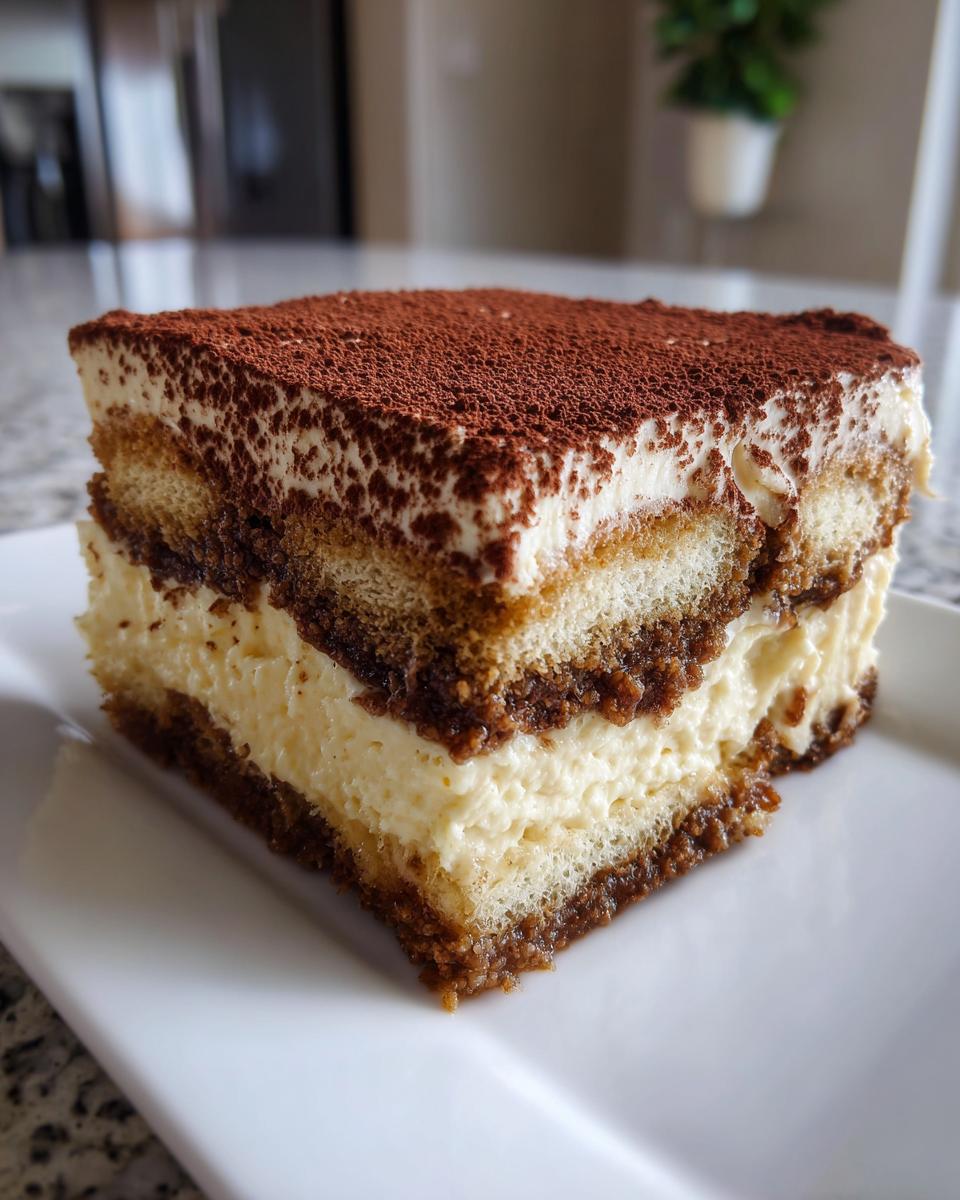
The presentation really matters with a showstopper like this tiramisu cheesecake! Once it’s firm and you’ve popped off that springform ring, the final step is the cocoa dusting, and don’t hold back—go for a generous, velvety coat. You can use a small sieve for an even distribution, which looks so professional!
Because this dessert is so rich and deeply flavored, you don’t need much on the side. A very light dusting of powdered sugar sprinkled over maybe half the cake offers a lovely visual contrast. If you want a side, keep it simple and tart, like a fresh raspberry coulis, or even grab the recipe for my easy apple strudel if you need another fall-inspired treat to serve alongside coffee.
Storage and Make Ahead Dessert Convenience for Tiramisu Cheesecake
I mentioned this earlier, but let’s talk seriously about timing, because this is the secret weapon for any busy host: this tiramisu cheesecake is the ultimate make ahead dessert! Since it doesn’t have any eggs that need setting in the oven, it actually needs that long chill time to firm up properly. We’re talking minimum six hours, but honestly, if you can whip it up the day before you plan to serve it, you’ll get the most wonderfully dense and silky texture possible.
When it comes to leftovers—if you have any, which is rare in my house—it keeps beautifully in the fridge. Because it’s chilled and made with cream cheese and mascarpone, it holds up really well. Cover it snugly with plastic wrap (make sure the wrap isn’t touching the cocoa powder, or you get a sticky mess!) and it should stay fantastic for about three to four days. It’s just as good on day three as it is on day one!
This fantastic make-ahead nature is why I often make it for holidays or big potlucks. You can tackle the crust and filling completely the day before, and then all you have left to do is dip the ladyfingers and dust the cocoa powder right before serving. It cuts down so much panic on party day! If you need another easy option to keep in your back pocket for emergencies, I absolutely adore my easy chocolate mousse recipe—it also chills beautifully, though it doesn’t have those lovely coffee notes.
If you’re curious about how others store their chilled coffee desserts, you can see some great tips over at Rich & Delish here. But honestly, plastic wrap, springform pan, and the fridge is all you need for this beauty!
Frequently Asked Questions About Making Tiramisu Cheesecake
I know when you tackle a Dessert Fusion Recipe like this, you sometimes have little questions bubbling up right before you start mixing! Don’t worry; that’s totally normal, especially when mixing two beloved classics together. Hopefully, these little FAQs help you feel totally confident before you start dipping those ladyfingers!
Can I use a graham cracker crust instead of chocolate cookies for this Tiramisu Cheesecake Recipe?
You absolutely can! You know I love a simple substitution when it makes sense. Graham crackers work fine, but honestly, for this specific Tiramisu Cheesecake Recipe, the chocolate wafer cookie crust just gives you the perfect backdrop. The dark chocolate flavor really cuts through the creamy filling and plays so nicely with the cocoa topping. It’s just a flavor harmony, trust me!
What is the difference between this and a Baked Tiramisu Cheesecake?
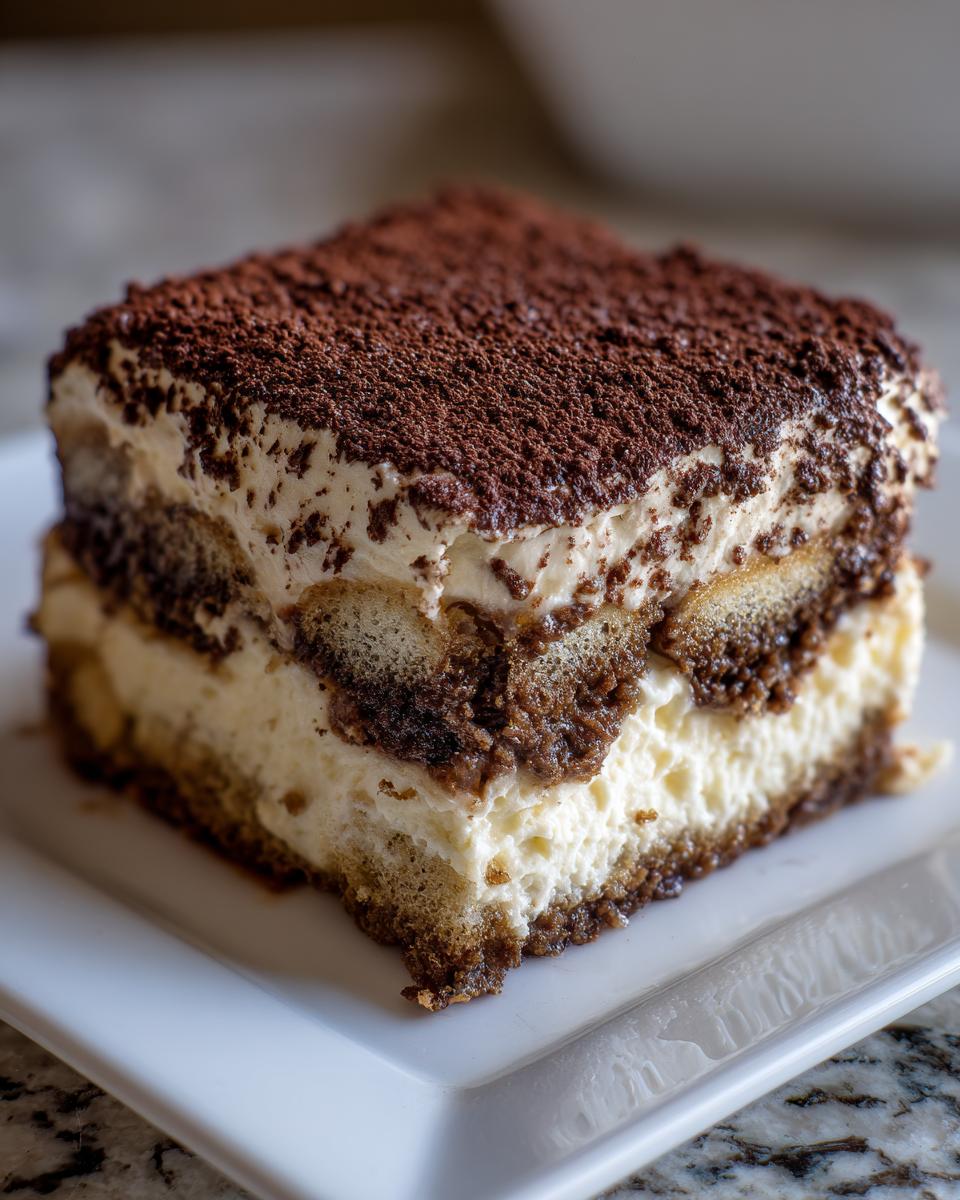
This is a great distinction to make! Since we skipped the oven, our No Bake Tiramisu Cheesecake ends up silkier, lighter, and super bright—almost like a mousse consistency cradled in that creamy mascarpone. A baked version tends to be much denser, more like a traditional cheesecake, and it develops a slightly different, fuller flavor profile from the heat. For easy serving and maximum silkiness, no-bake is my go-to!
How long do the ladyfingers need to soak in the espresso?
This is the make-or-break moment for your texture! Remember that crucial Espresso Soaked Ladyfingers step? You want quick in-and-out dipping—like one Mississippi, flip, one Mississippi! If you leave them soaking too long, by the time the cake sets, your layer will just be liquid coffee sludge instead of textured goodness. We want them moist, not waterlogged!
If you’ve tried this recipe and have more questions, or if you want to share your amazing results, feel free to check out my chocolate crinkle cookies page for my contact info!
Estimated Nutritional Information for Tiramisu Cheesecake
Now, I always say that when you make something this decadent, you shouldn’t really obsess over the numbers, but I know some of you like to keep track! So, here are the estimated stats for one slice of this glorious tiramisu cheesecake. Just remember, these are ballpark figures; if you use more Kahlua or skip the chocolate crust, things change a little!
- Calories: Around 450
- Total Fat: About 30g
- Protein: 8g
- Carbohydrates: 38g
Because we use all that rich mascarpone and cream cheese, the fat content is there, but wow, is it worth it! Don’t forget, this is based on 10 servings, so your numbers will definitely shift if you cut bigger slices—which I totally don’t blame you for doing! If you want another rich treat to compare it to, check out my recipe for easy homemade soft chewy caramels.
Share Your Italian Inspired Desserts Experience
That’s it! You’ve made, chilled, and now you’re about to serve an absolutely show-stopping tiramisu cheesecake. My heart gets so full seeing my recipes come to life in your homes when you share them with me.
Once you’ve brought this stunning Italian inspired dessert to the table and heard all the delighted sighs—please, please come back here and let me know how it went! Did your espresso soak turn out perfect? Was the cocoa dusting dramatic enough? I want to hear every little detail.
Leave me a rating at the top of the page so others know to trust this recipe, and drop a comment below telling me what occasion you served it for. If you snapped a photo, feel free to tag me on social media so I can see your beautiful creation!
For those of you who want to send me a direct note or suggestion on this or any other recipe, you can always reach out through my contact page. And if you’re looking for other amazing inspiration on this exact fusion dessert, I saw such a lovely looking one over at Cooking Free right here that might give you even more ideas!
Happy baking (or, well, happy chilling)! I can’t wait to hear about your amazing tiramisu cheesecake adventure!
PrintNo-Bake Tiramisu Cheesecake: A Creamy Dessert Fusion
You make this luxurious Tiramisu Cheesecake without baking. It combines creamy mascarpone filling with espresso-soaked ladyfingers for an impressive, make-ahead Italian-inspired dessert.
- Prep Time: 30 min
- Cook Time: 0 min
- Total Time: 6 hr 30 min
- Yield: 10 servings 1x
- Category: Dessert
- Method: No-Bake
- Cuisine: Italian Fusion
- Diet: Vegetarian
Ingredients
- 1 1/2 cups chocolate wafer cookie crumbs
- 1/4 cup granulated sugar (for crust)
- 6 tablespoons unsalted butter, melted
- 1 teaspoon instant espresso powder (for crust)
- 1 package (8 ounces) cream cheese, softened
- 1 cup powdered sugar
- 1 teaspoon vanilla extract
- 1 cup heavy whipping cream, cold
- 8 ounces mascarpone cheese, softened
- 1/2 cup strong brewed espresso or coffee, cooled
- 2 tablespoons coffee liqueur (optional, like Kahlua)
- 1 package (7 ounces) ladyfingers
- Unsweetened cocoa powder, for dusting
Instructions
- Prepare the crust: Combine cookie crumbs, 1/4 cup granulated sugar, melted butter, and 1 teaspoon instant espresso powder in a bowl. Press the mixture firmly into the bottom of a 9-inch springform pan. Chill the crust for at least 15 minutes while you prepare the filling.
- Make the cream cheese layer: In a large bowl, beat the softened cream cheese, powdered sugar, and vanilla extract until smooth. Set aside.
- Whip the cream: In a separate, clean bowl, beat the cold heavy whipping cream until stiff peaks form. Gently fold the whipped cream into the cream cheese mixture until just combined.
- Prepare the mascarpone layer: In another bowl, beat the softened mascarpone cheese until smooth. Gradually beat in the cooled espresso (and liqueur, if using) until fully incorporated.
- Assemble the layers: Gently fold the mascarpone mixture into the cream cheese mixture until uniform. Do not overmix.
- Soak the ladyfingers: Quickly dip each ladyfinger into the remaining cooled espresso mixture. Work fast so they do not become too soggy.
- Layer the cheesecake: Arrange half of the espresso-soaked ladyfingers over the chilled crust. Spread half of the mascarpone filling evenly over the ladyfingers. Repeat with the remaining ladyfingers and the rest of the filling.
- Chill: Cover the pan loosely with plastic wrap and refrigerate for at least 6 hours, or preferably overnight, until the cheesecake is firm.
- Serve: Before serving, carefully remove the springform ring. Dust the top generously with unsweetened cocoa powder. Slice and serve this decadent cheesecake.
Notes
- For a richer coffee flavor, use dark roast espresso grounds in your soak.
- If you skip the coffee liqueur, add 1/2 teaspoon of extra instant espresso powder to the coffee soak for depth.
- Use a chocolate cookie crust, such as Oreos without the filling, for the best flavor pairing.
Nutrition
- Serving Size: 1 slice
- Calories: 450
- Sugar: 30g
- Sodium: 250mg
- Fat: 30g
- Saturated Fat: 18g
- Unsaturated Fat: 12g
- Trans Fat: 0g
- Carbohydrates: 38g
- Fiber: 1g
- Protein: 8g
- Cholesterol: 95mg